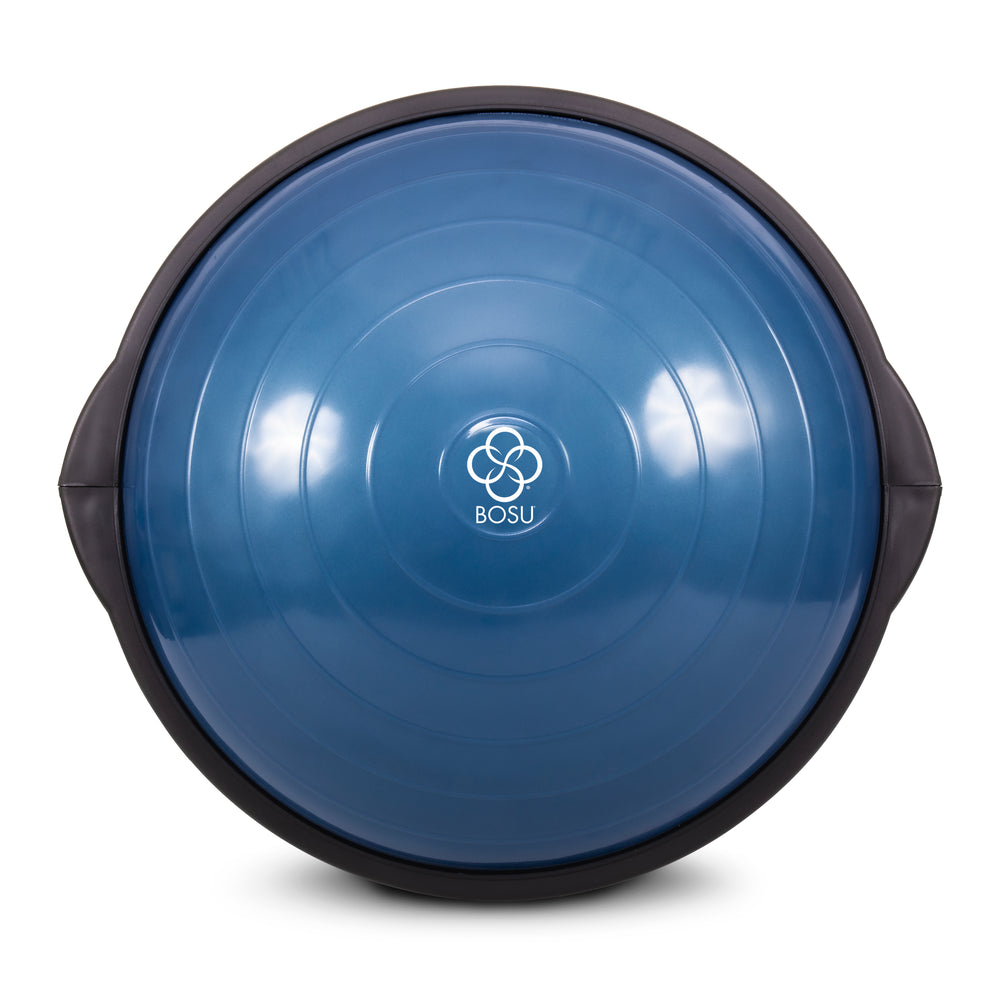
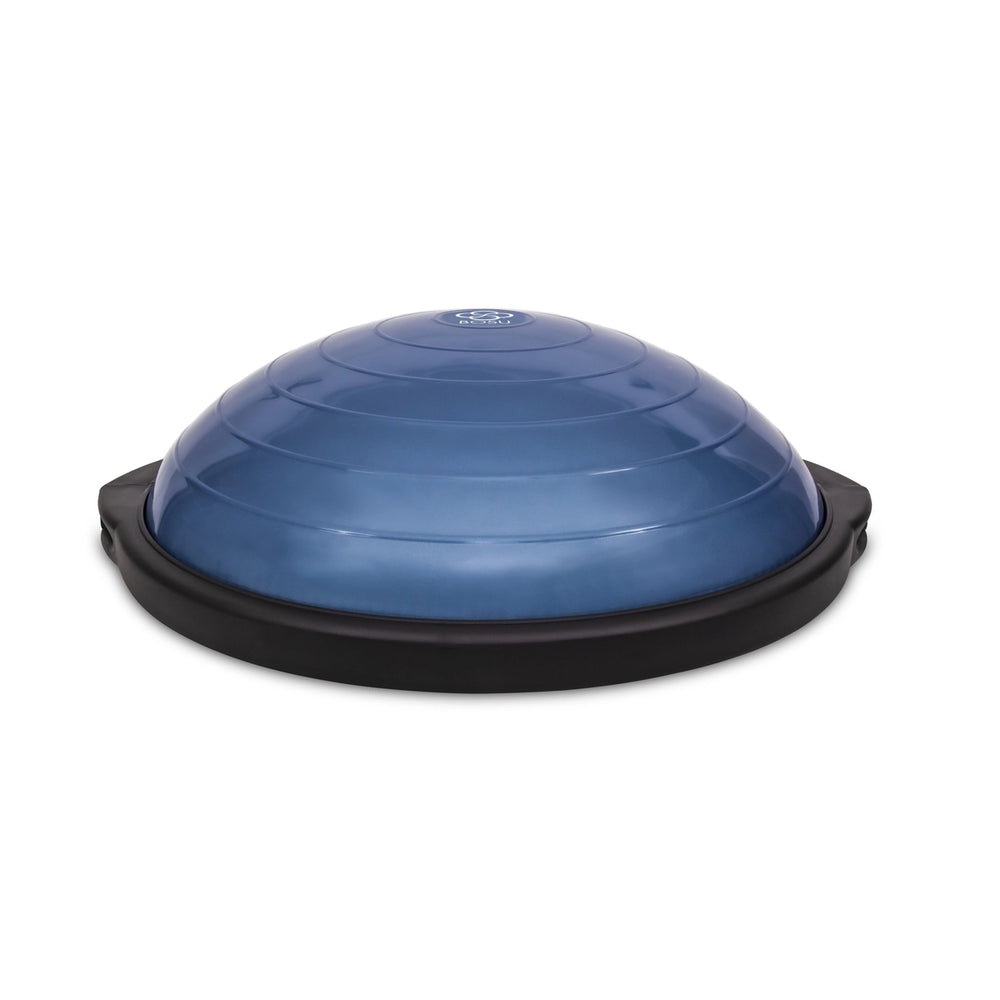

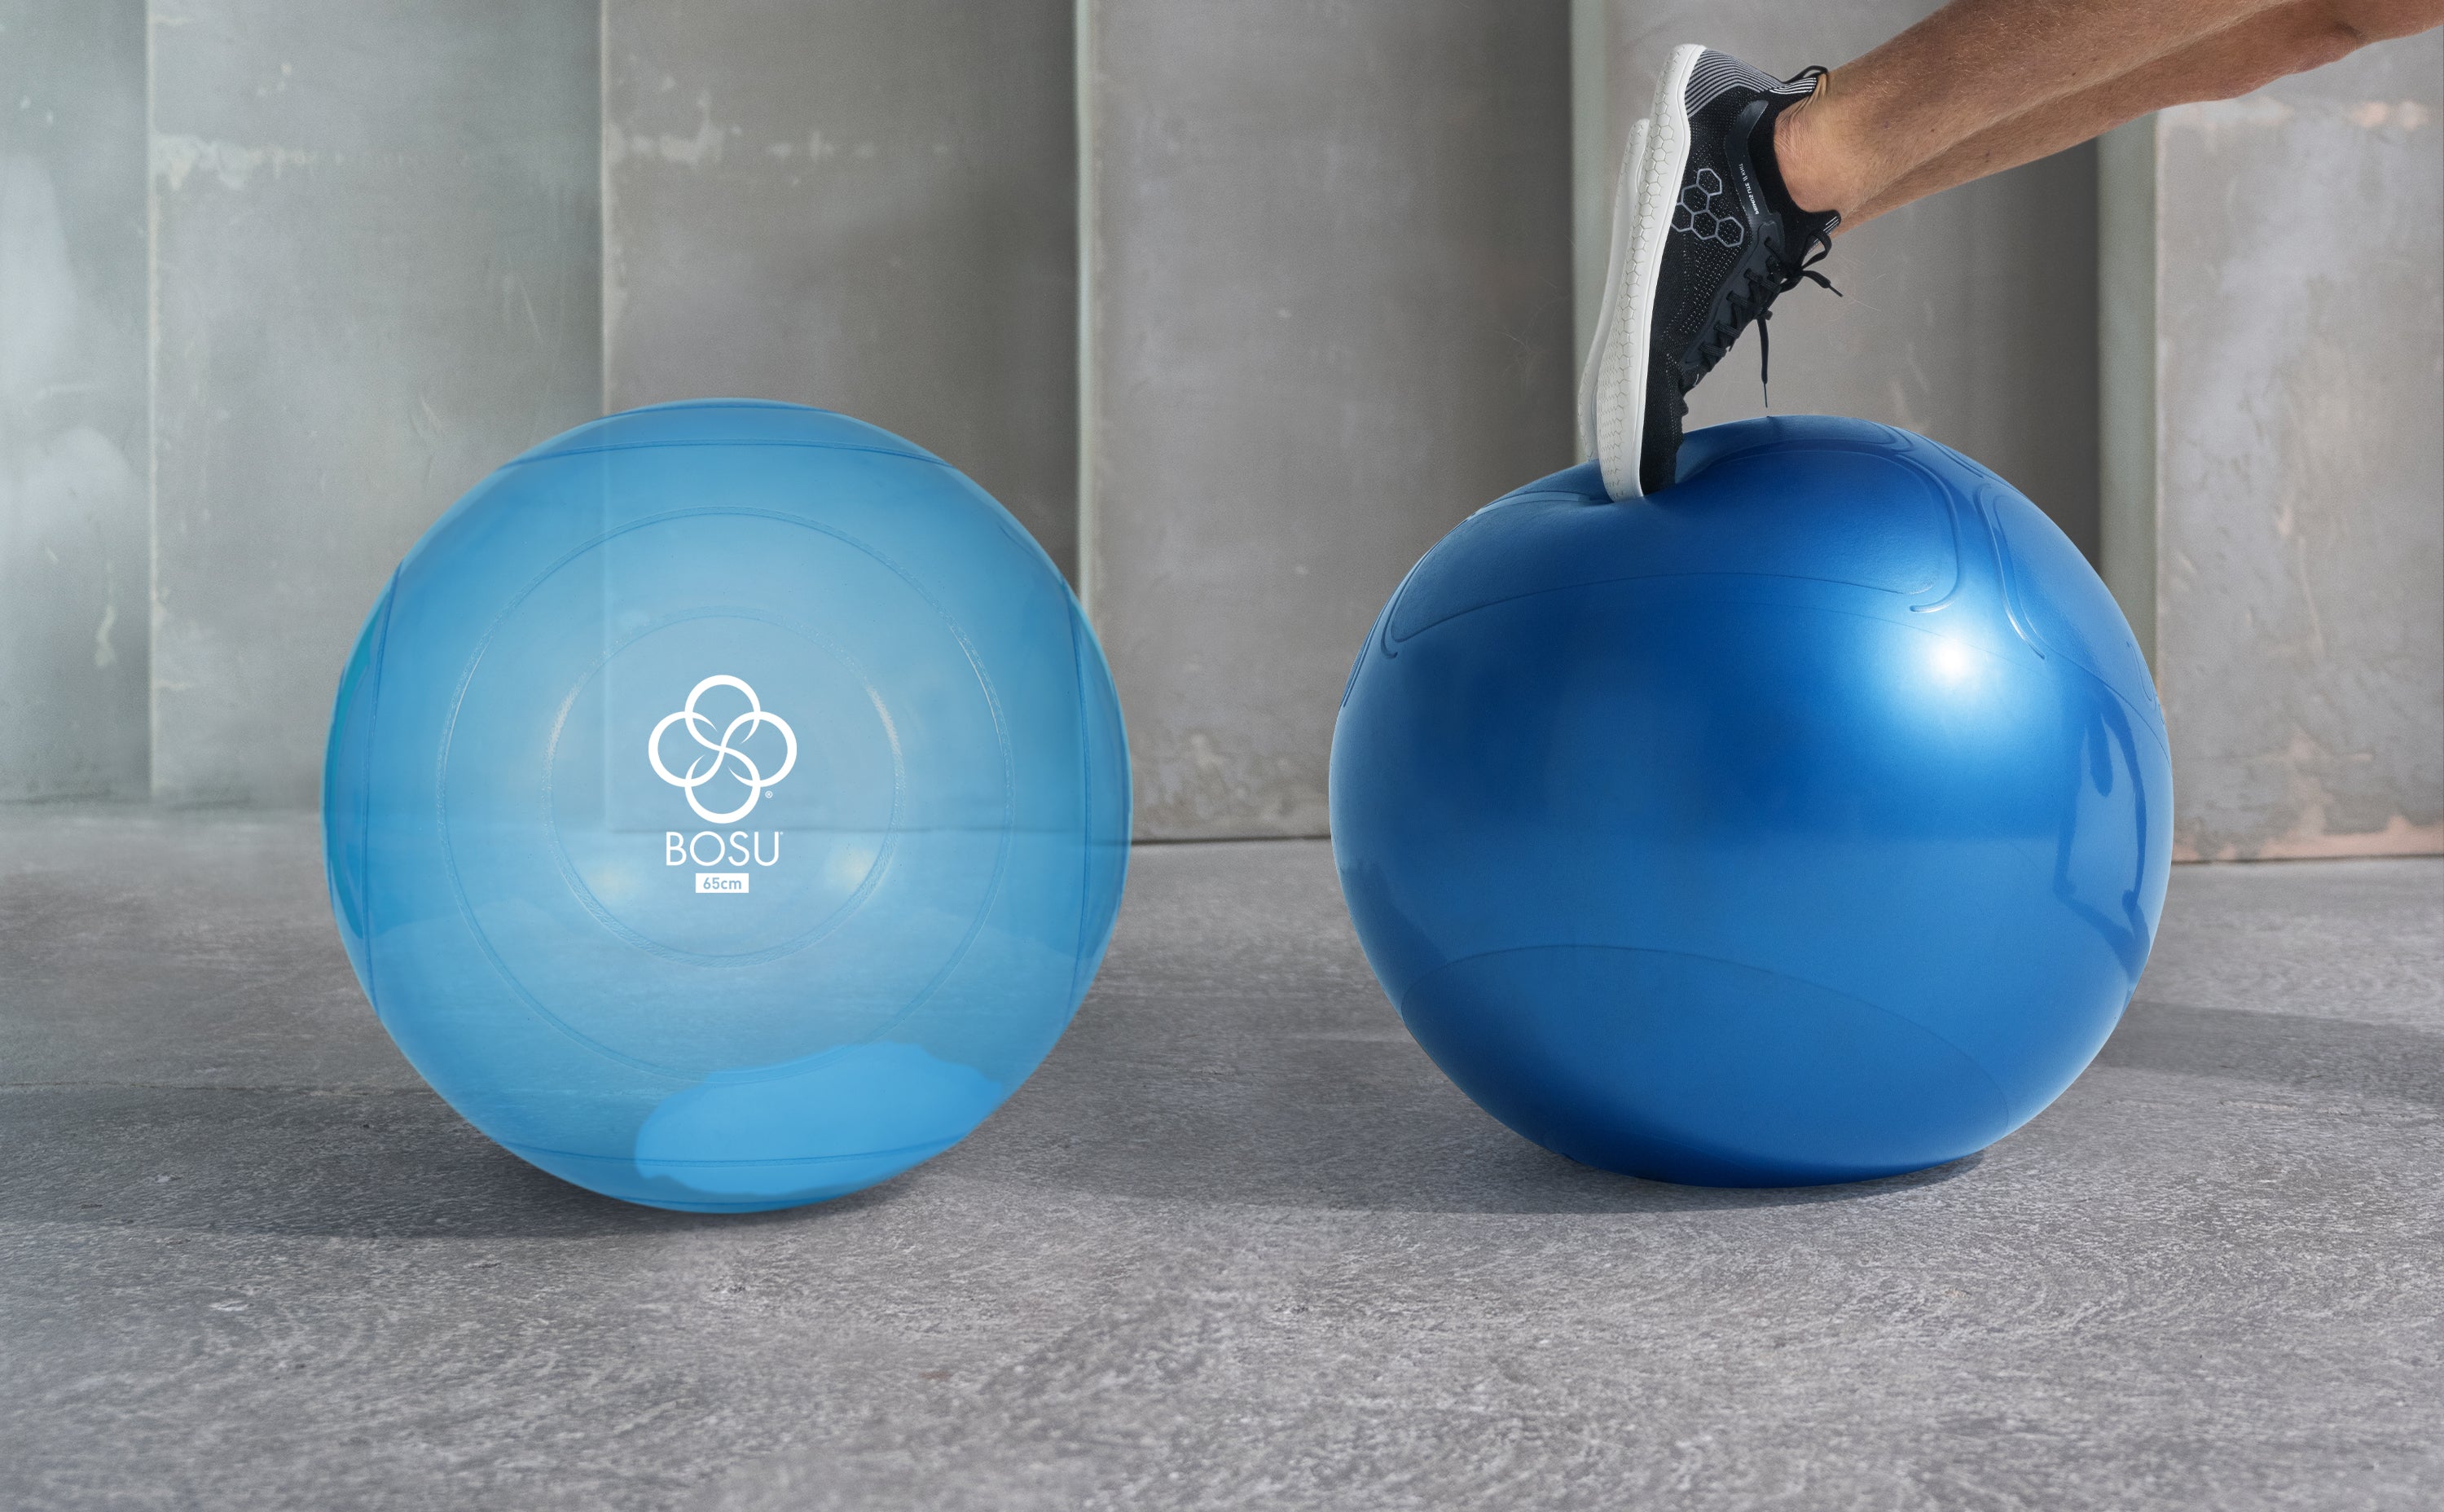
Explore and compare our various balance trainers to discover which one is the best fit for your unique fitness needs and goals.
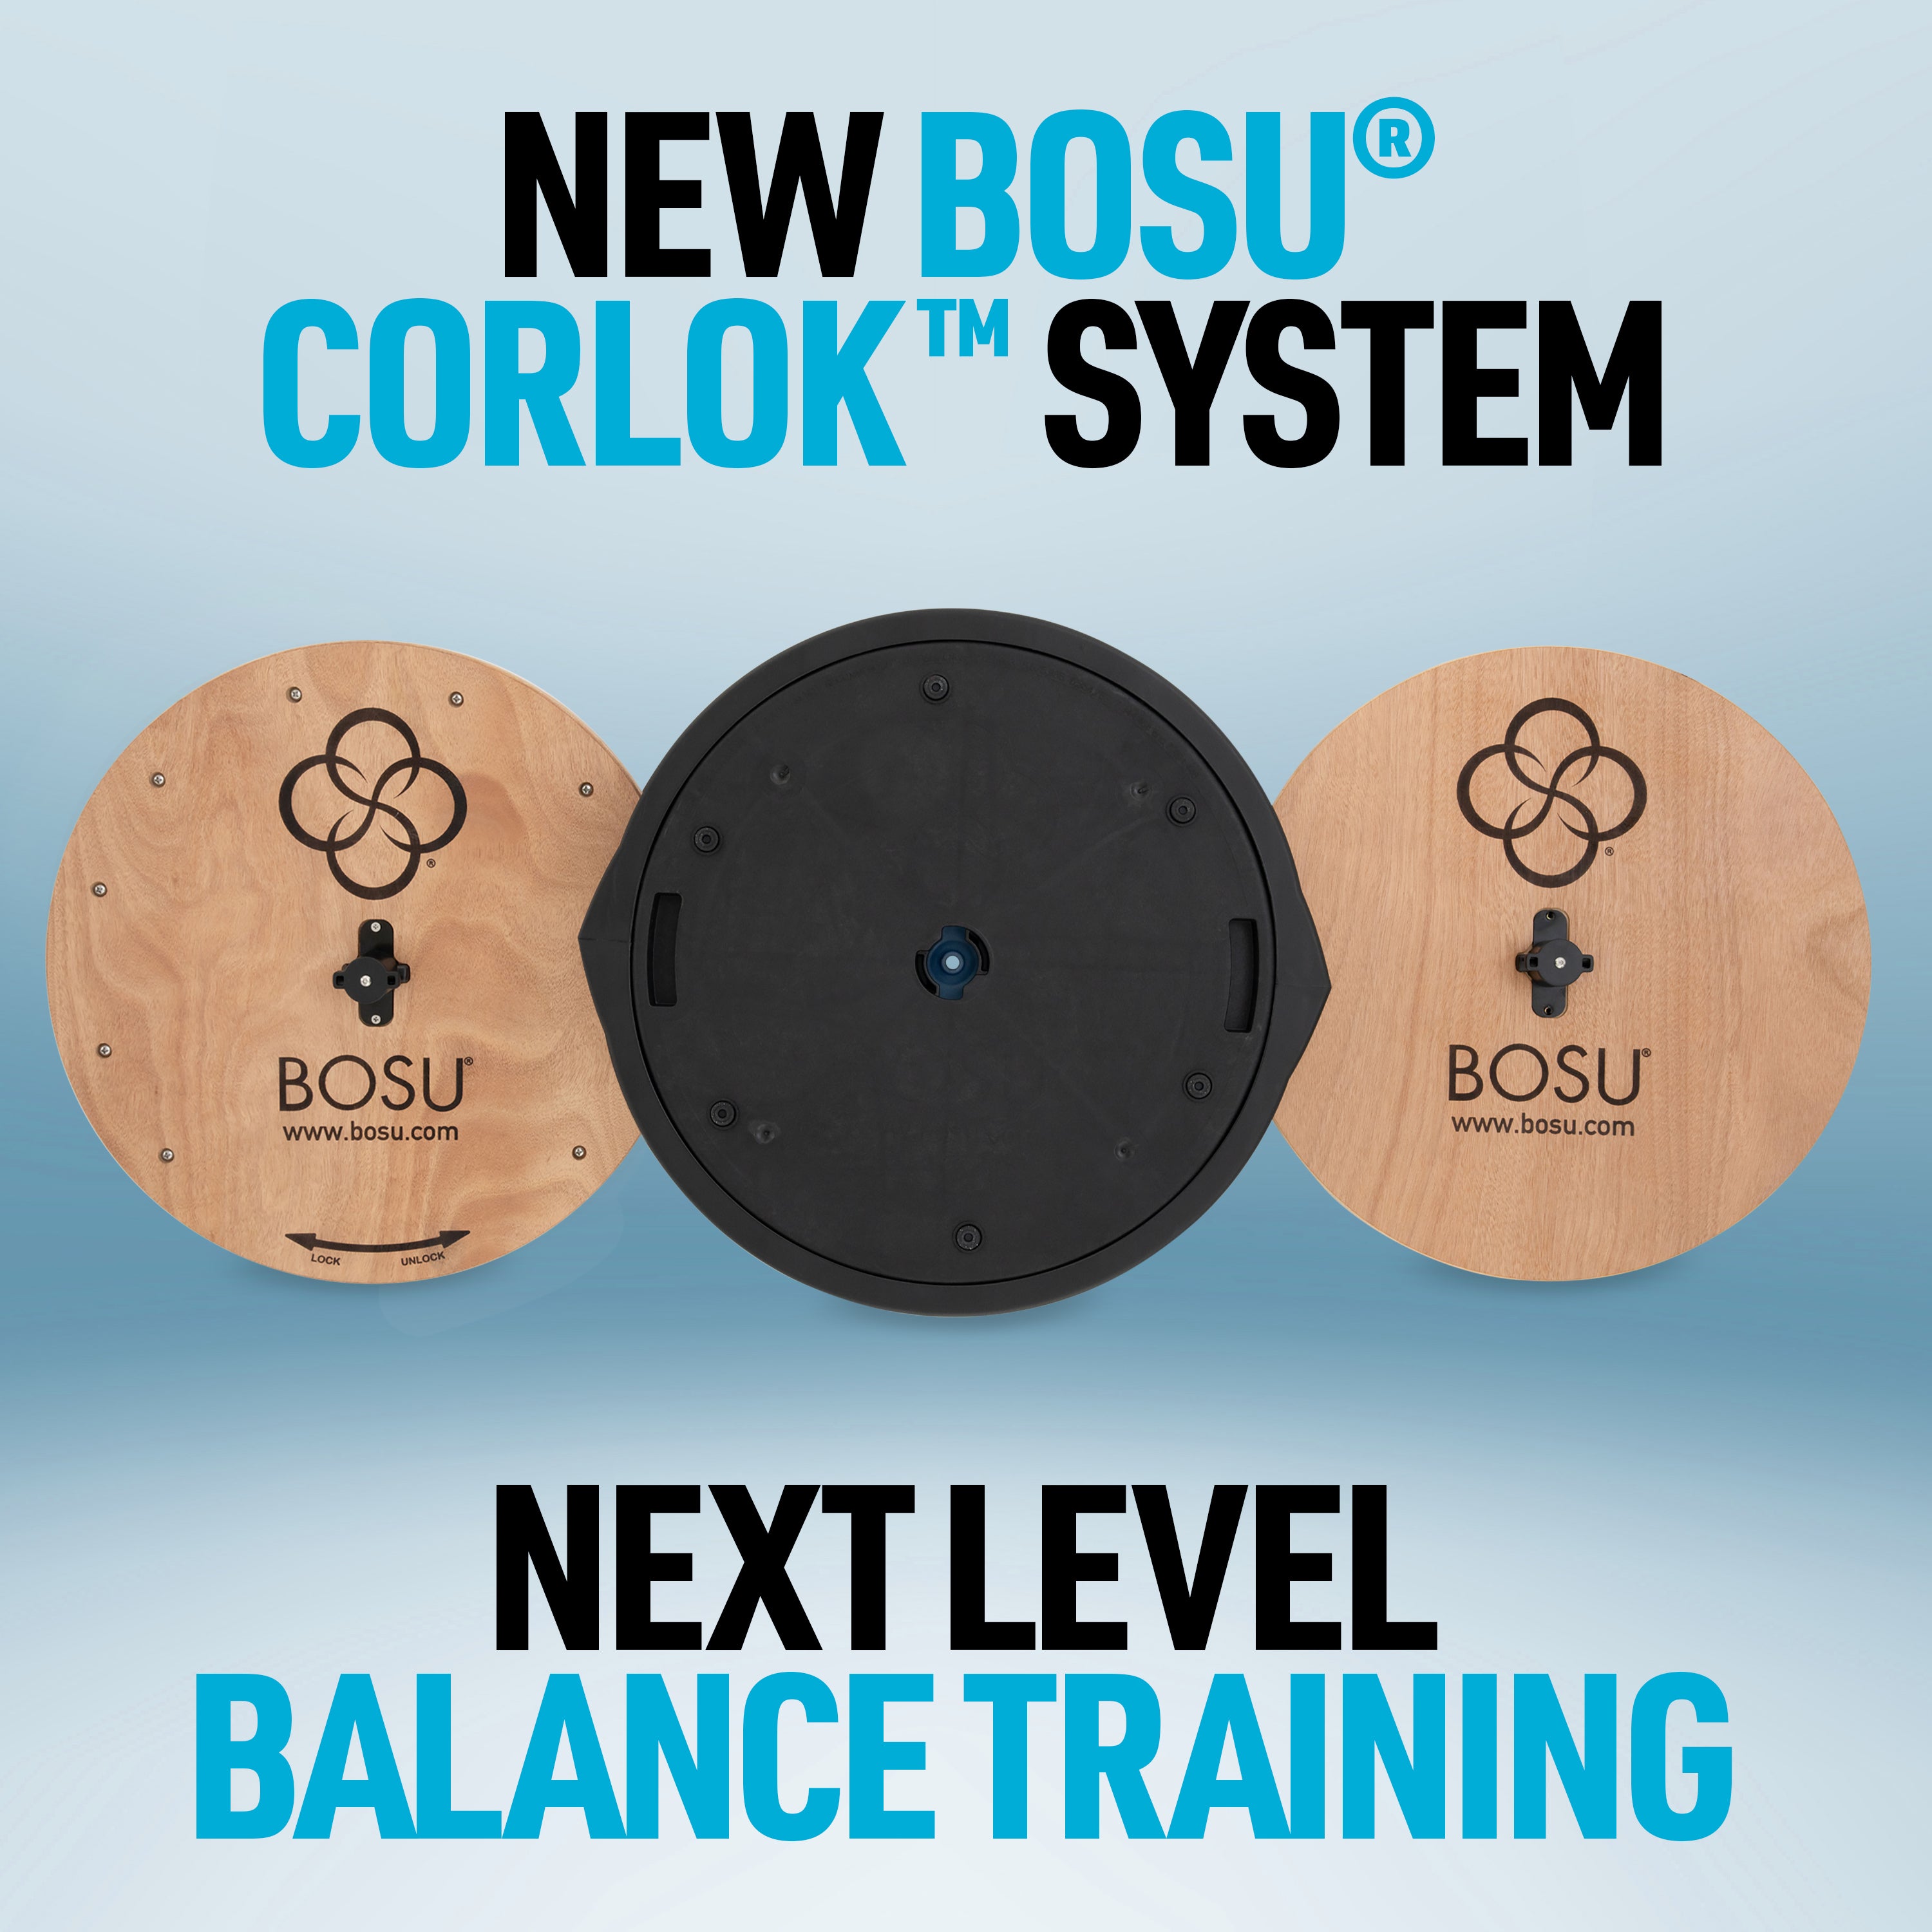
balance trainers
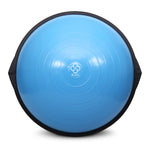
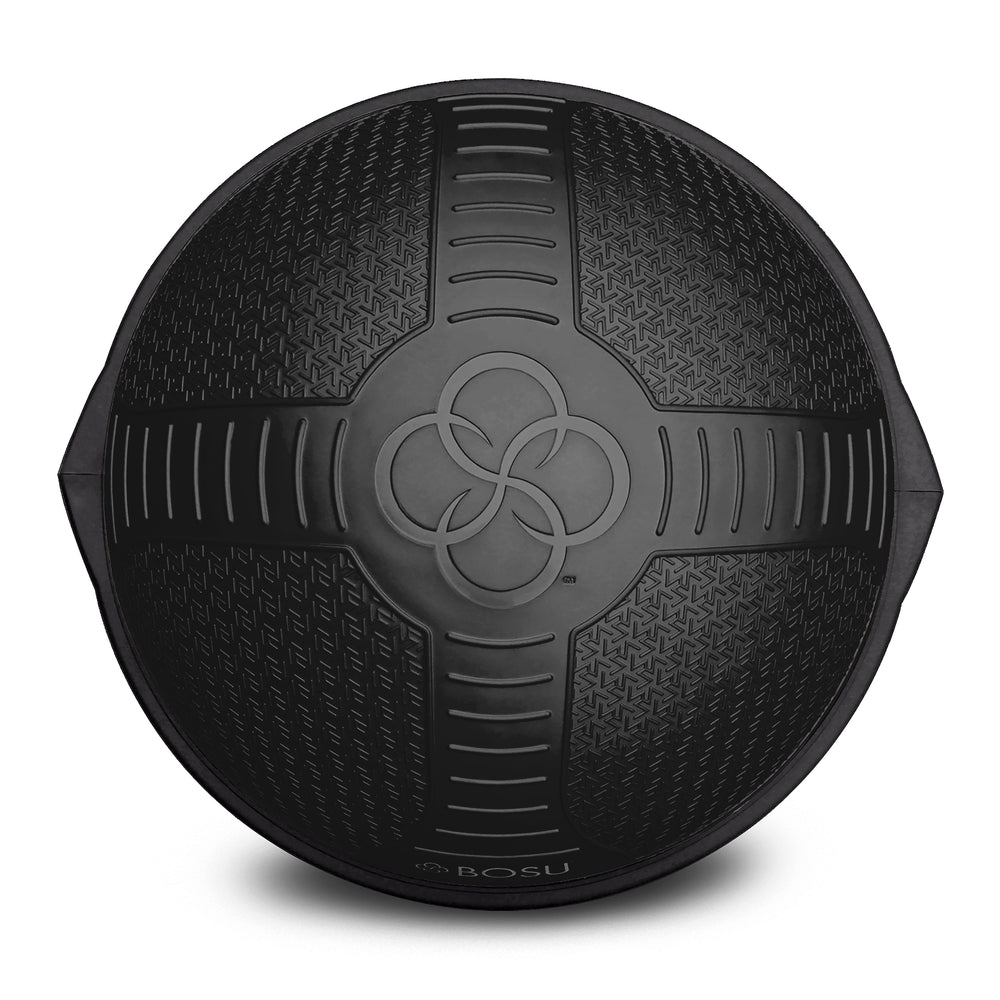
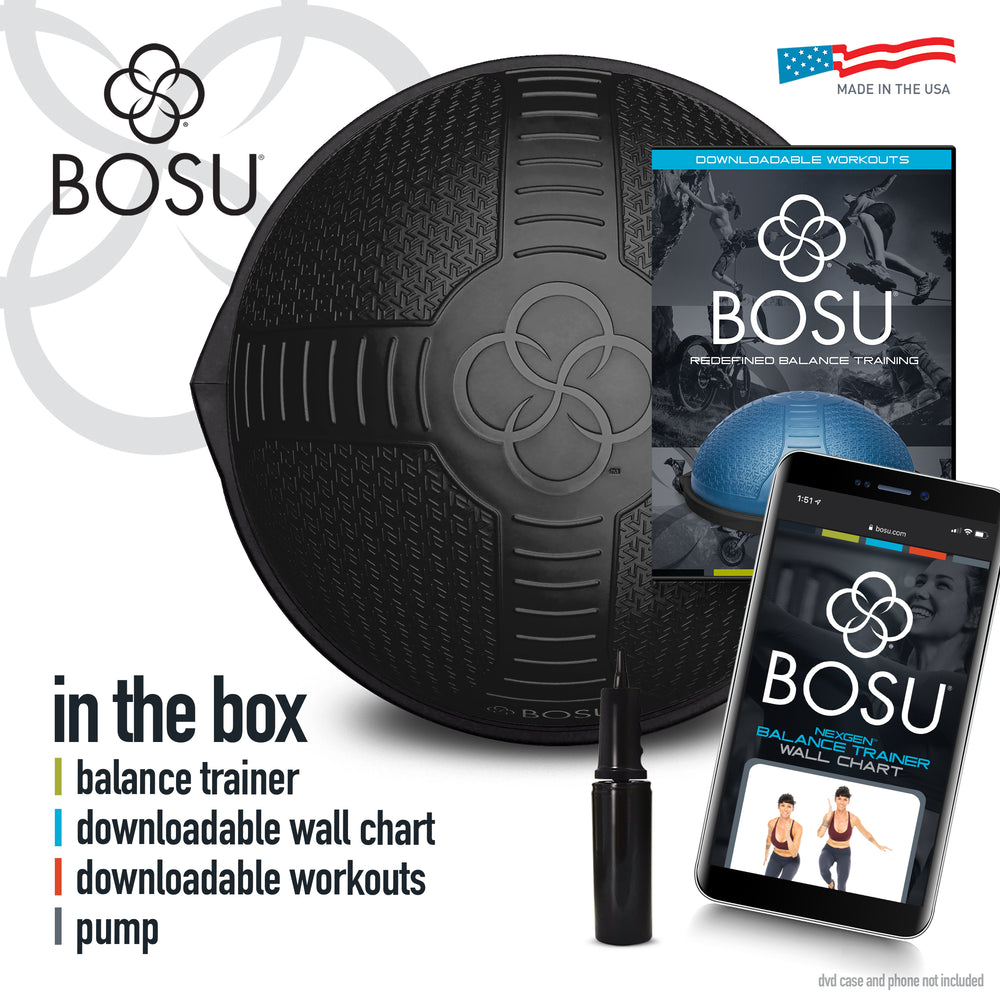
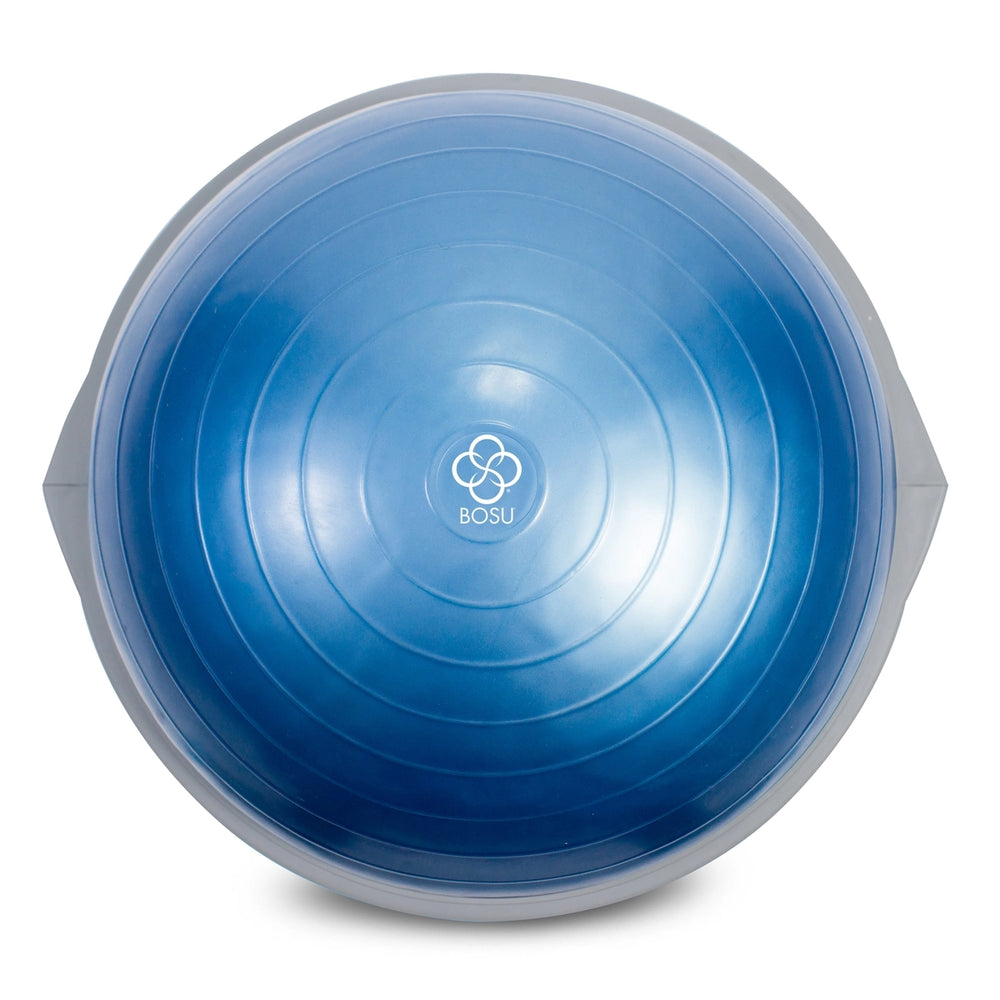
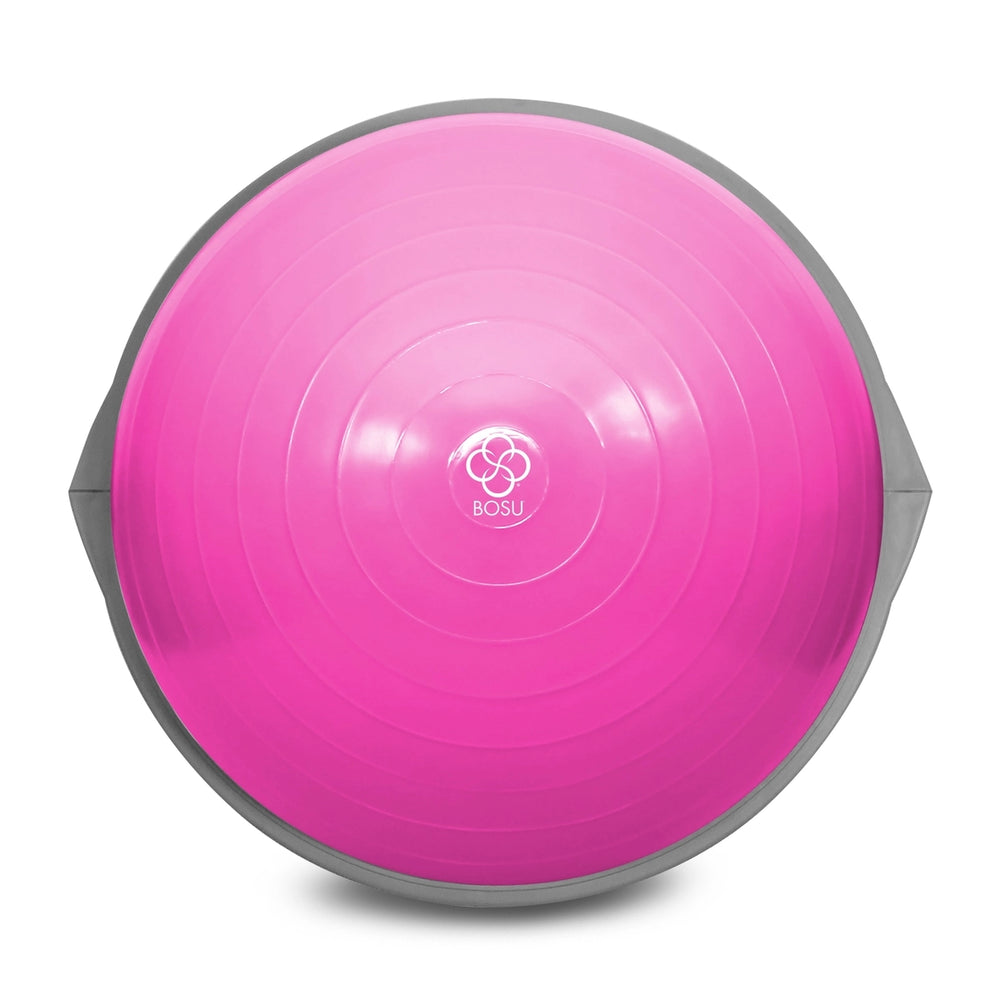
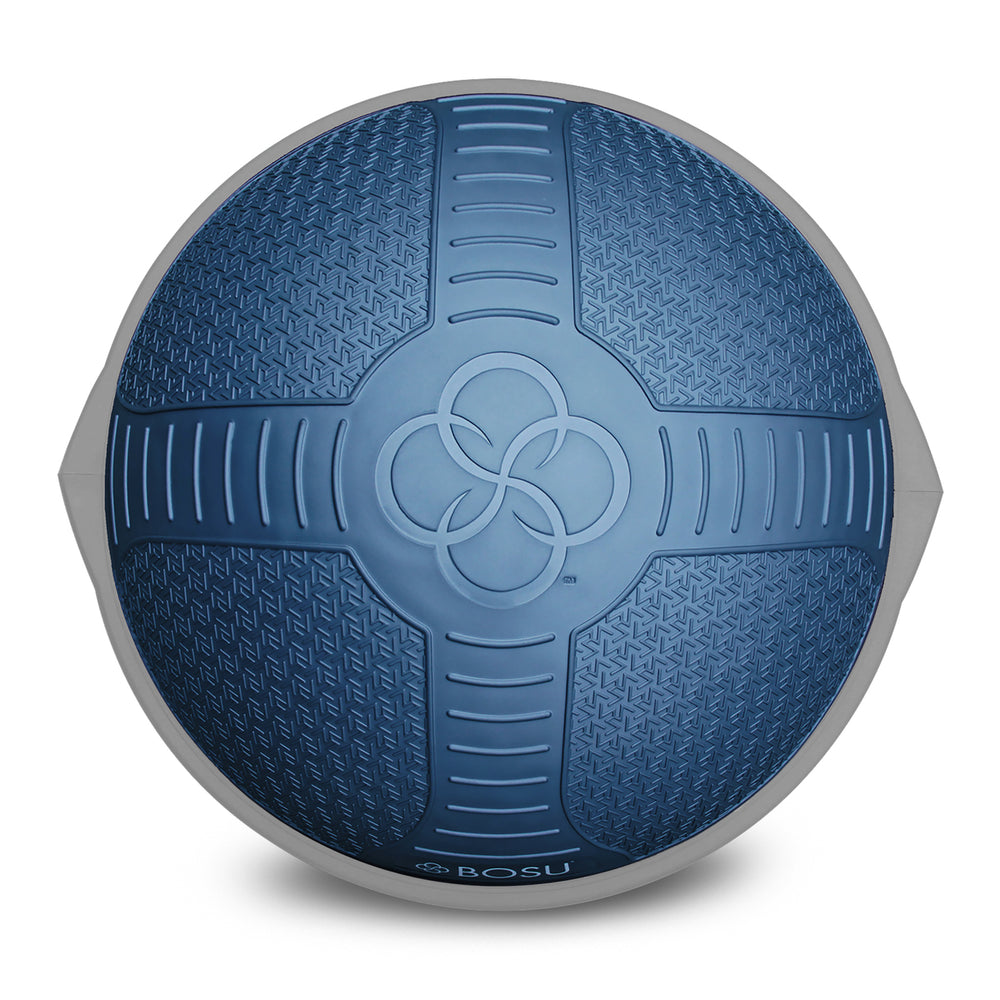
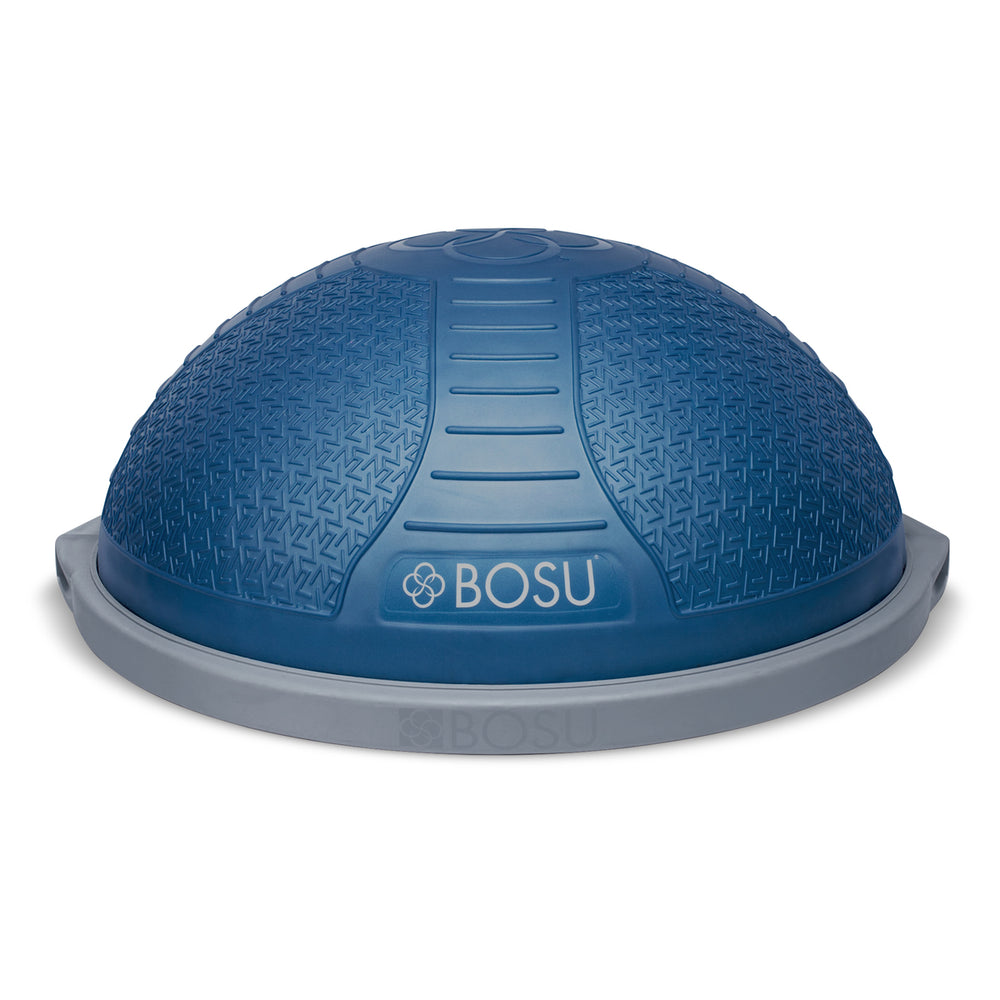
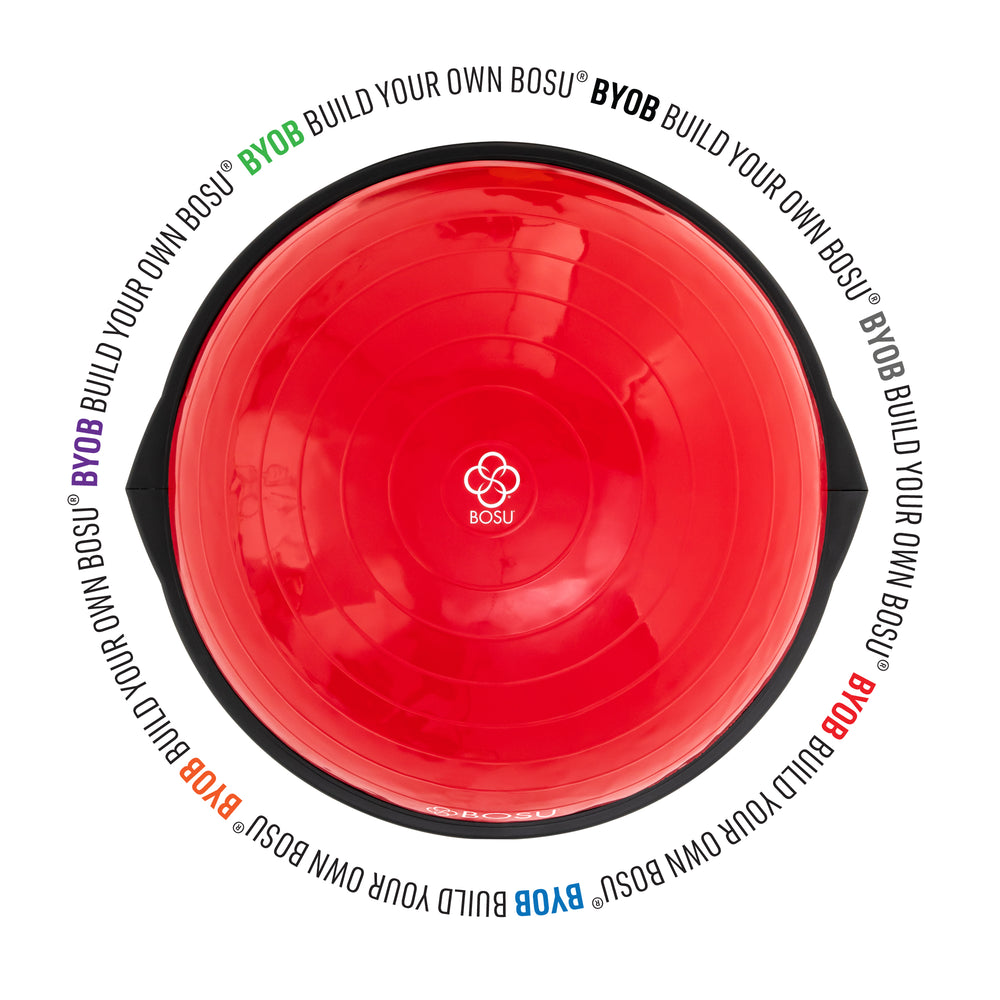
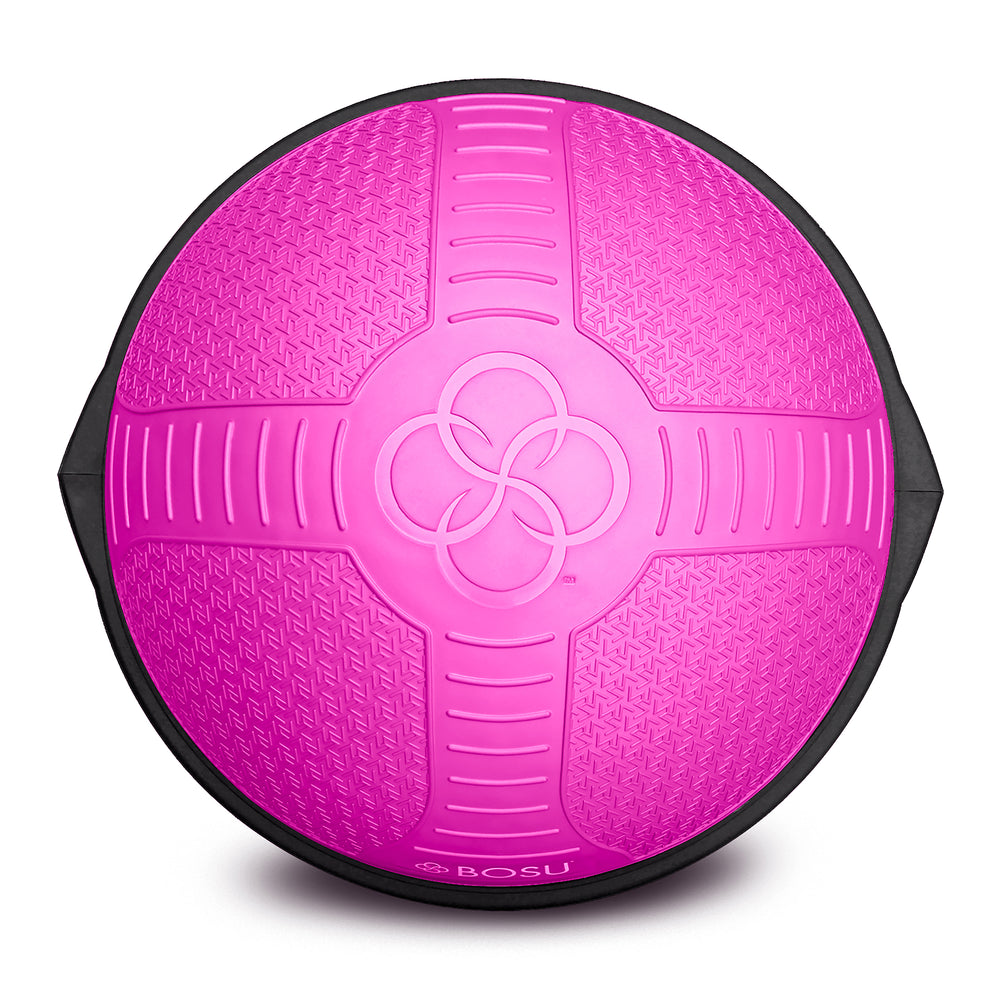
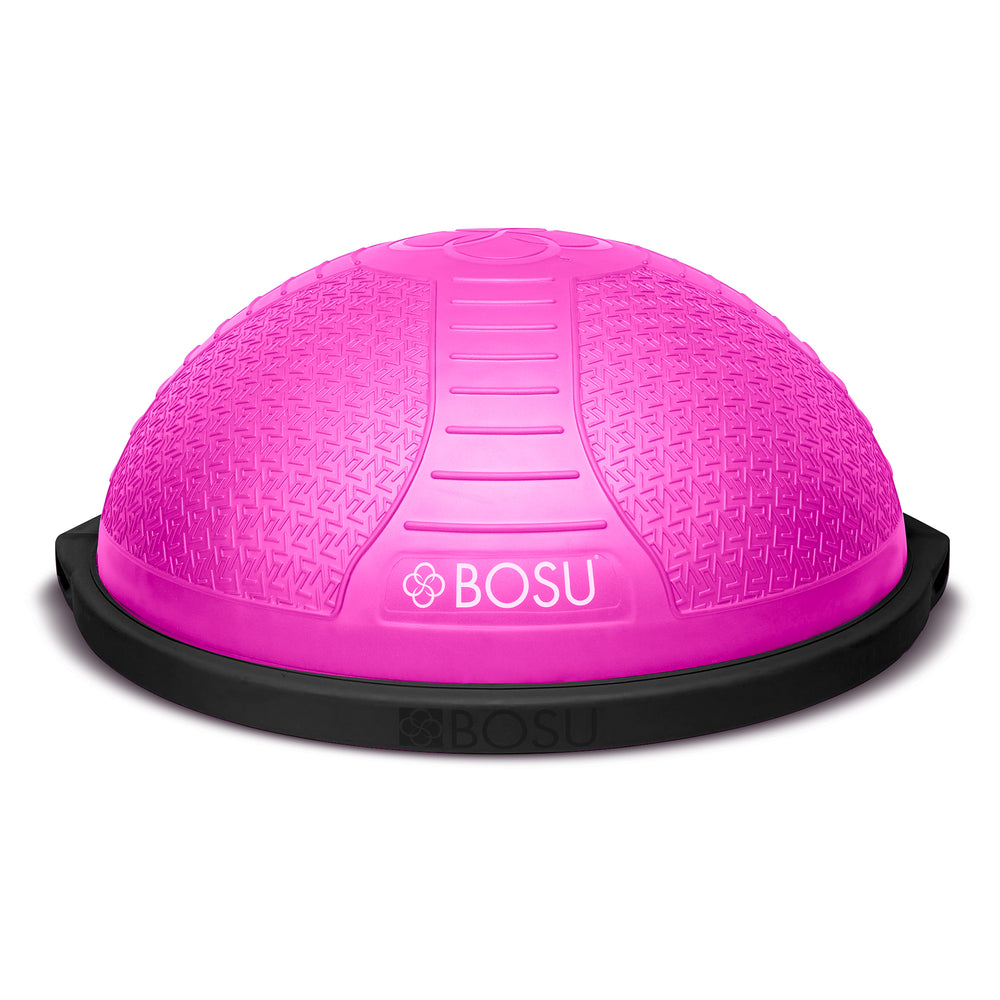
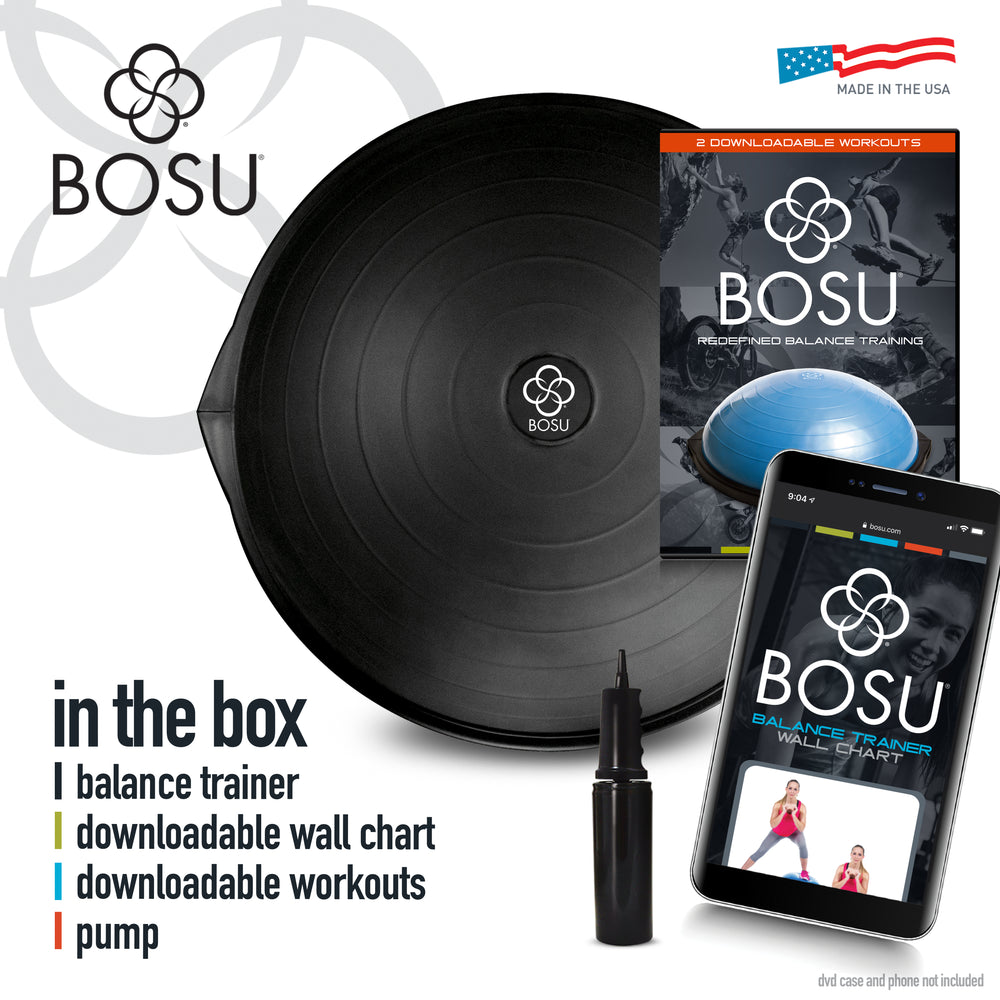
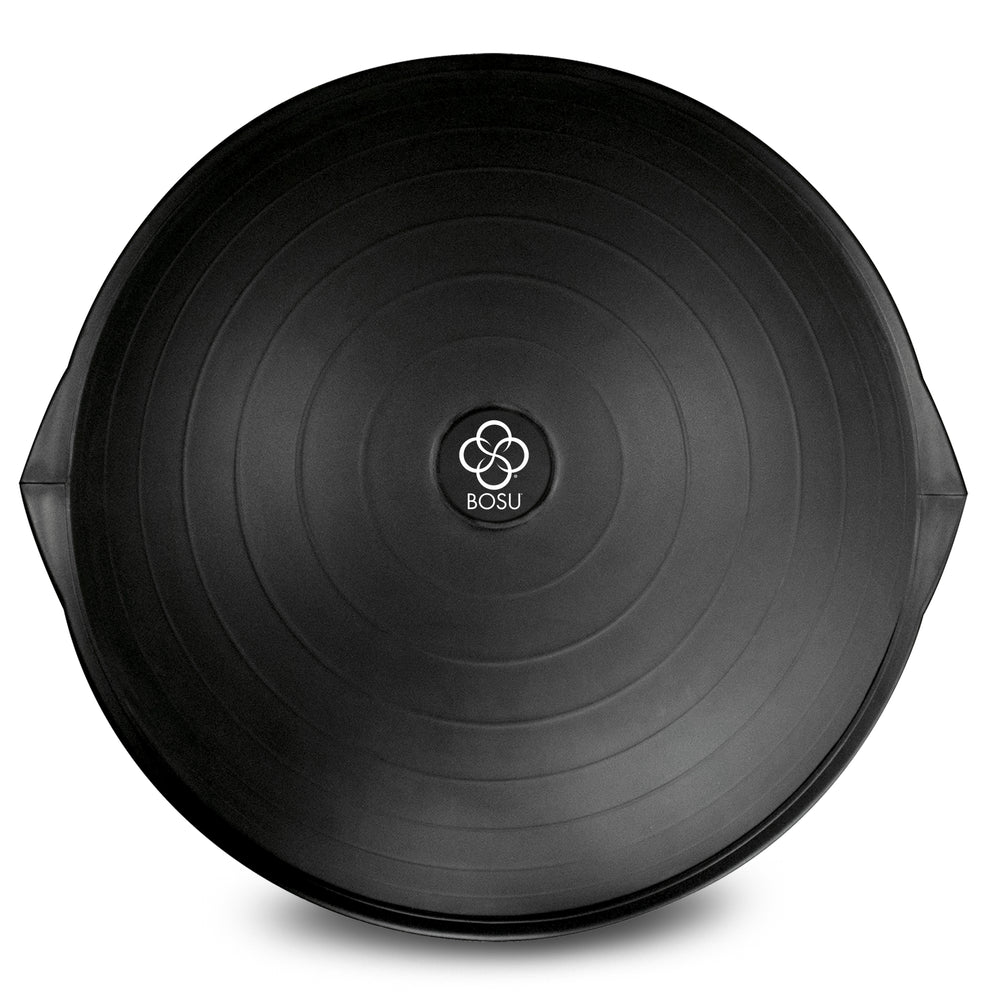
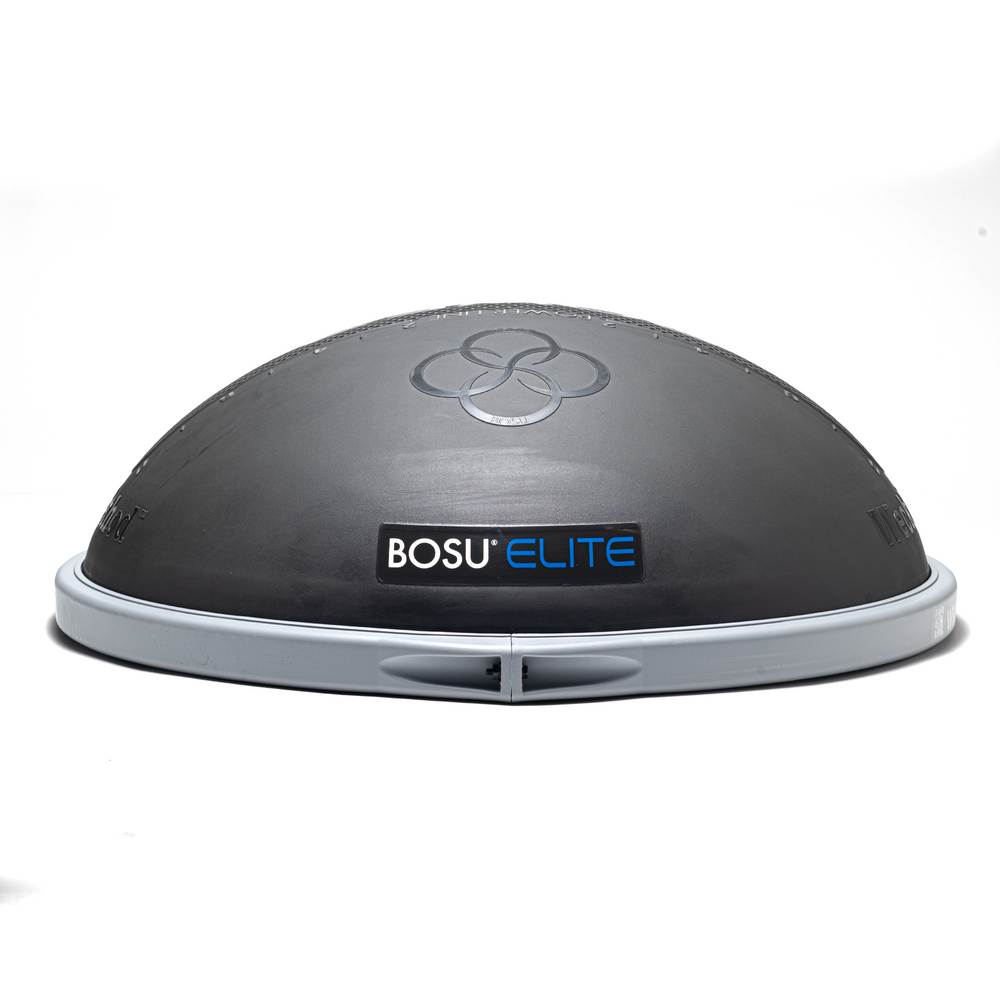
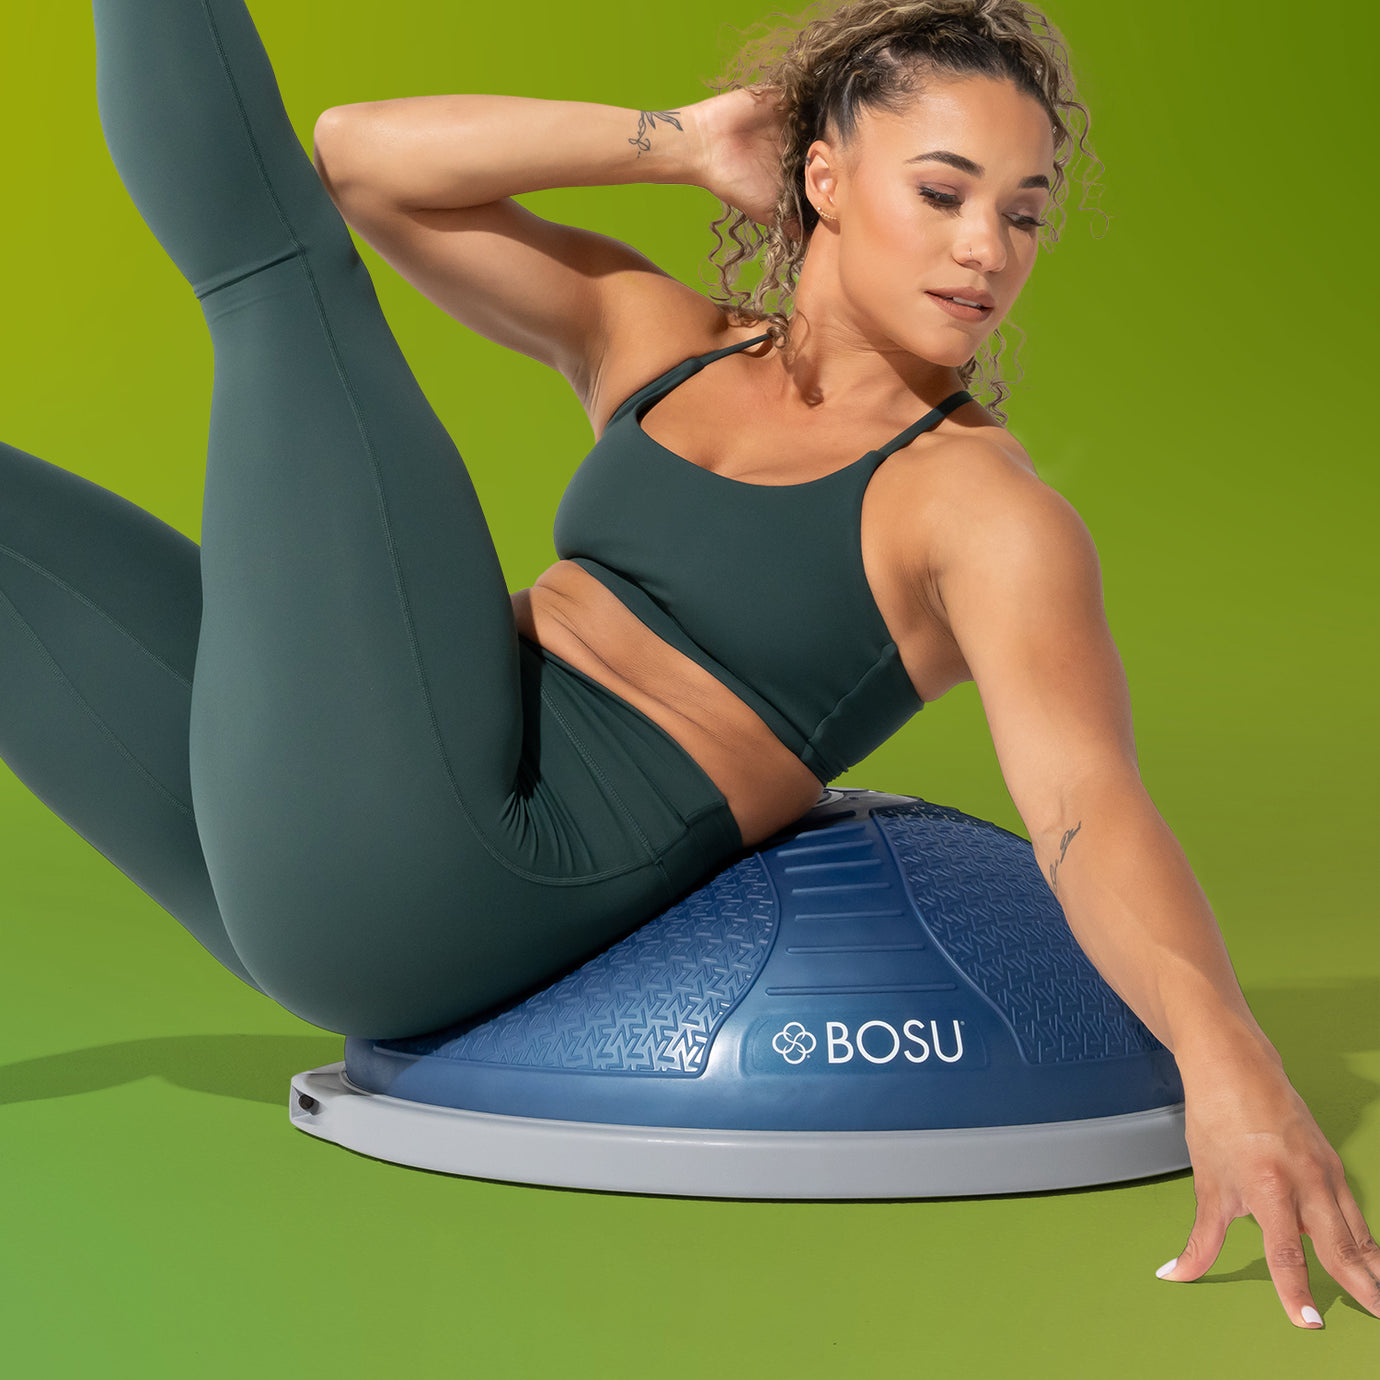
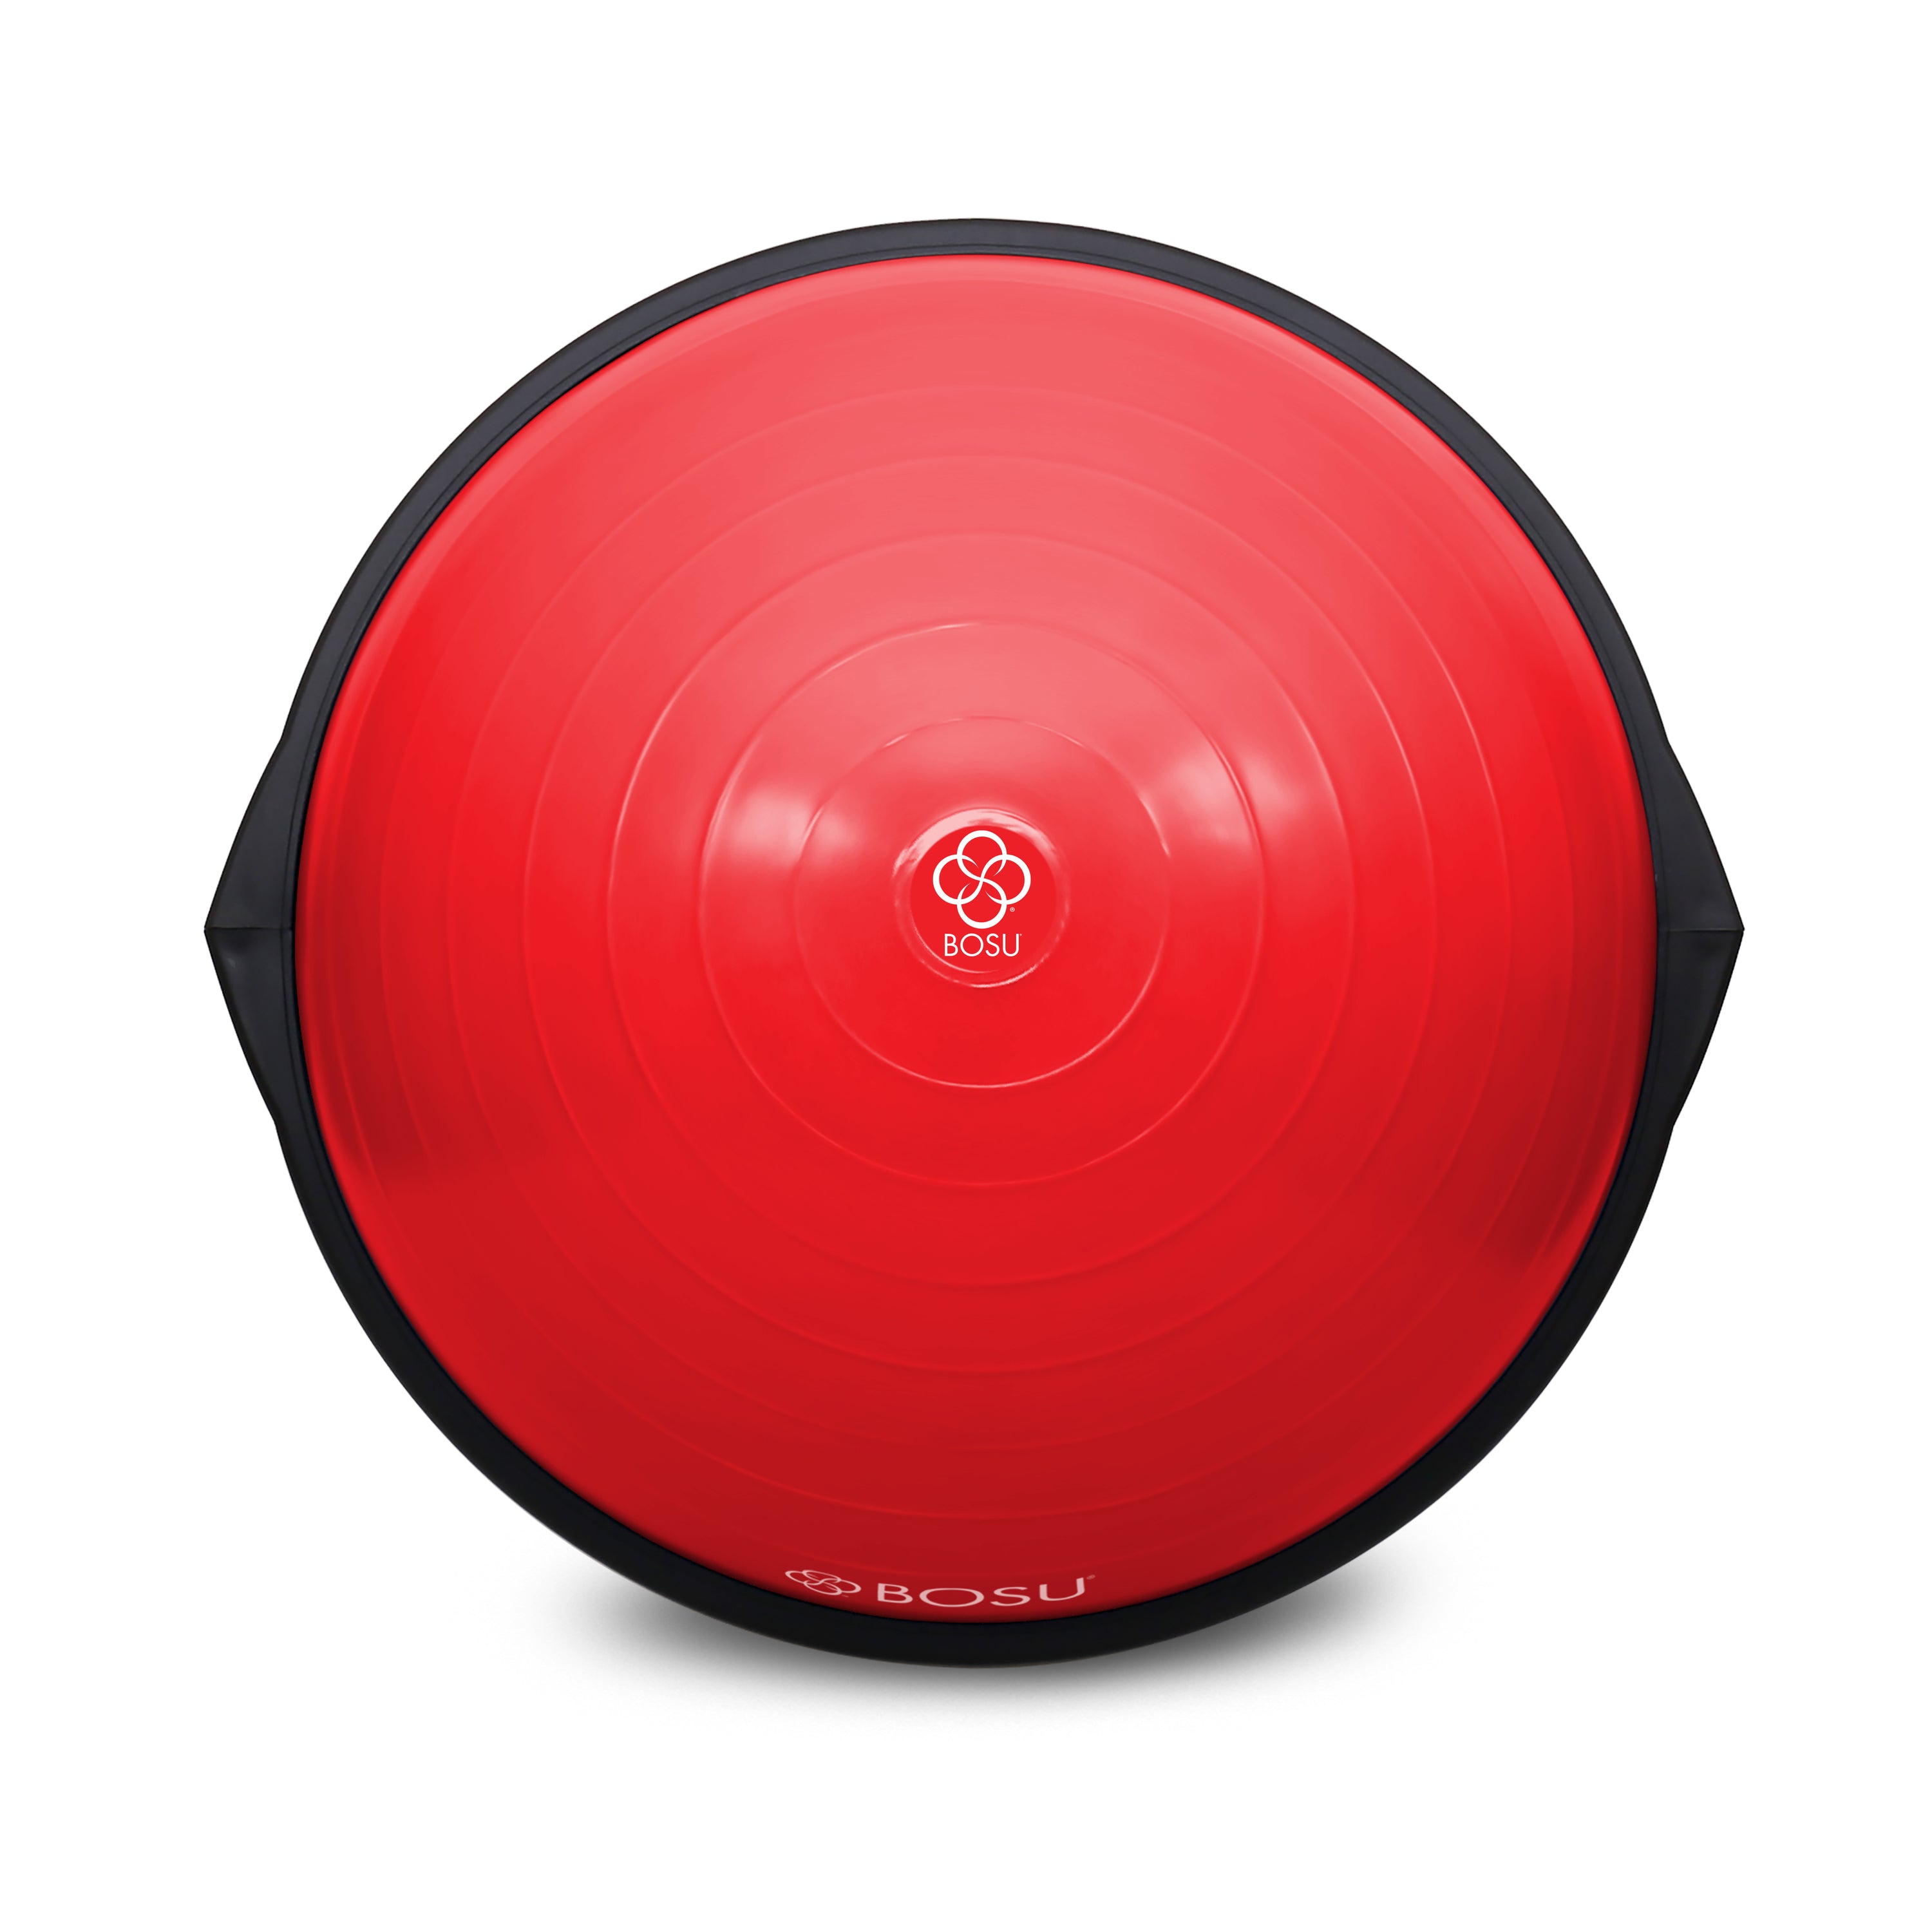
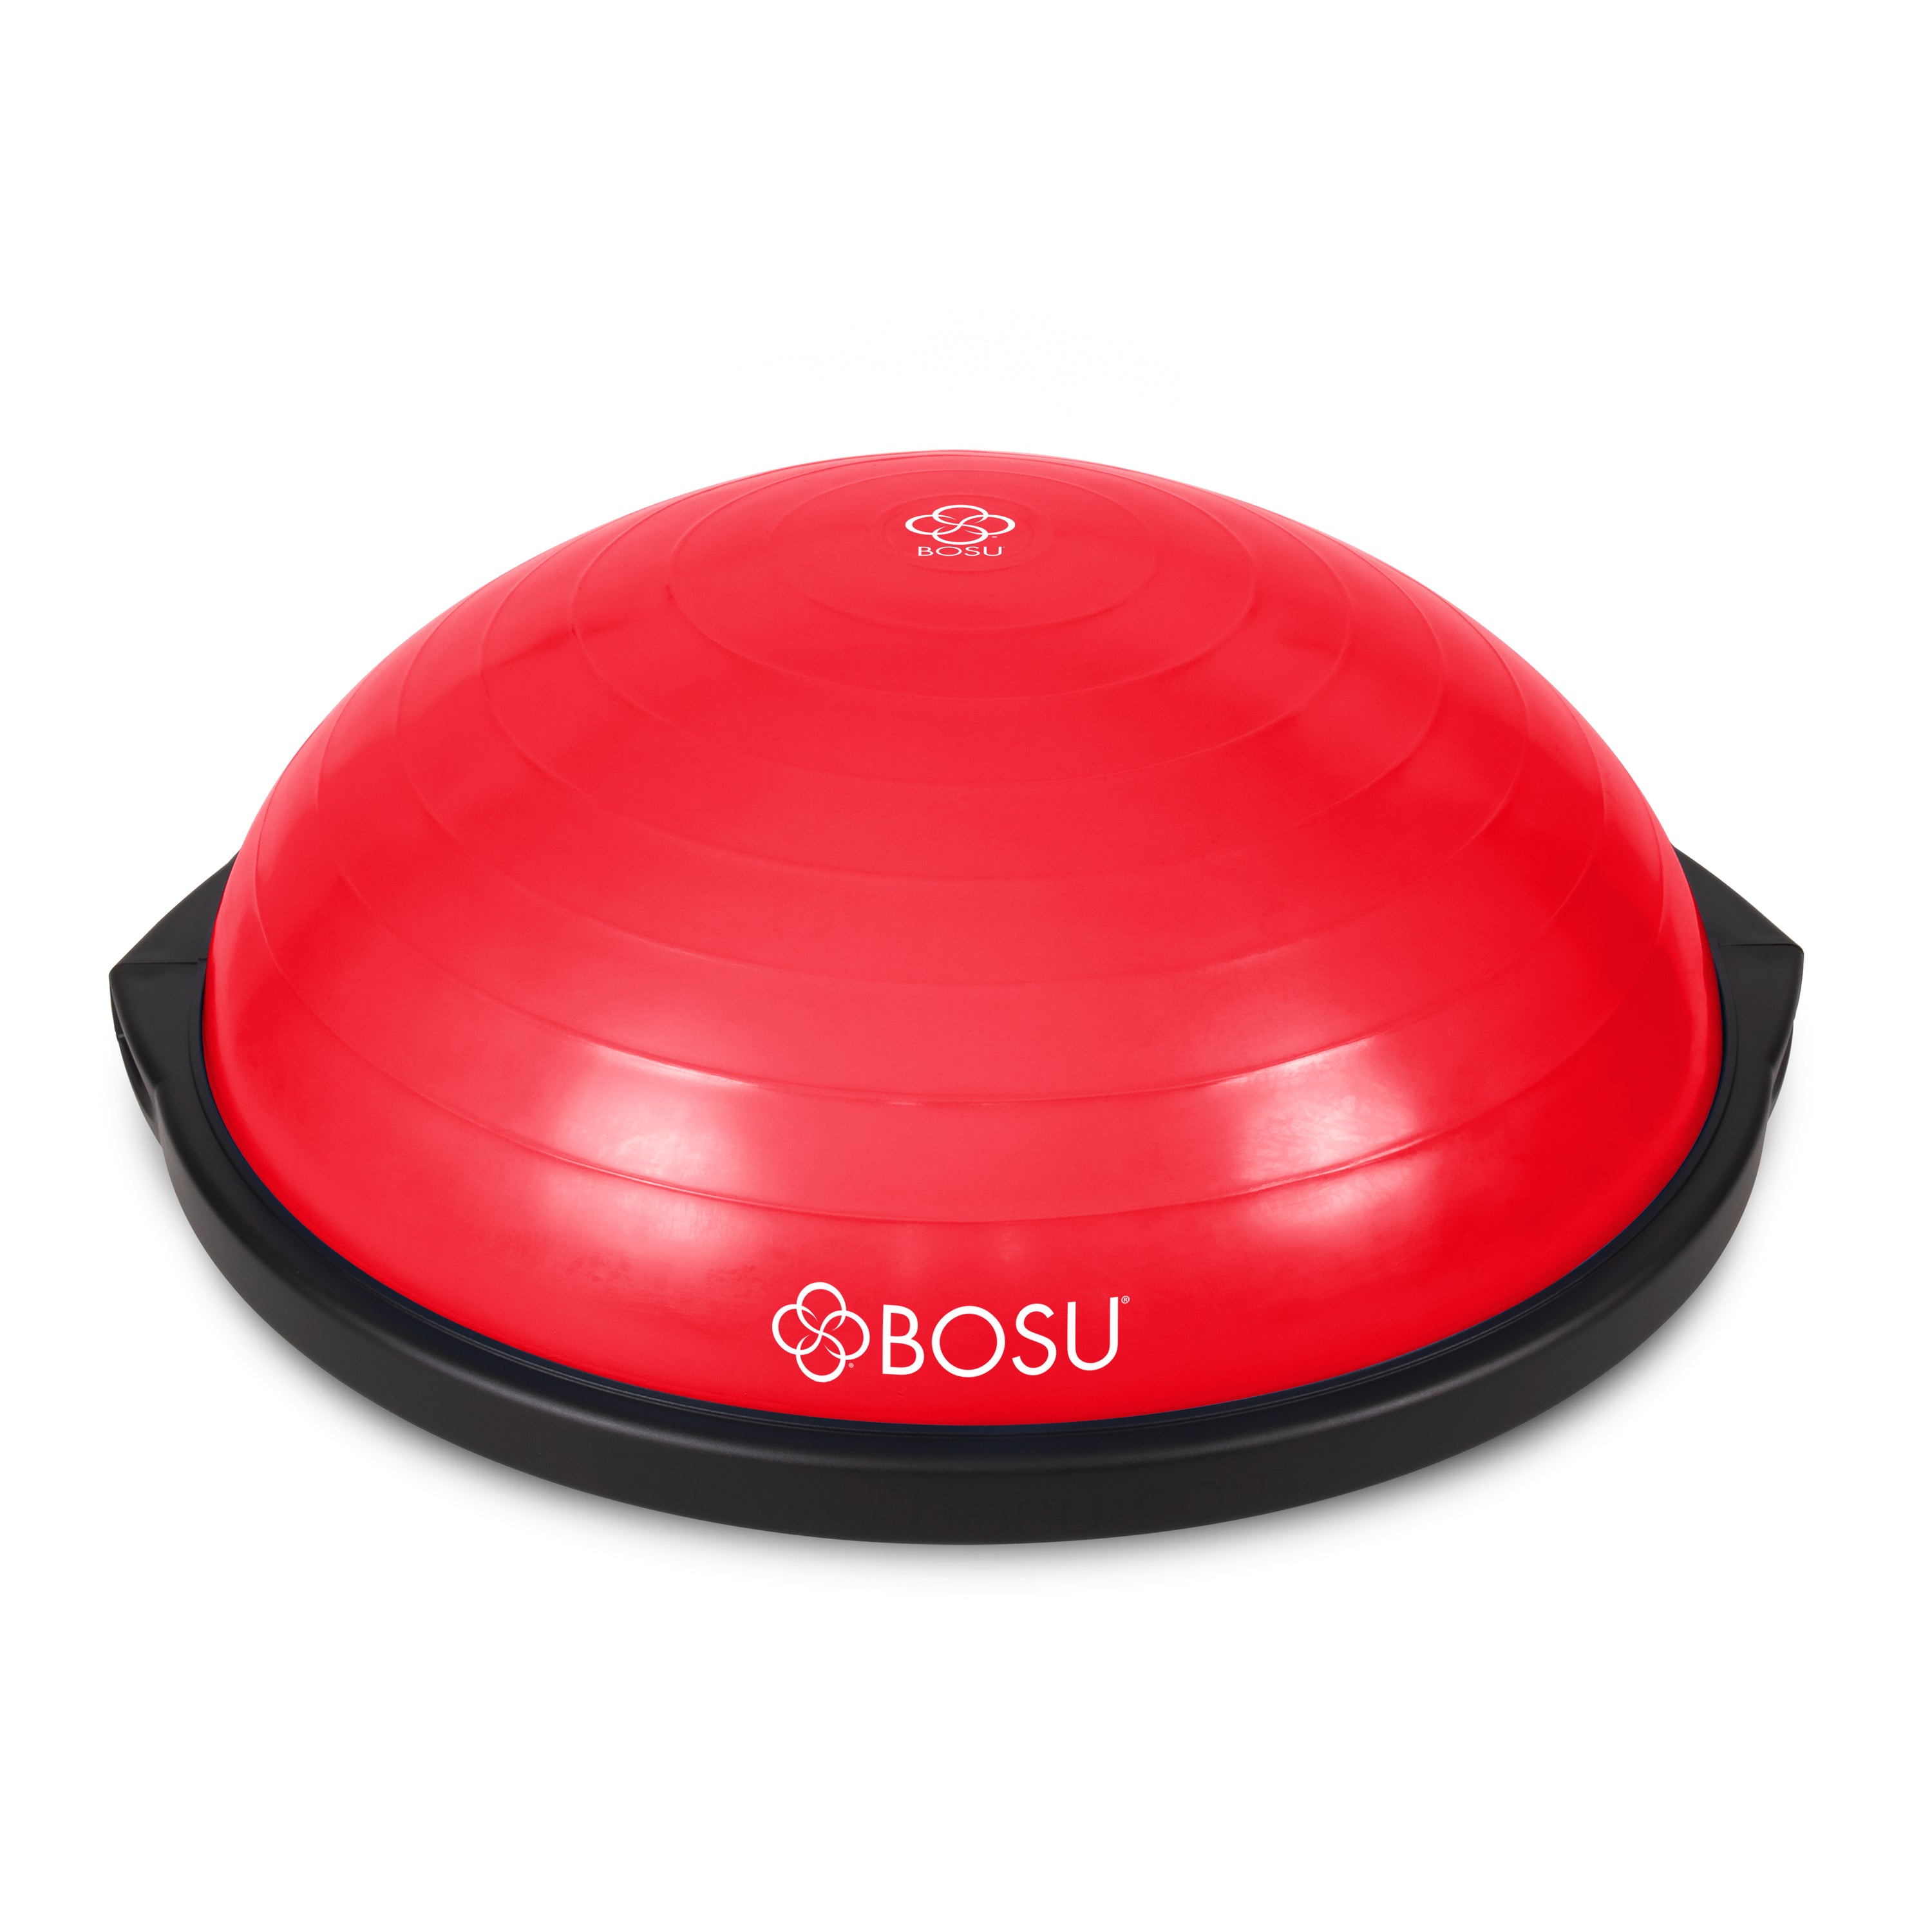
SHOP the original bosu® ball - manufactured in the usa
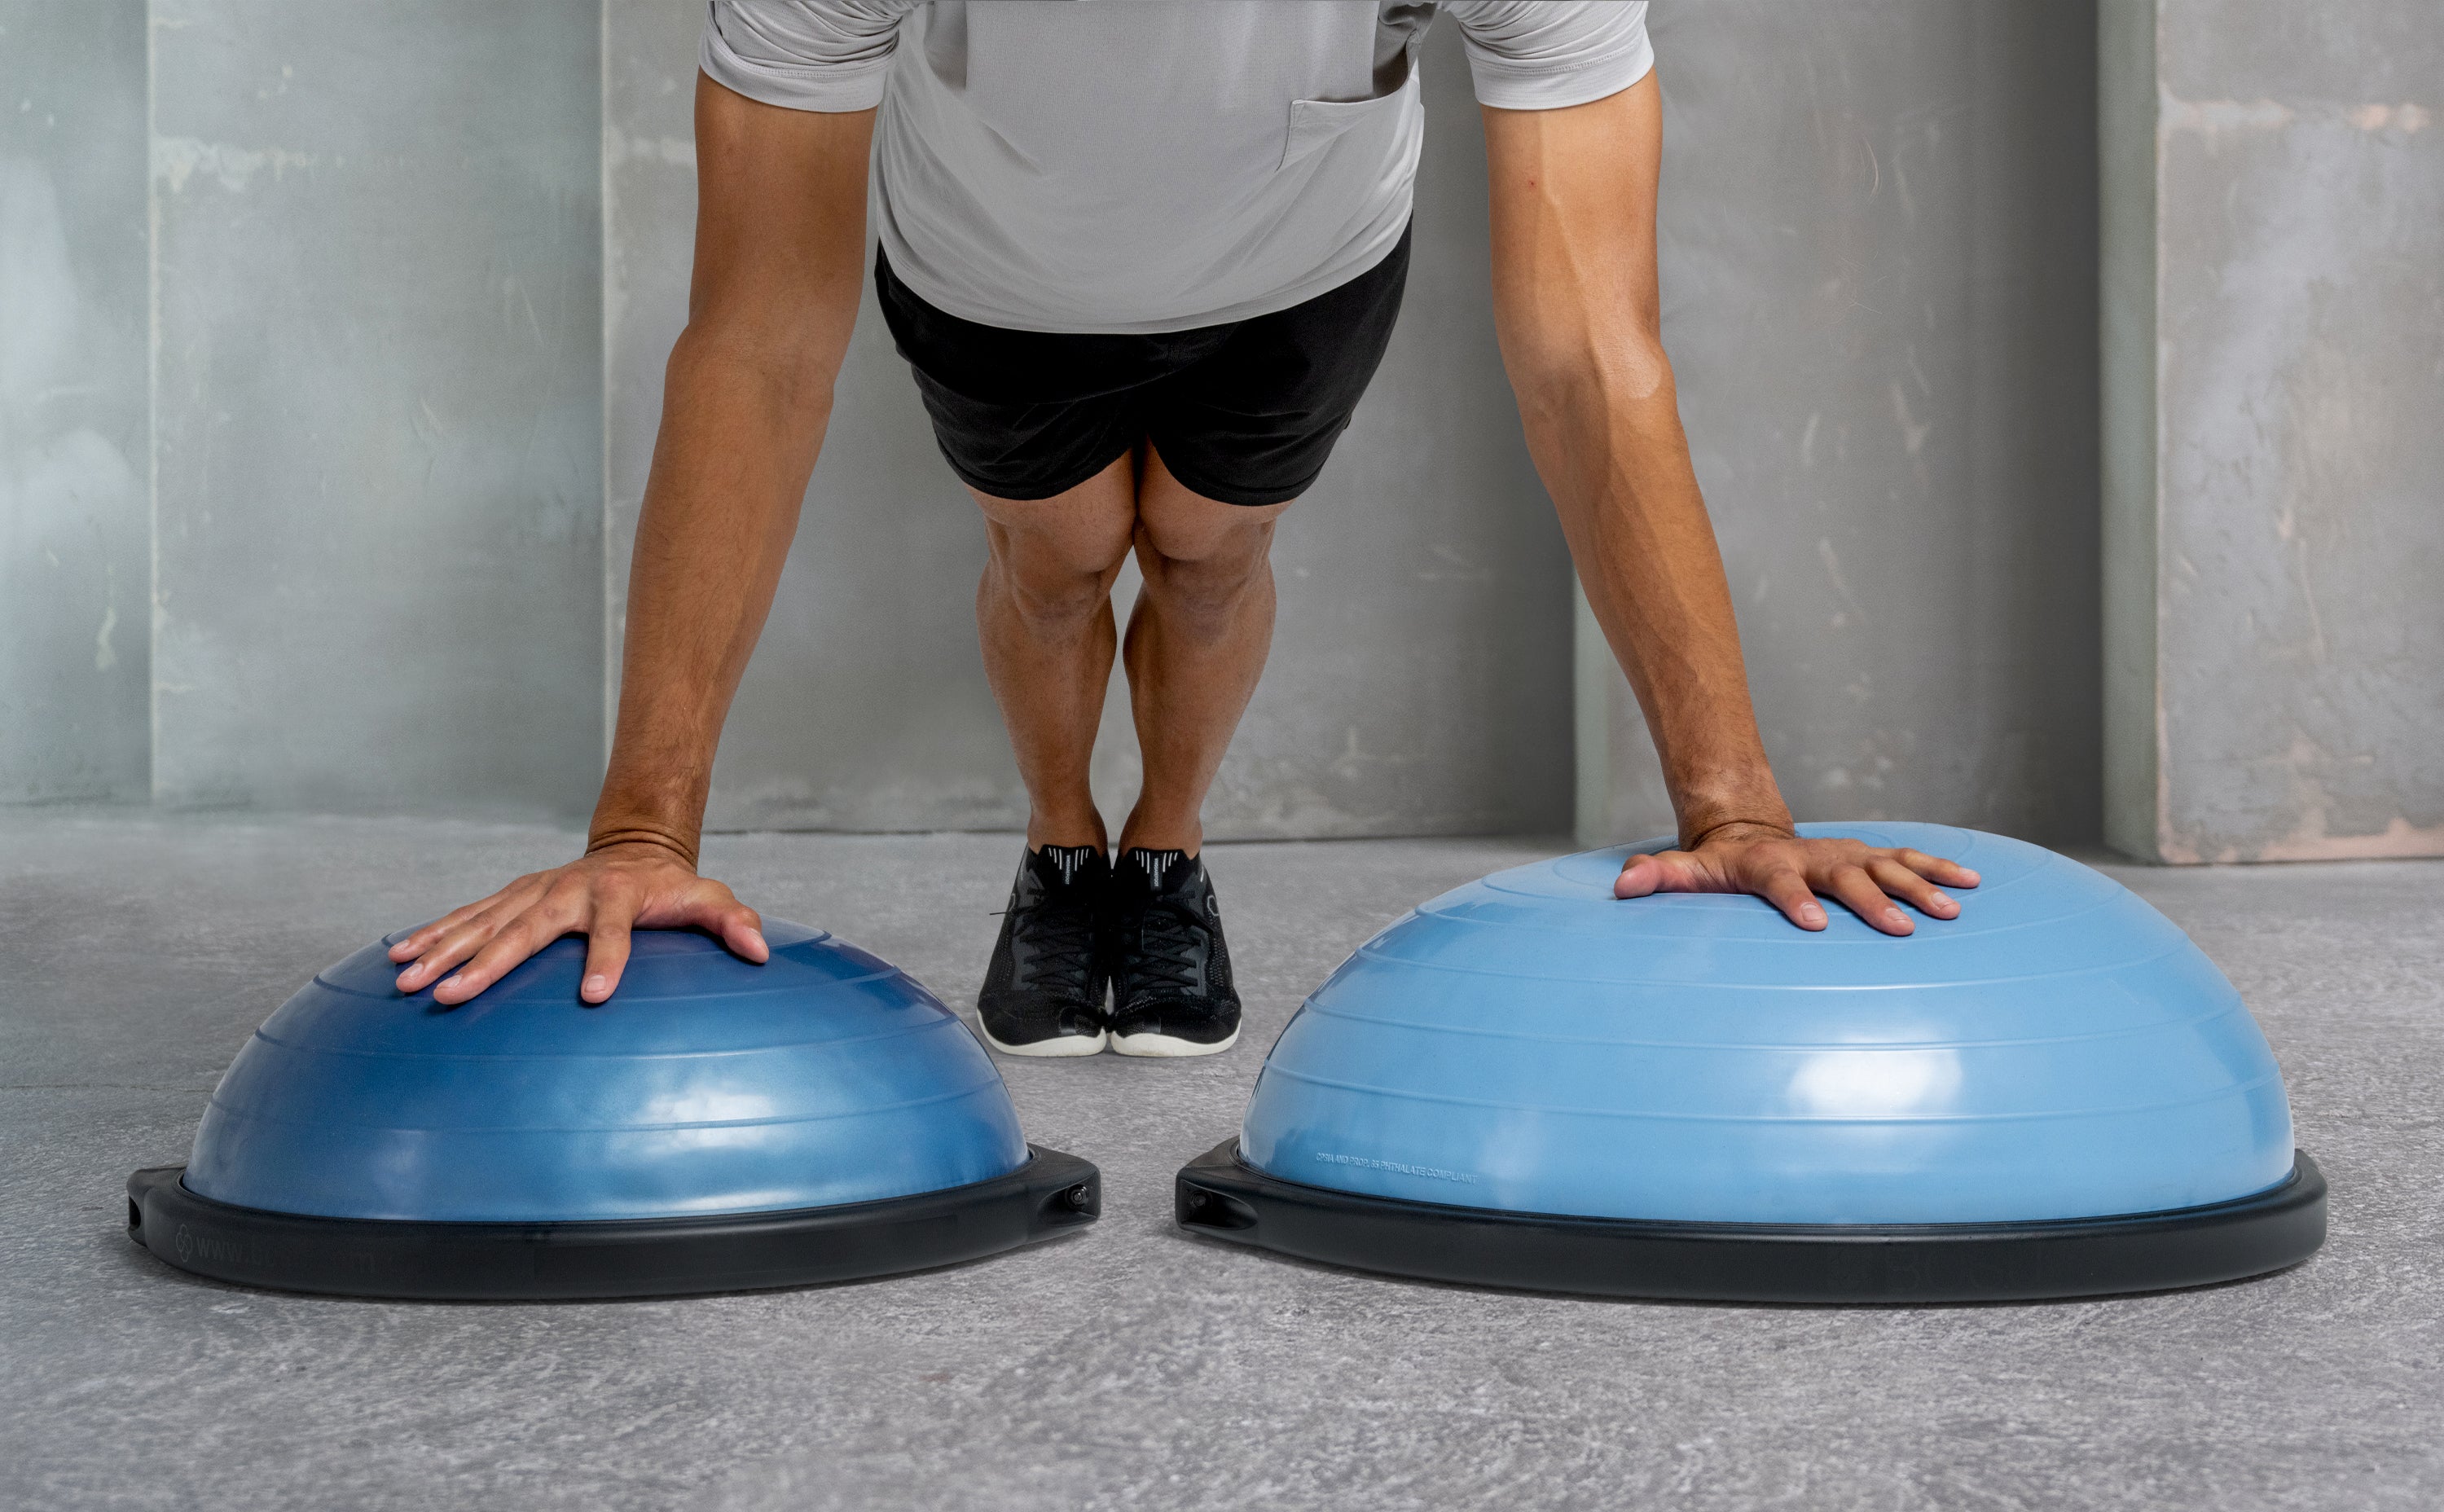
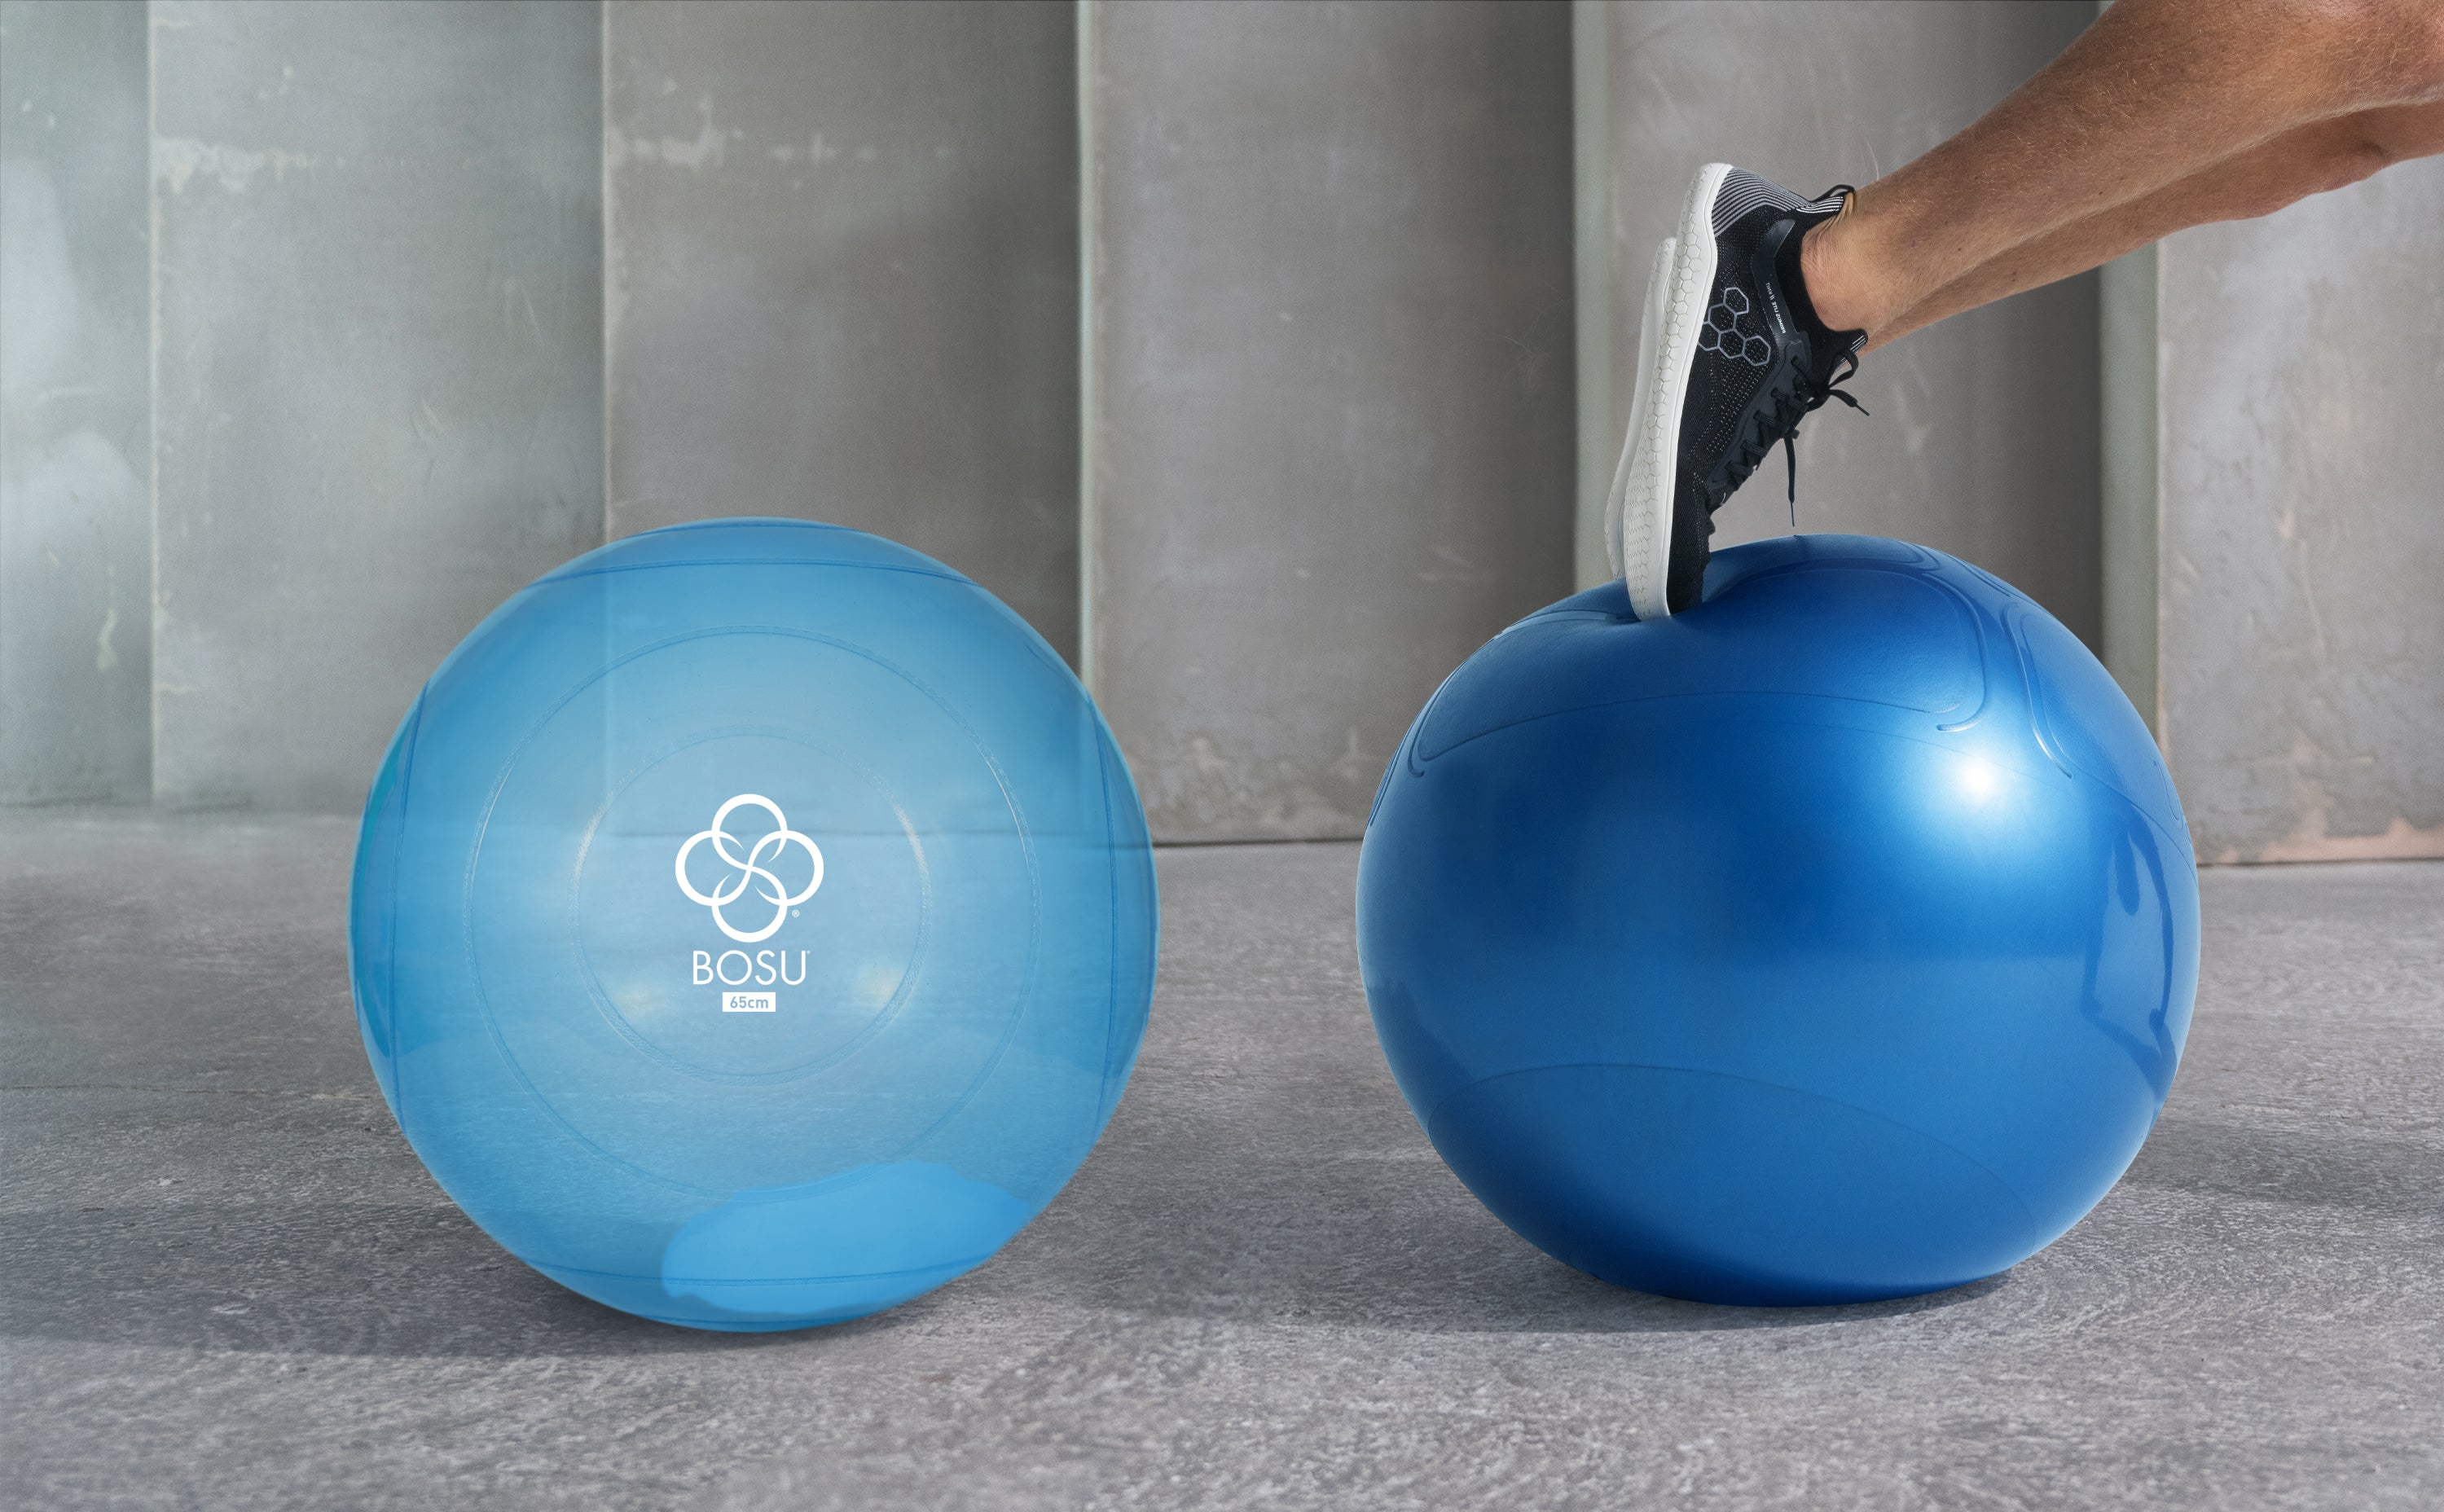
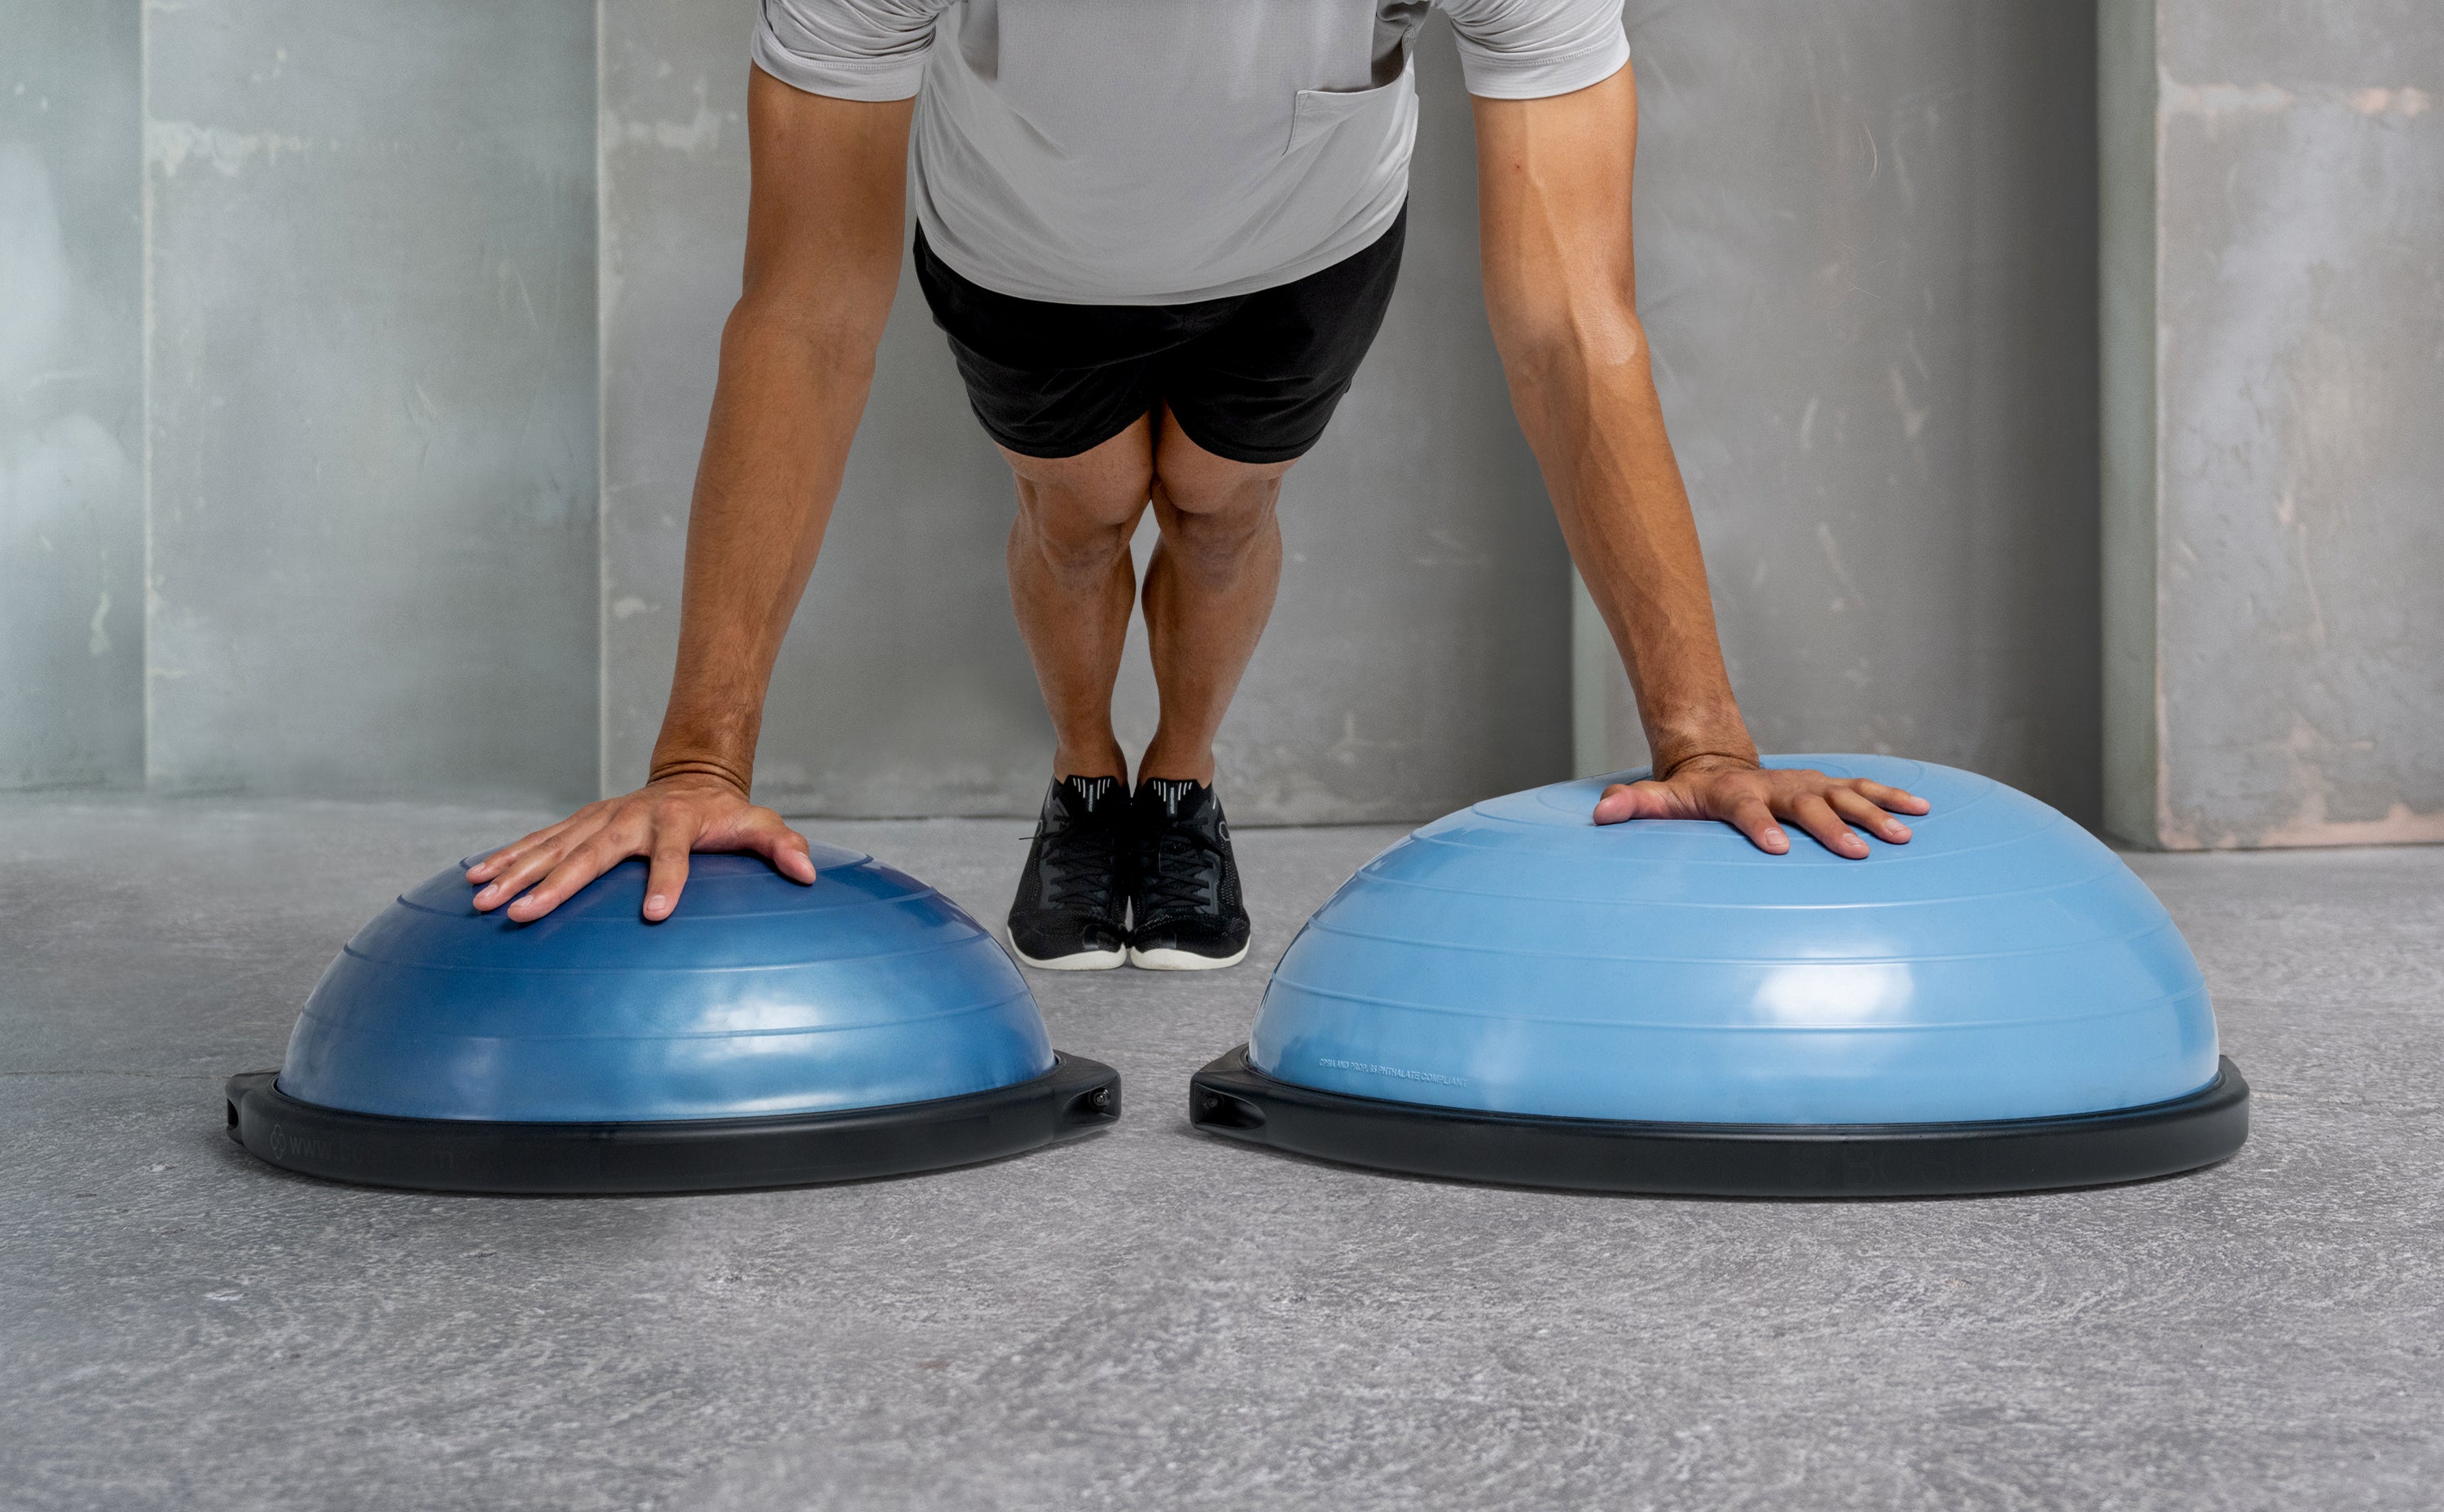

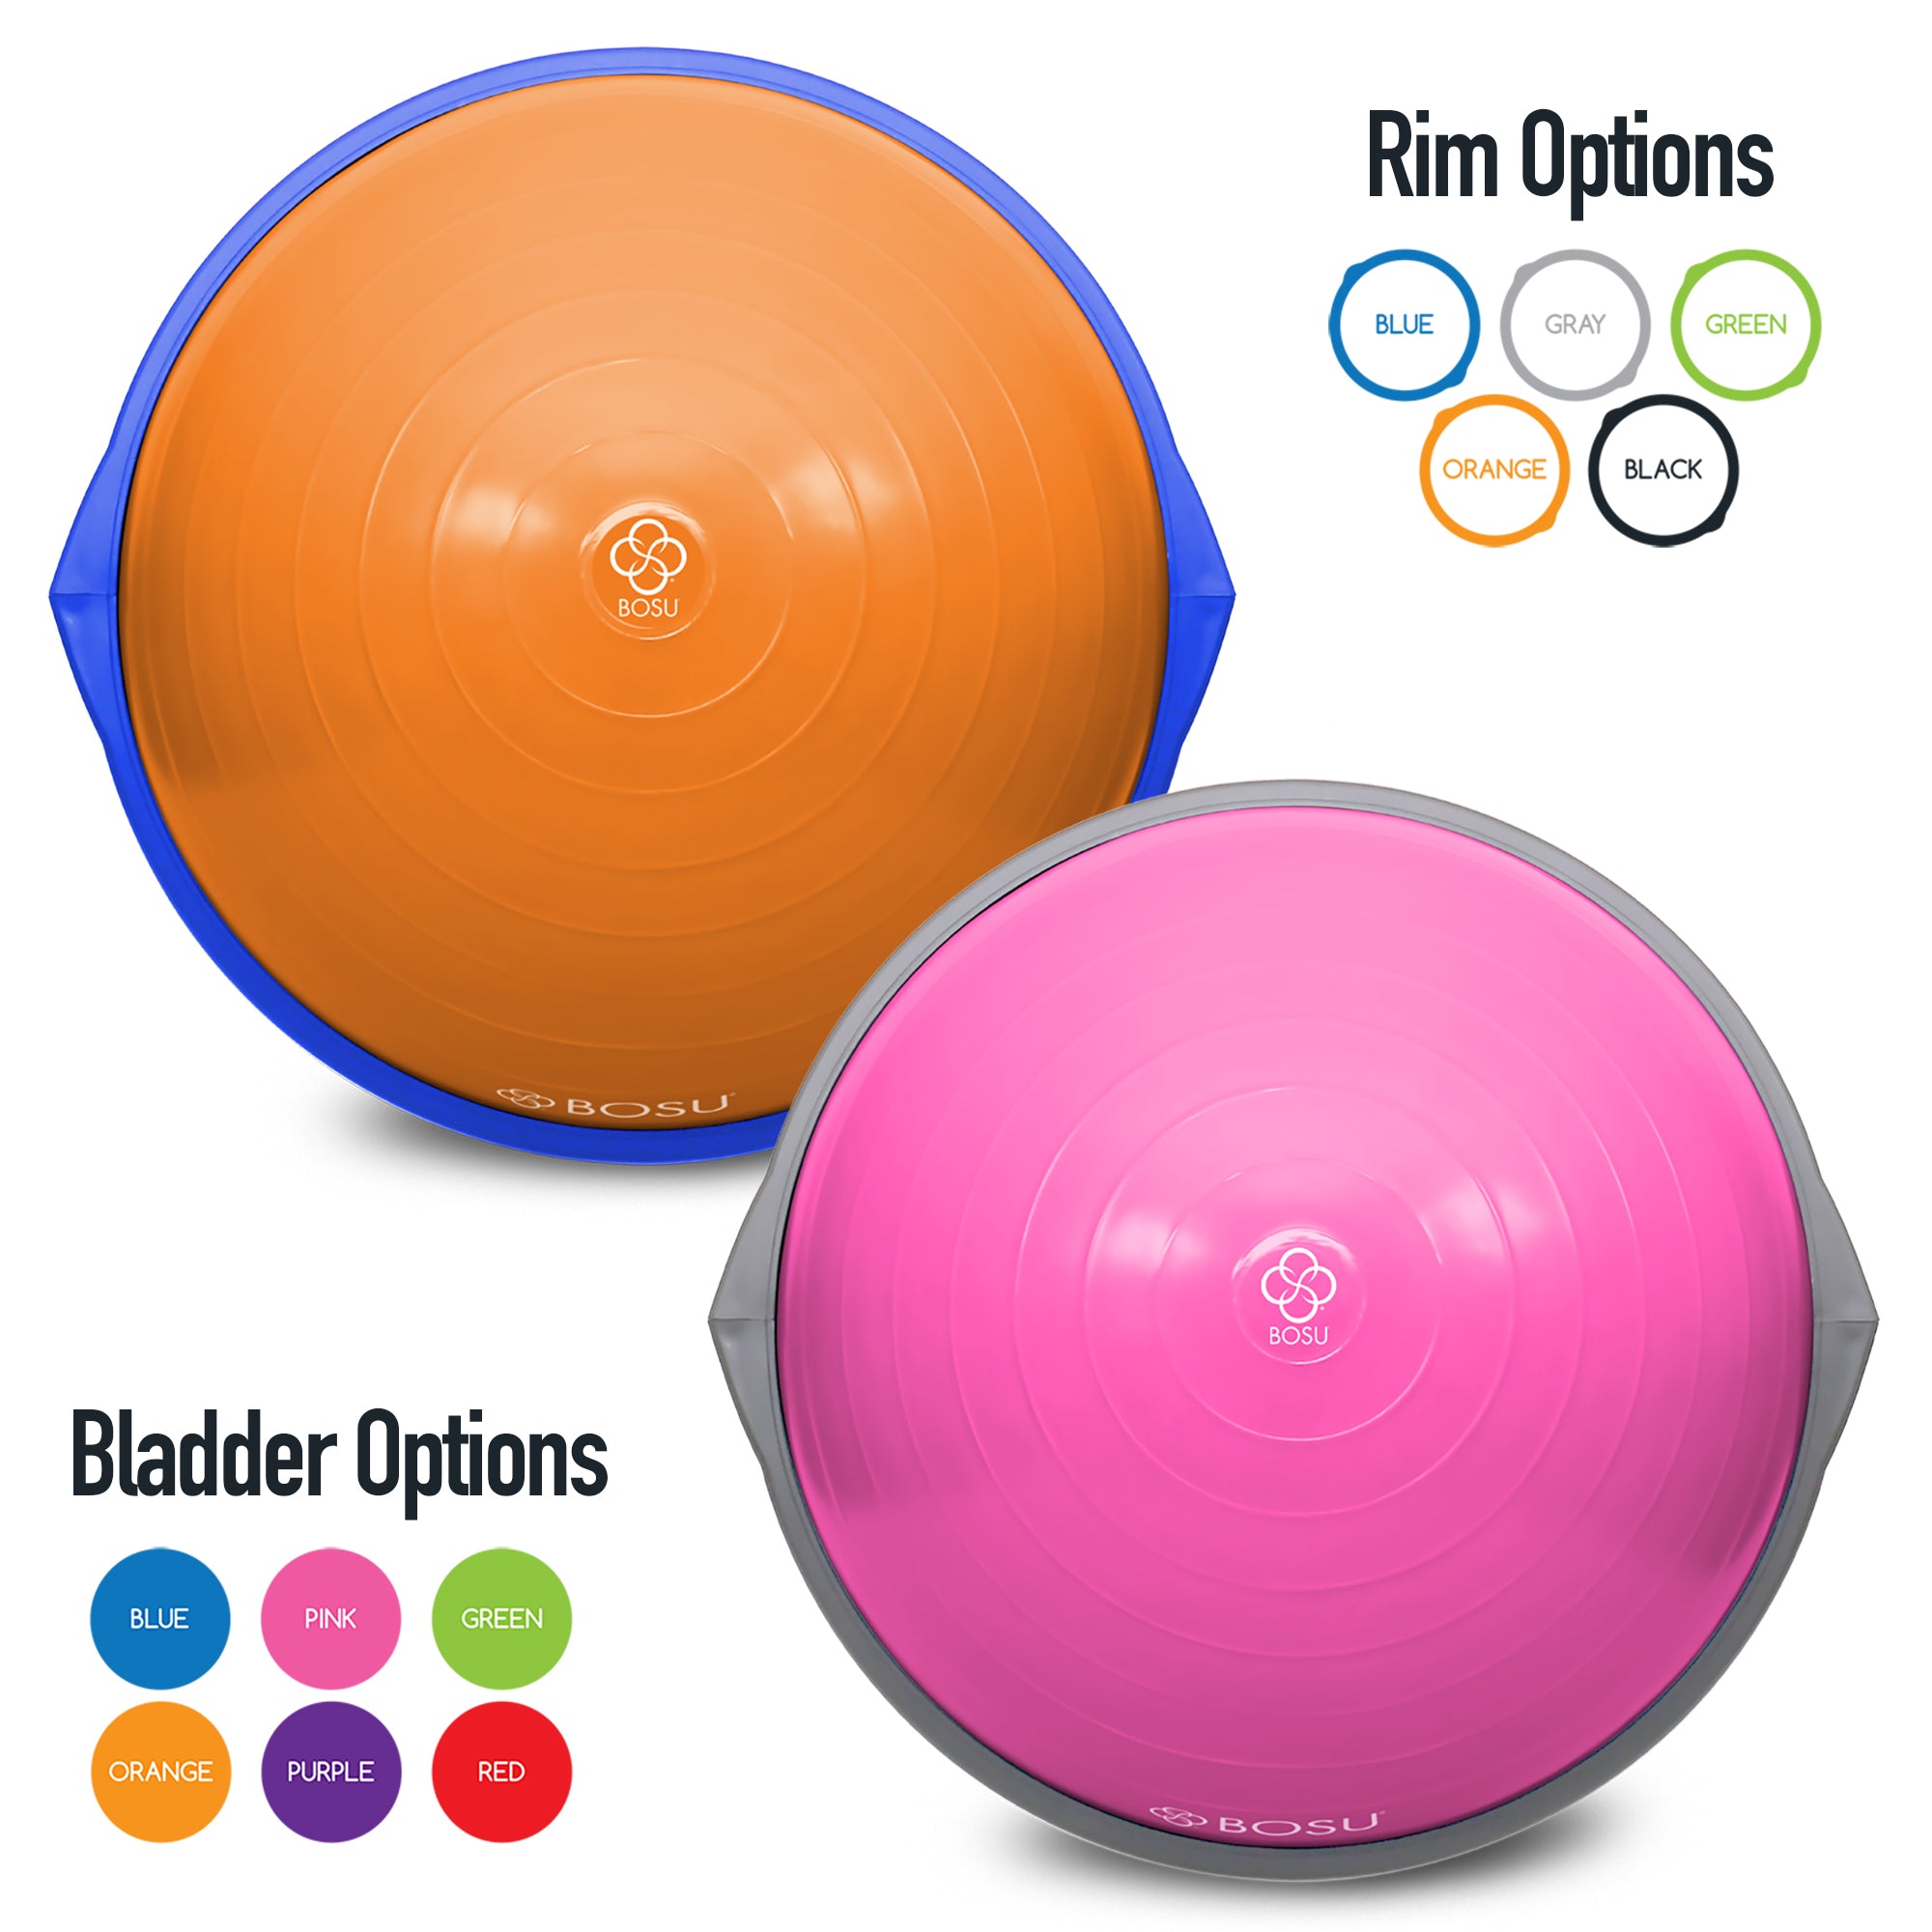
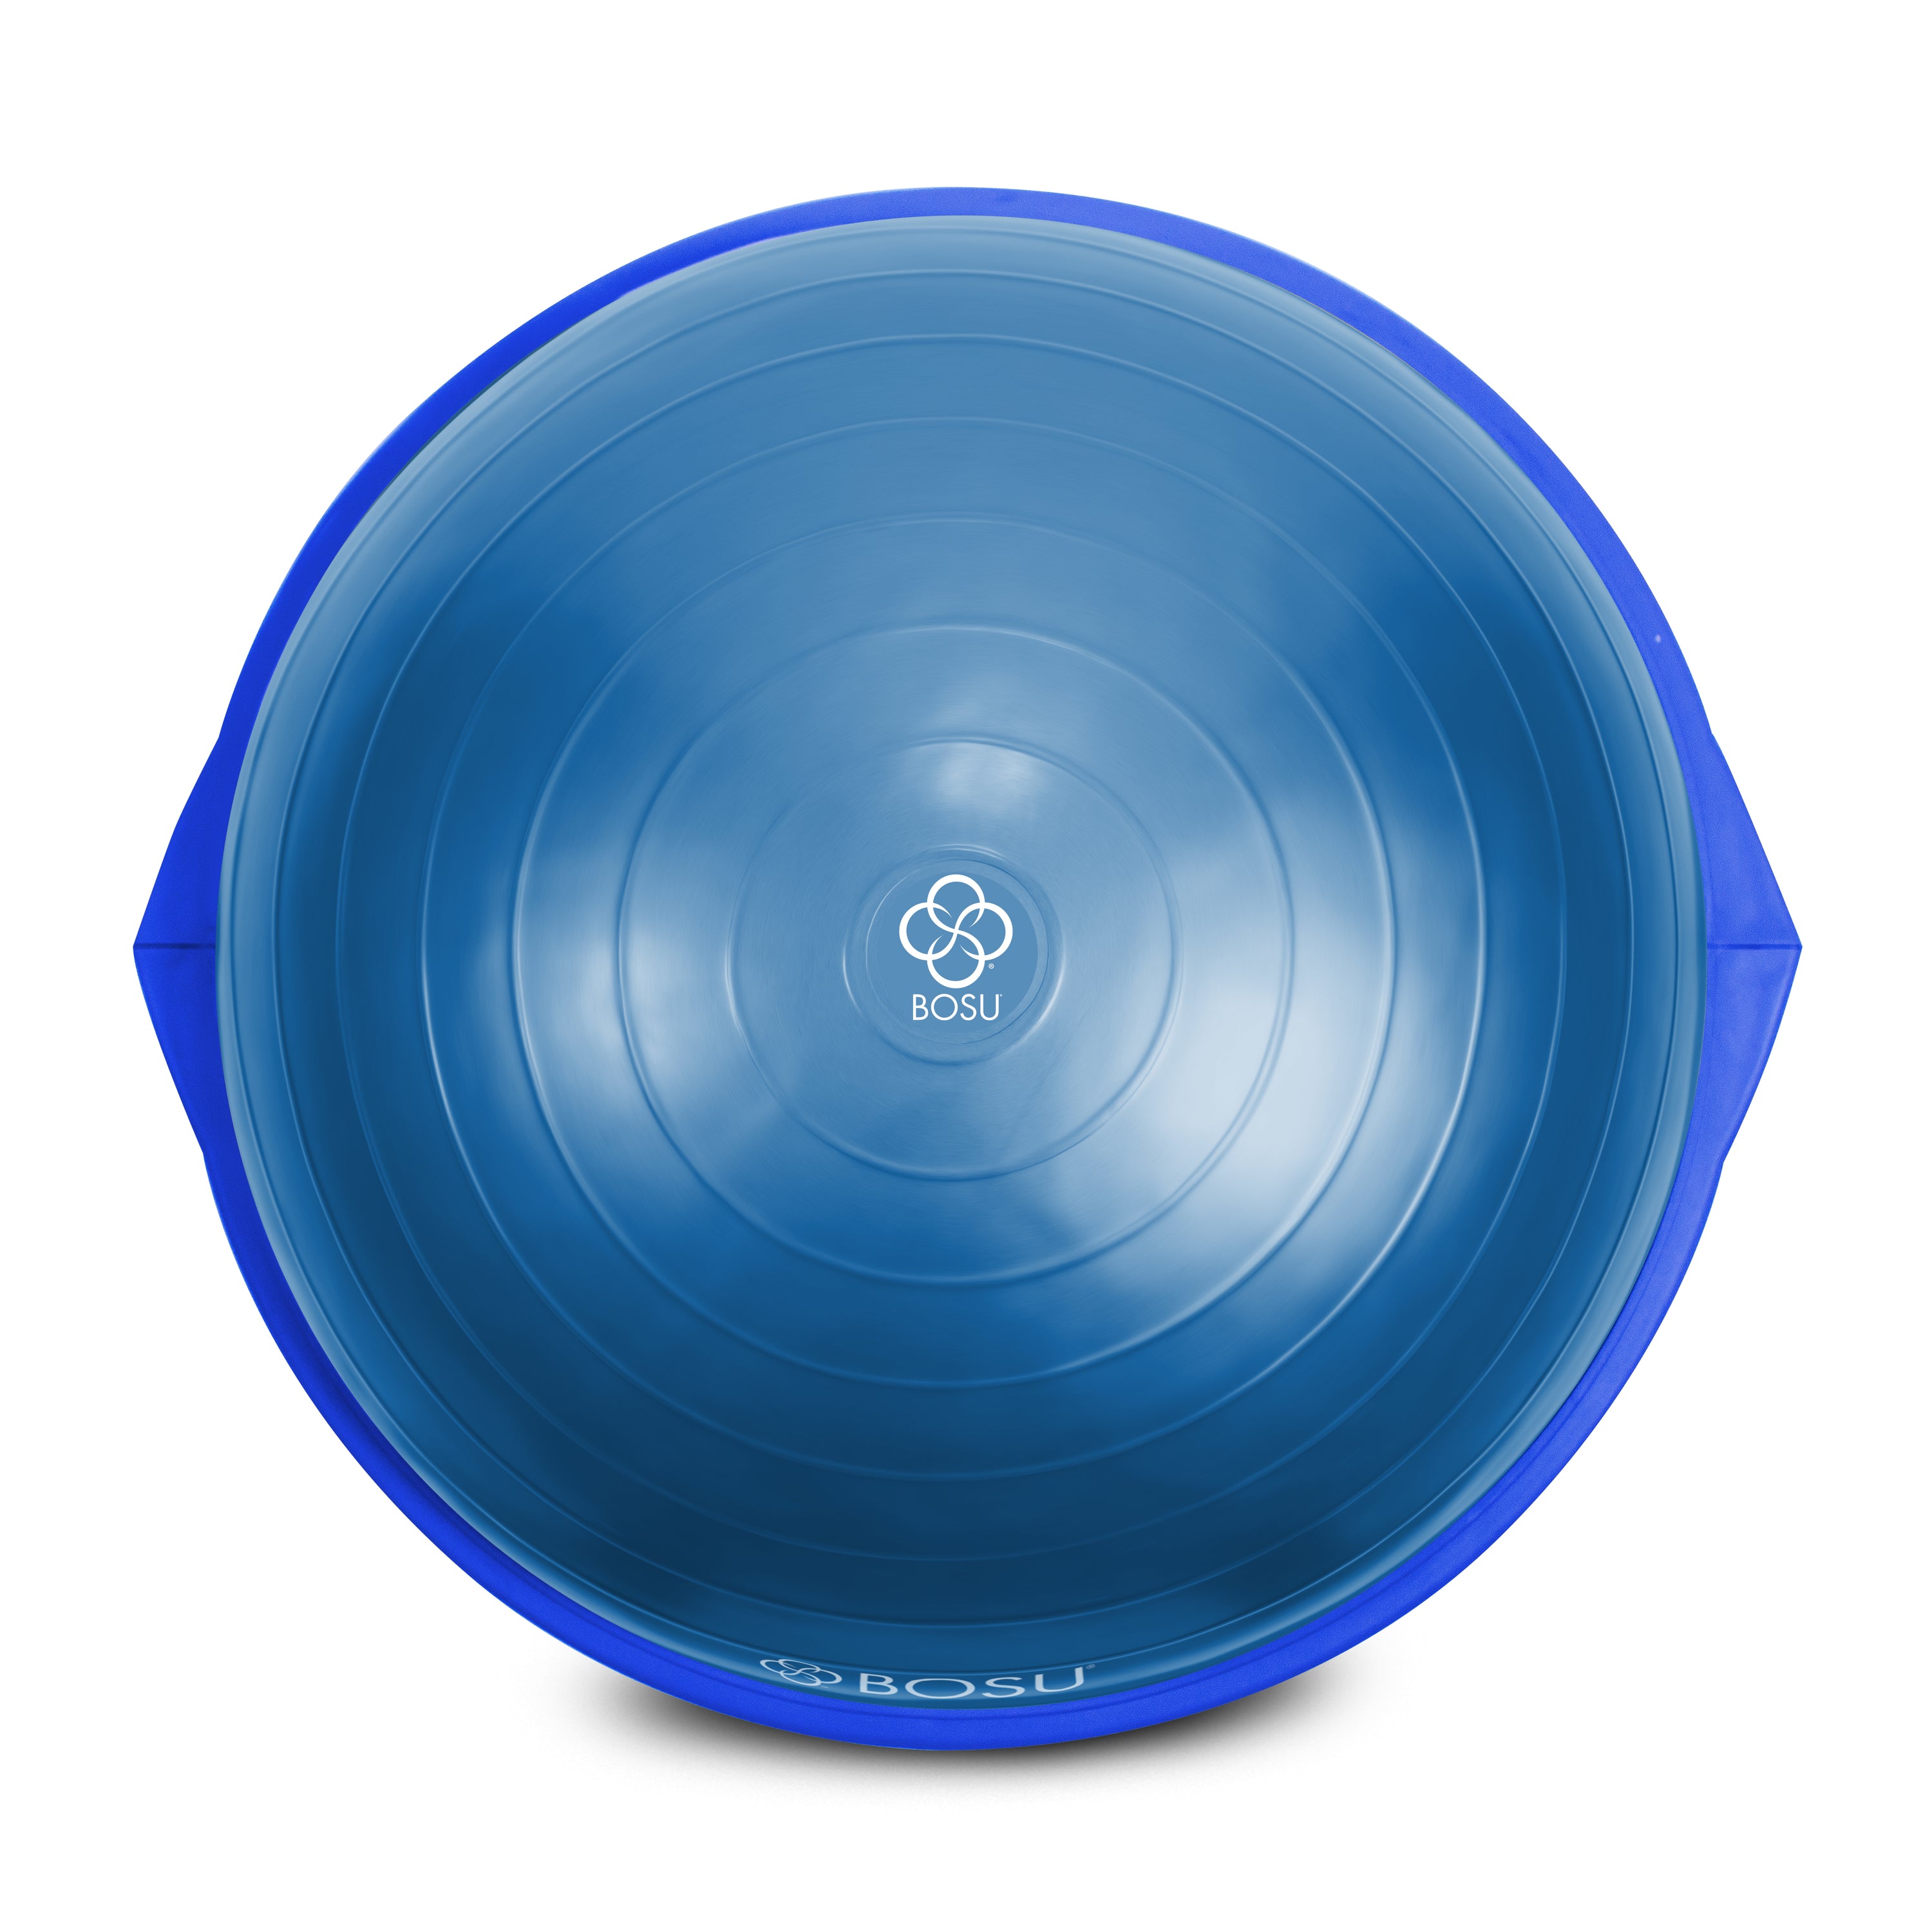
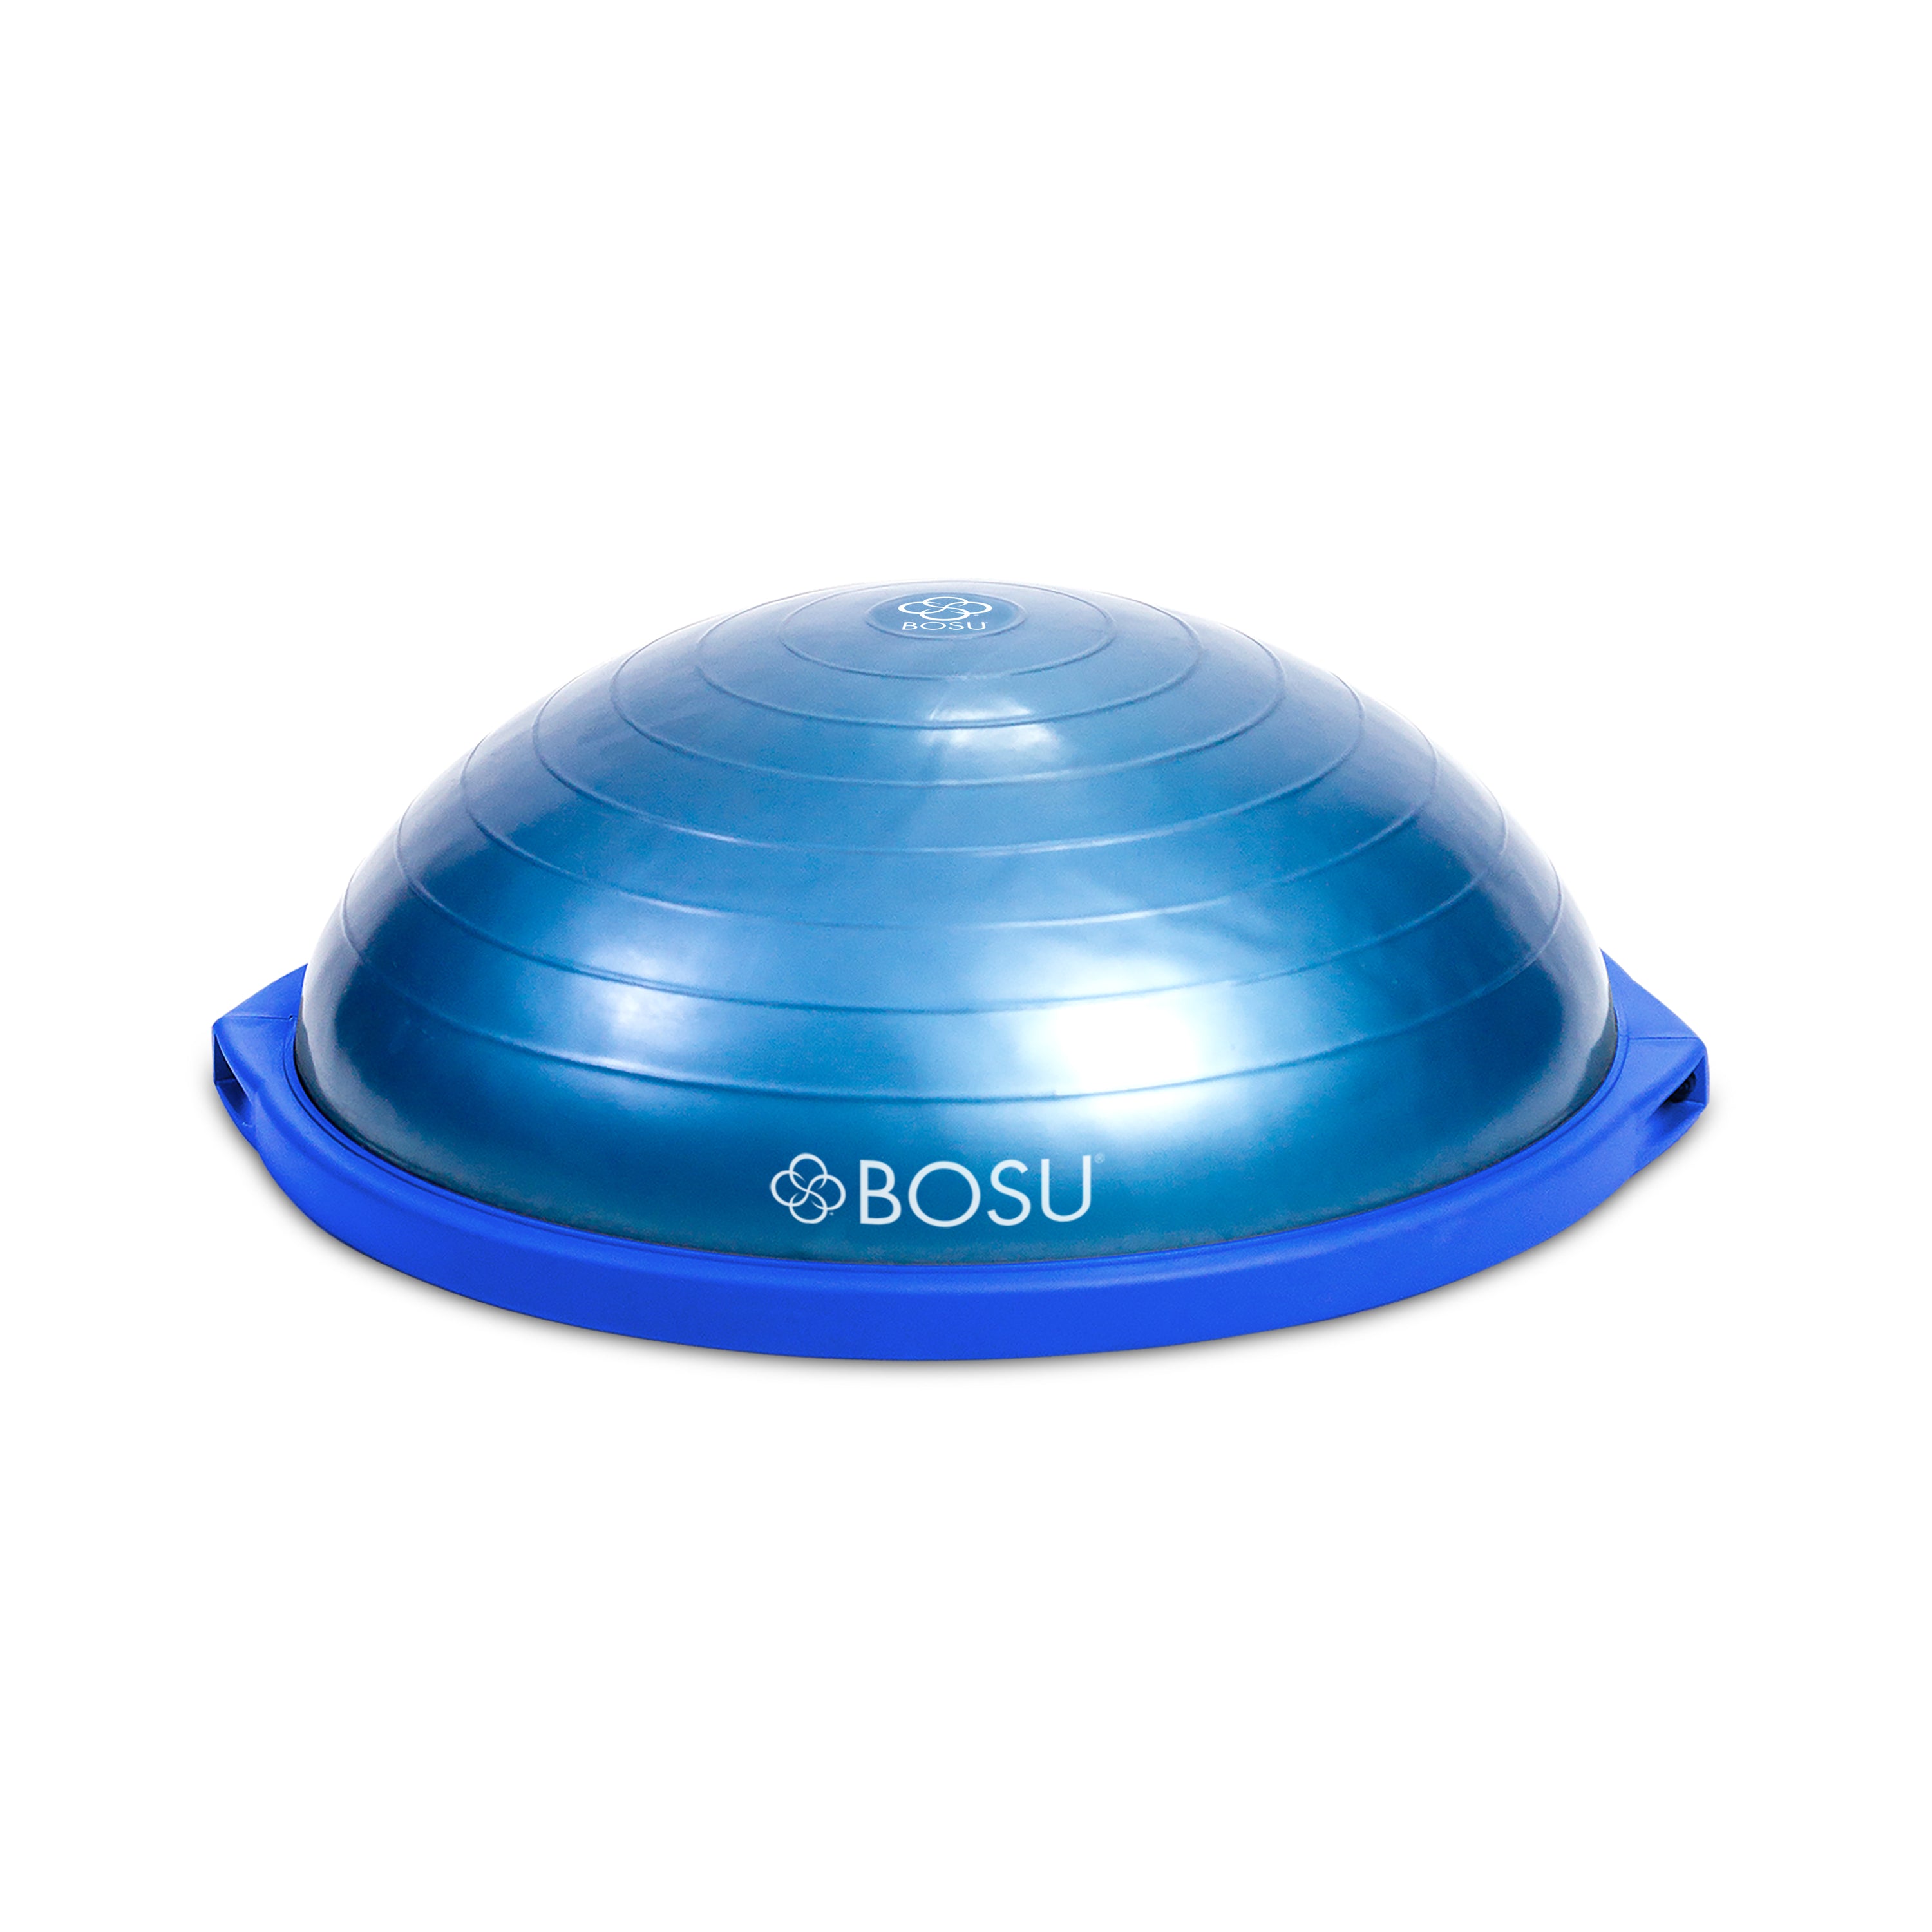
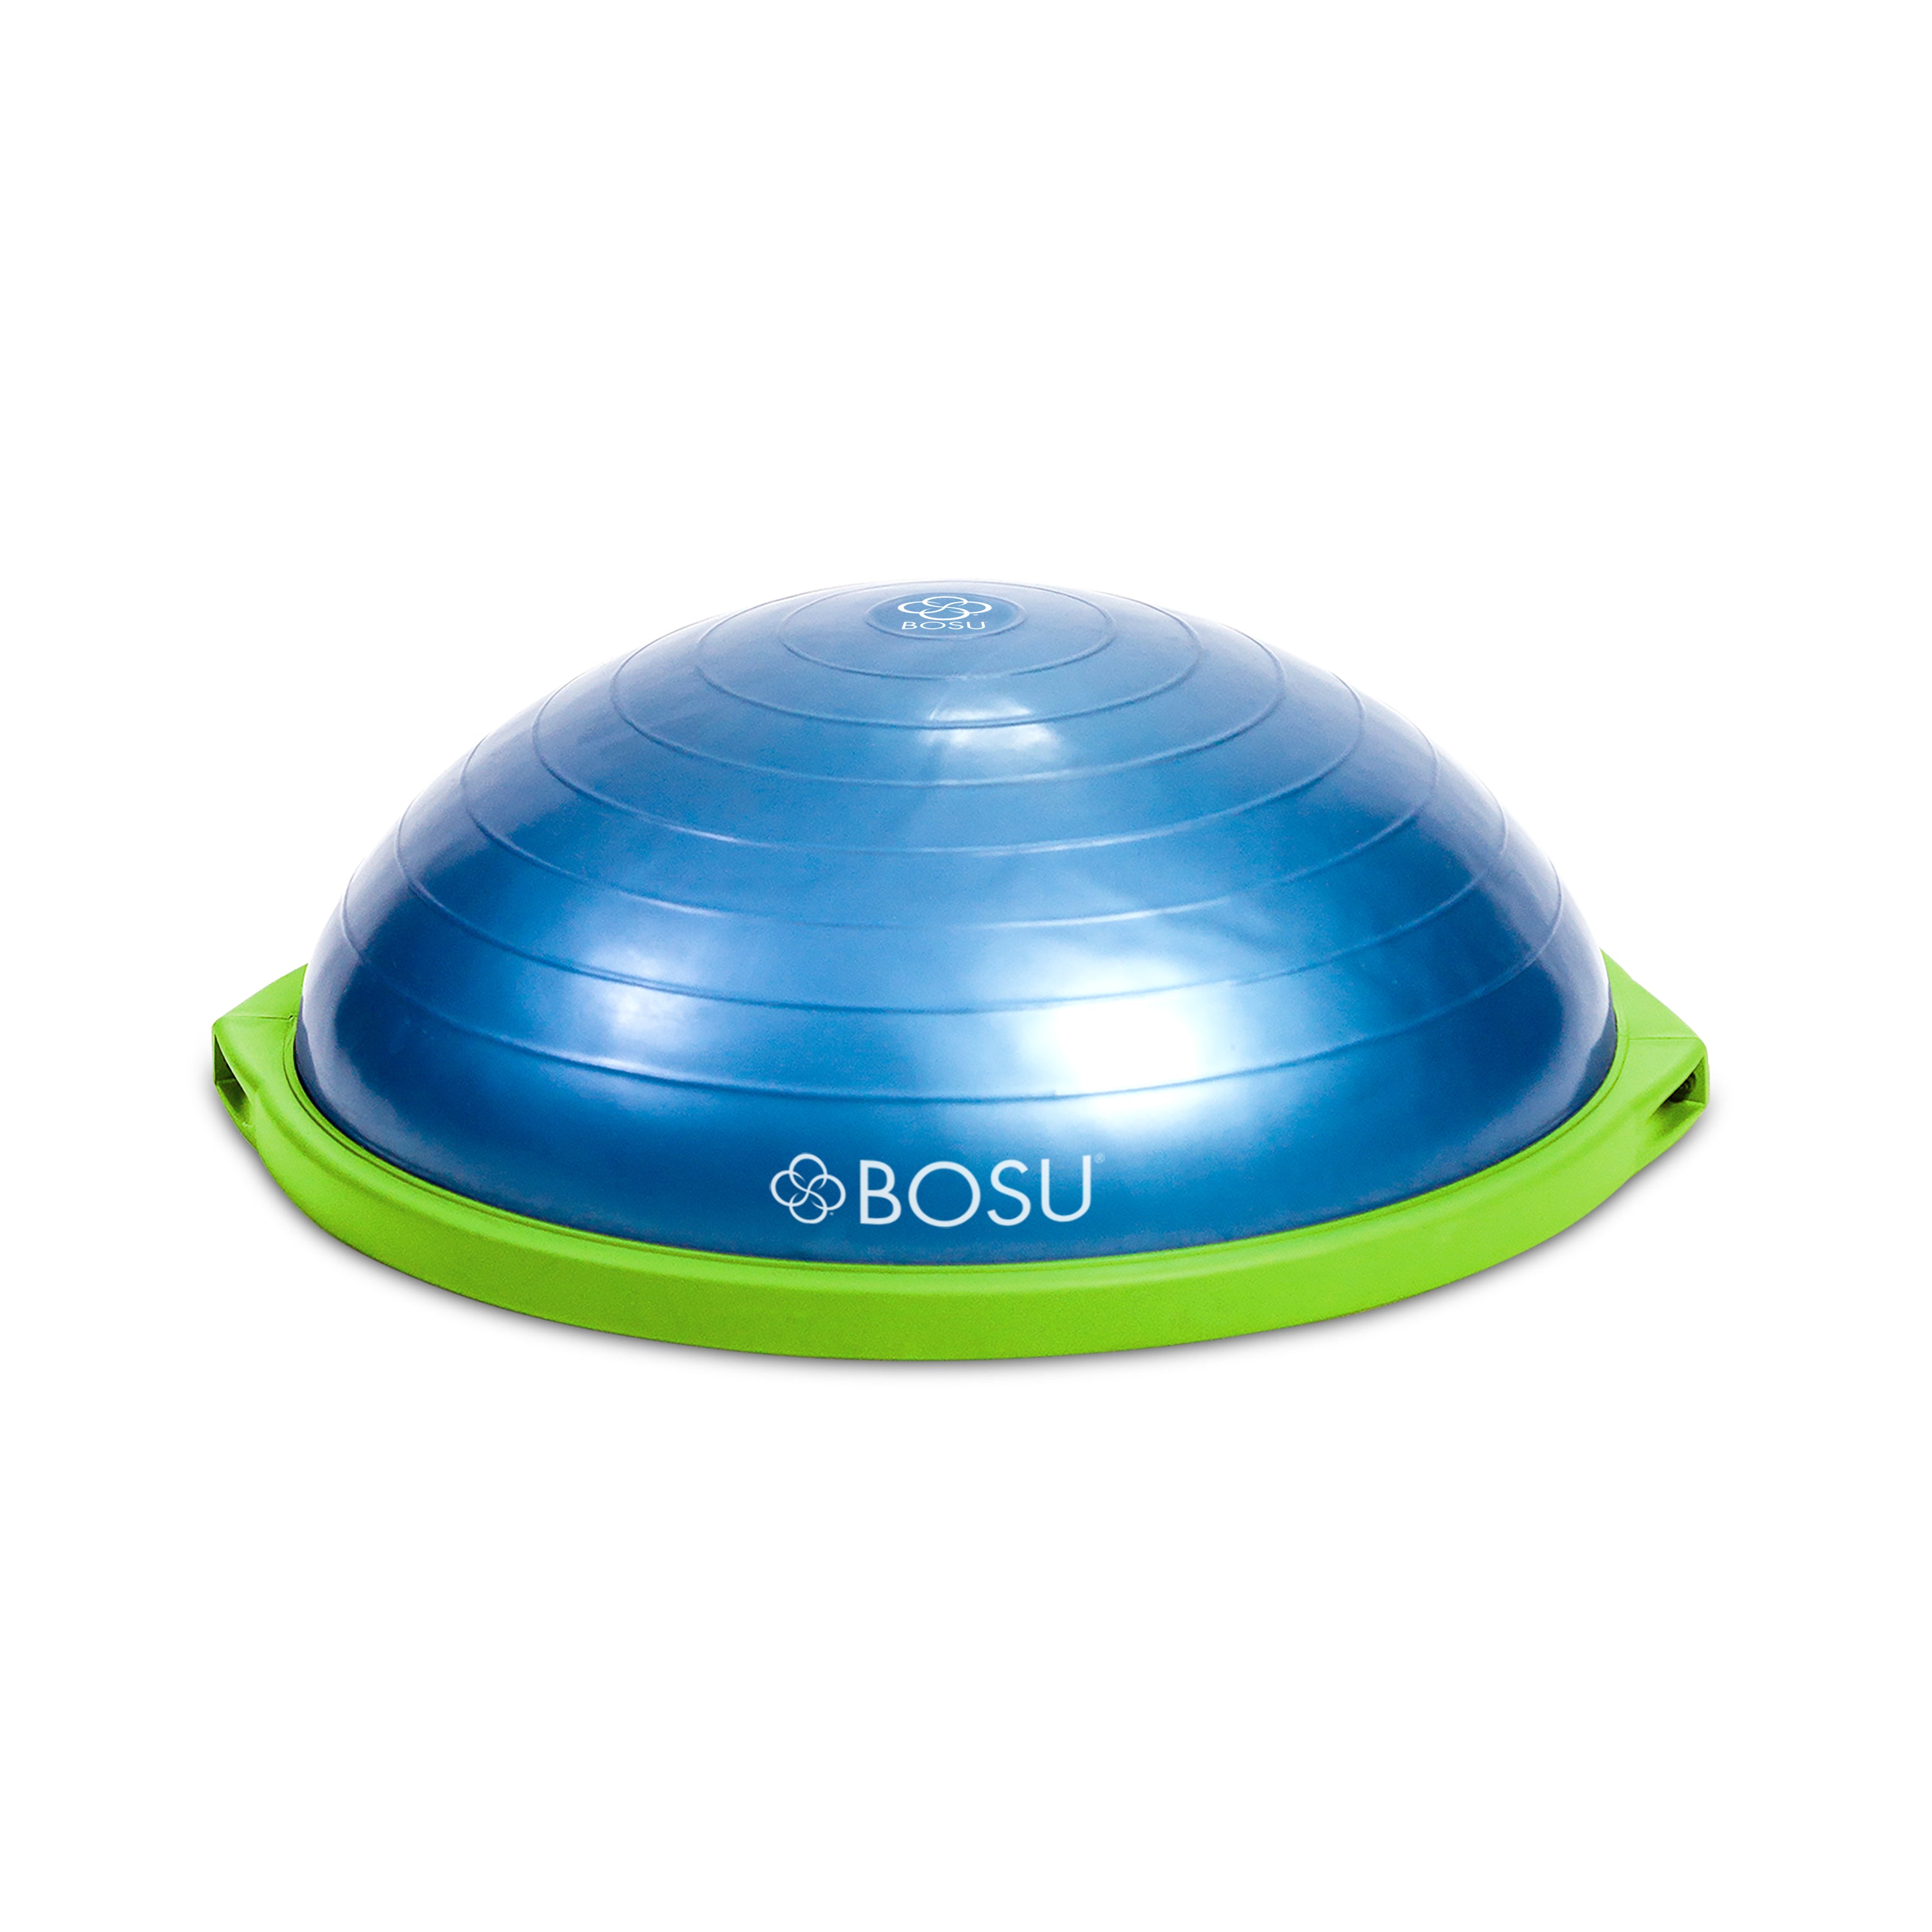
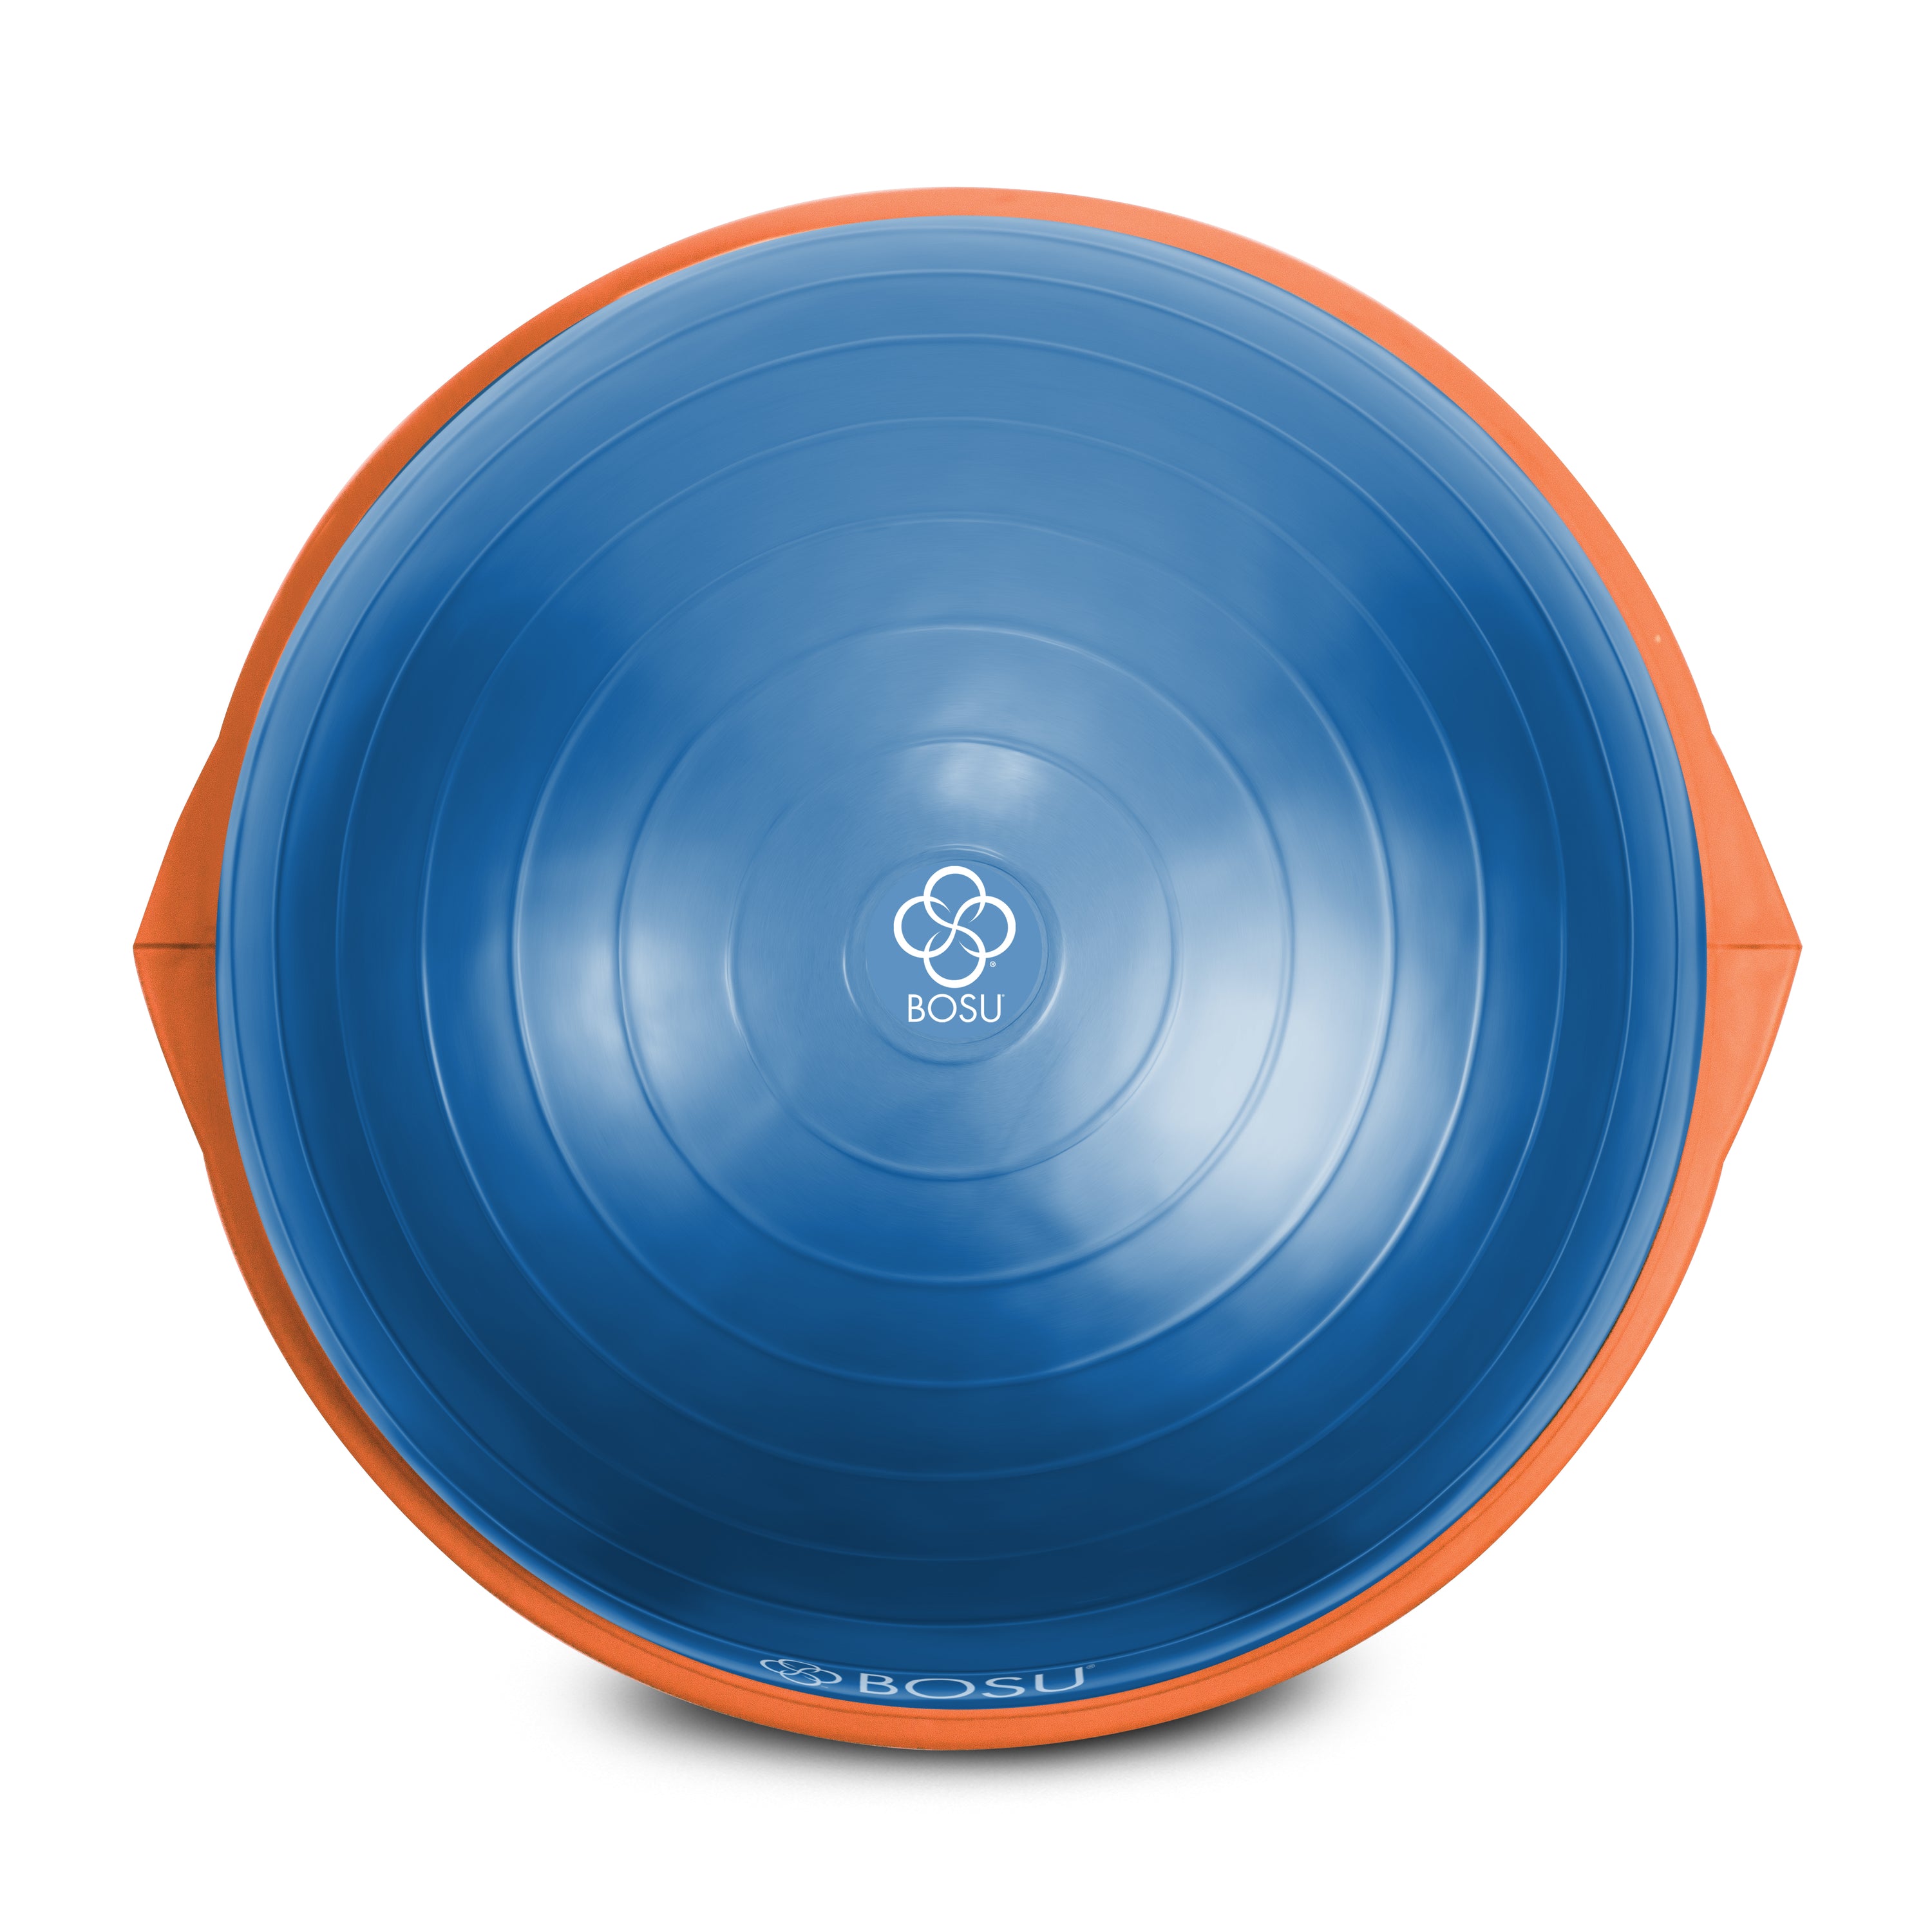
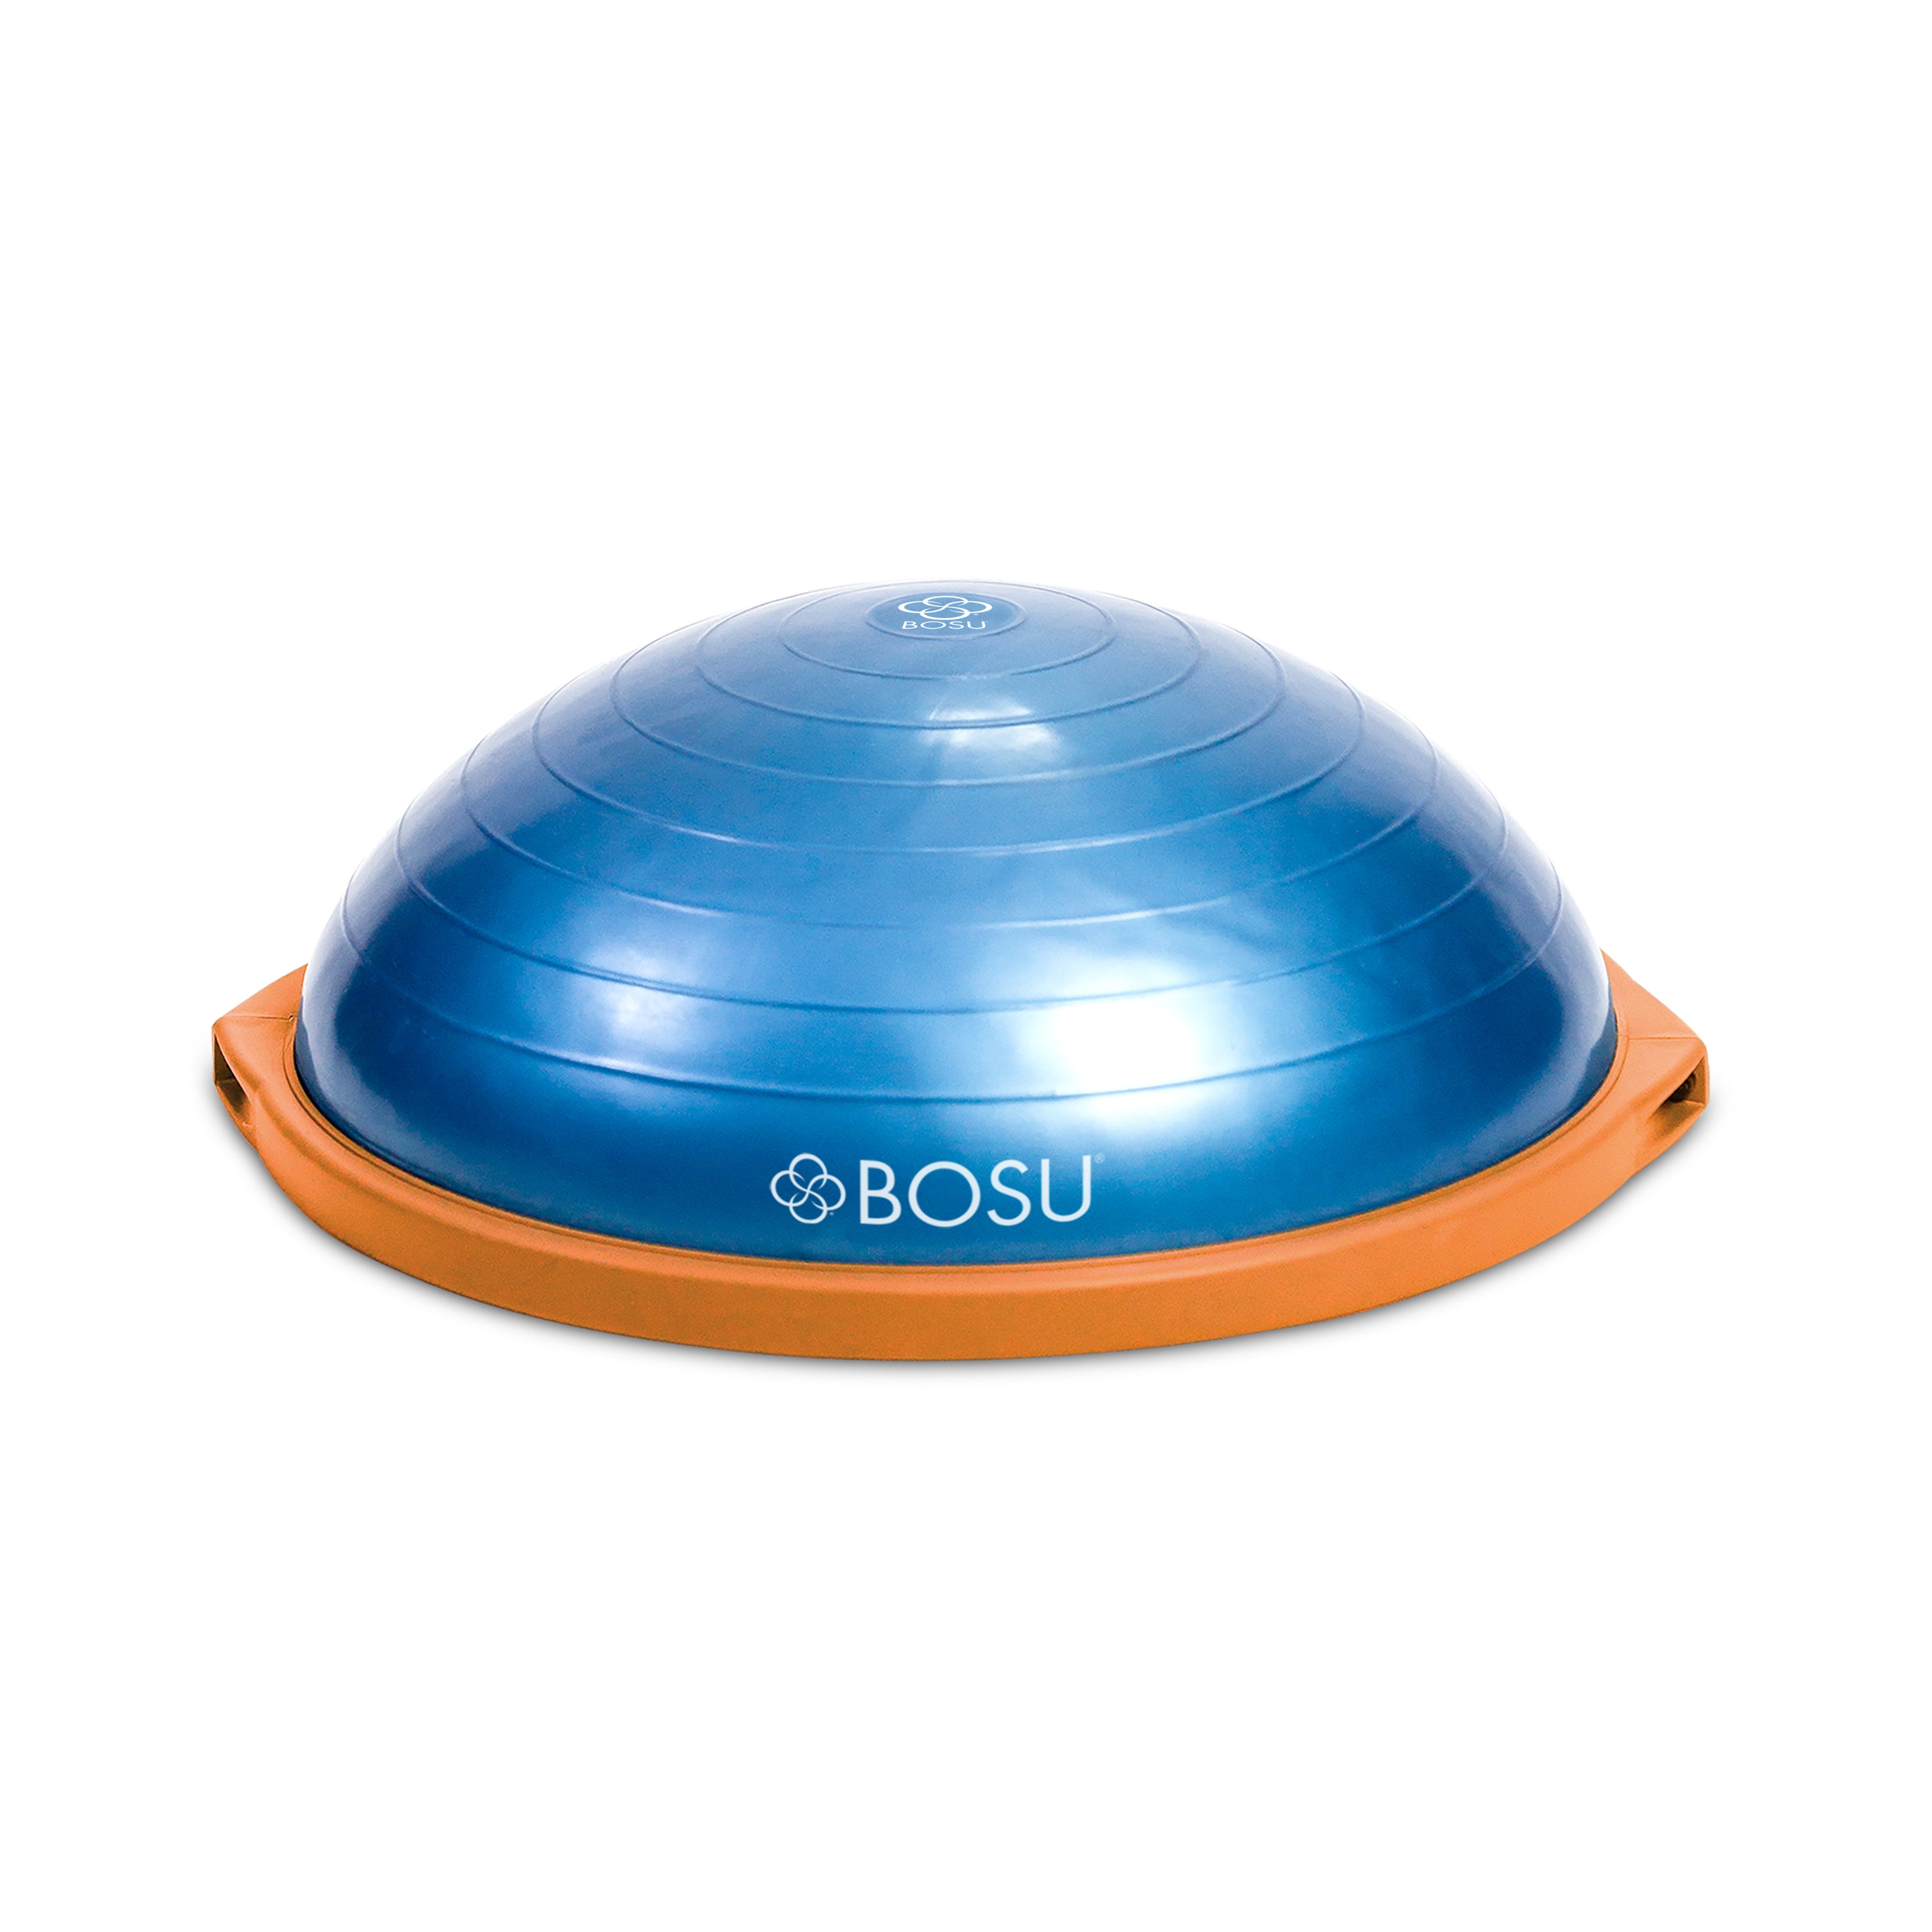
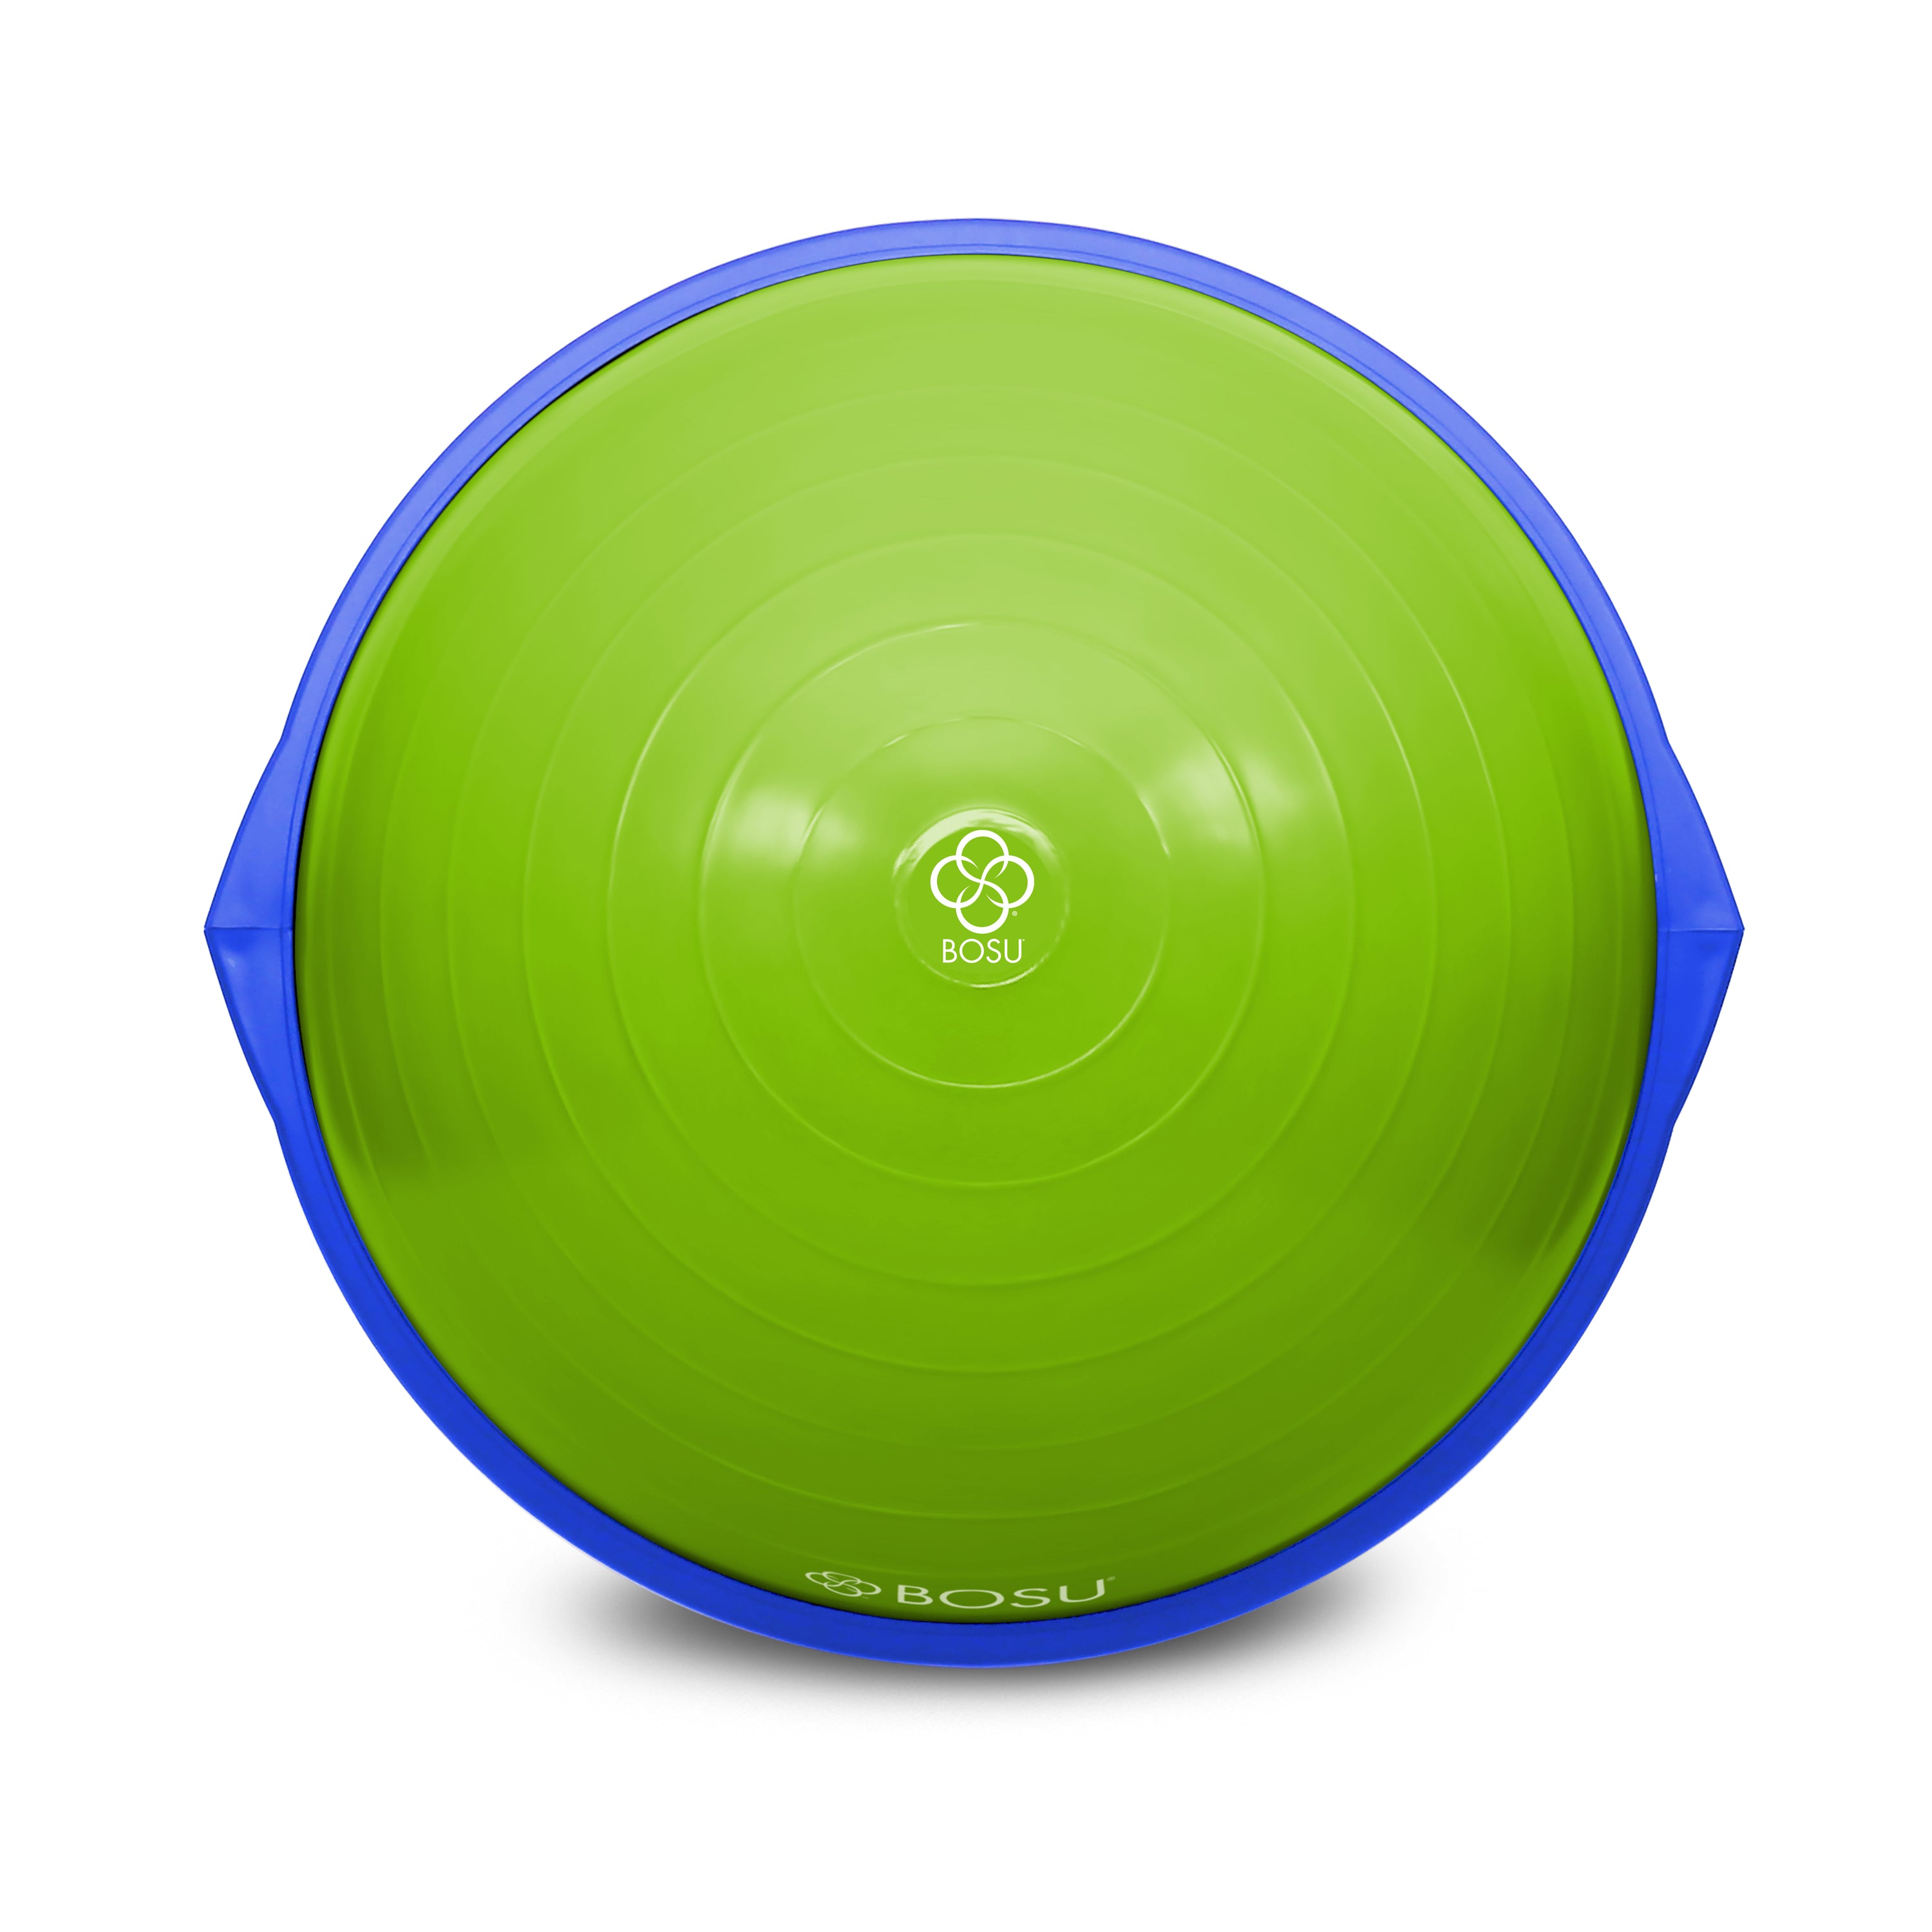
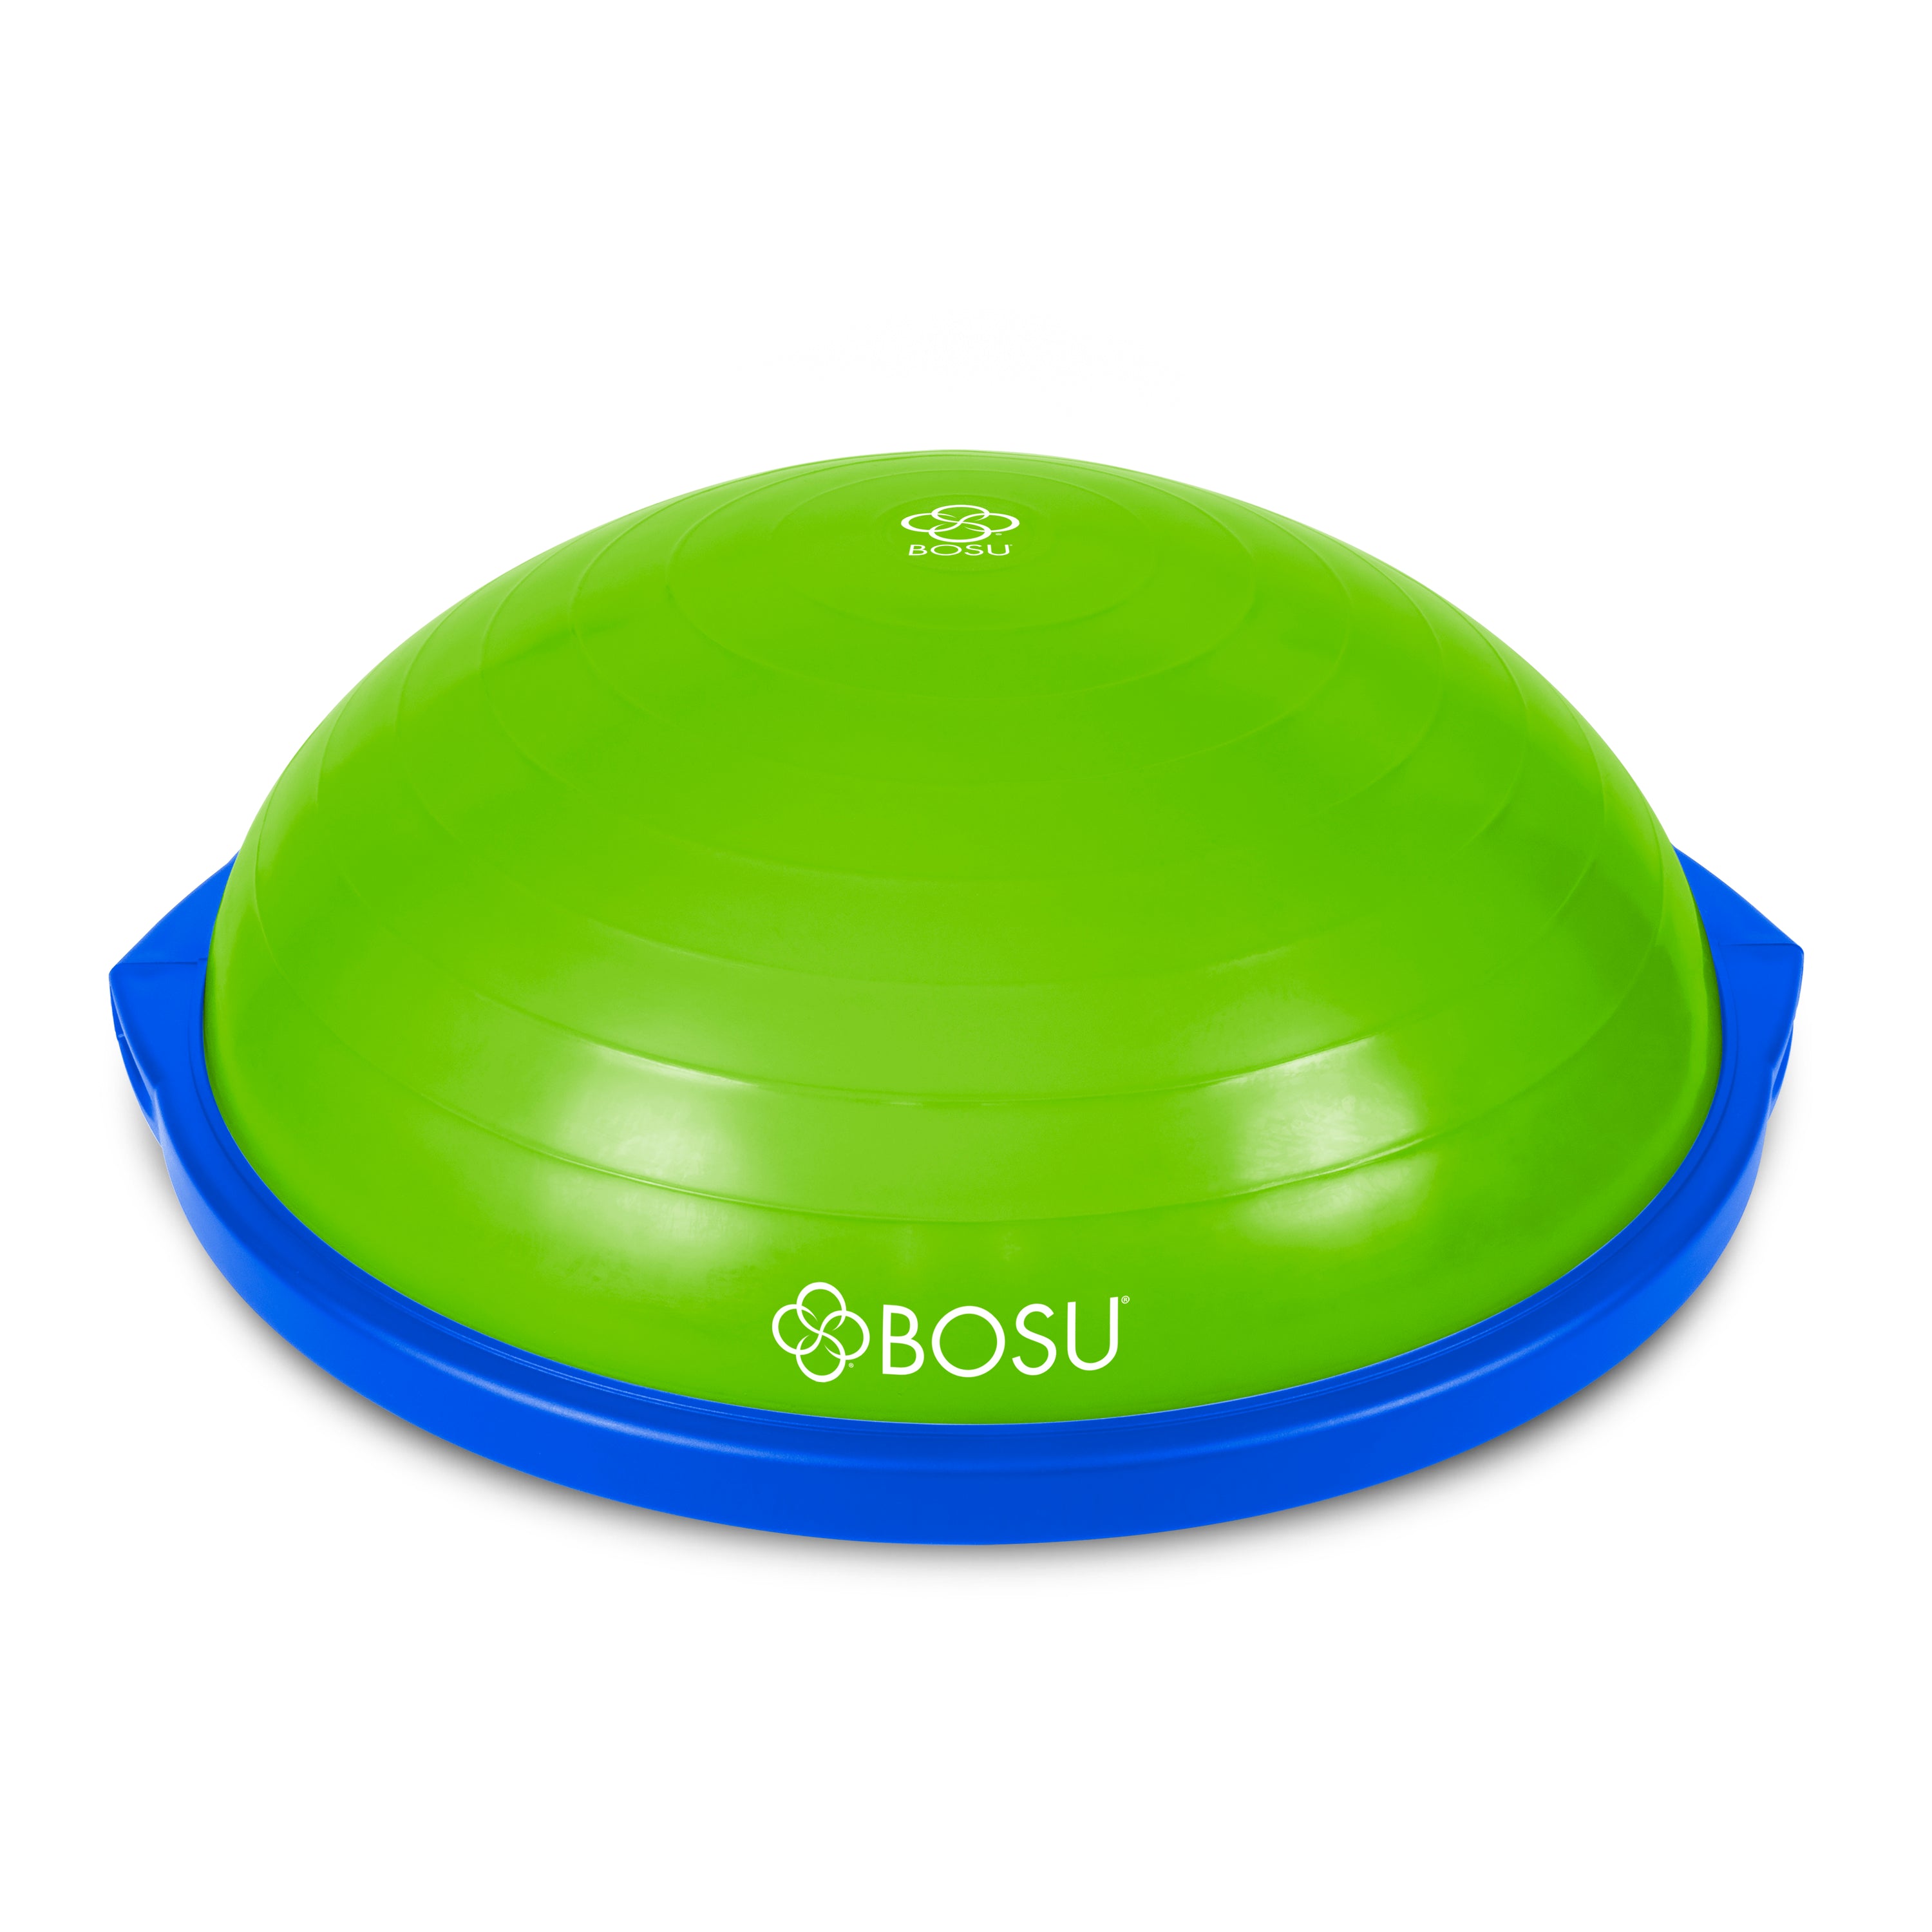
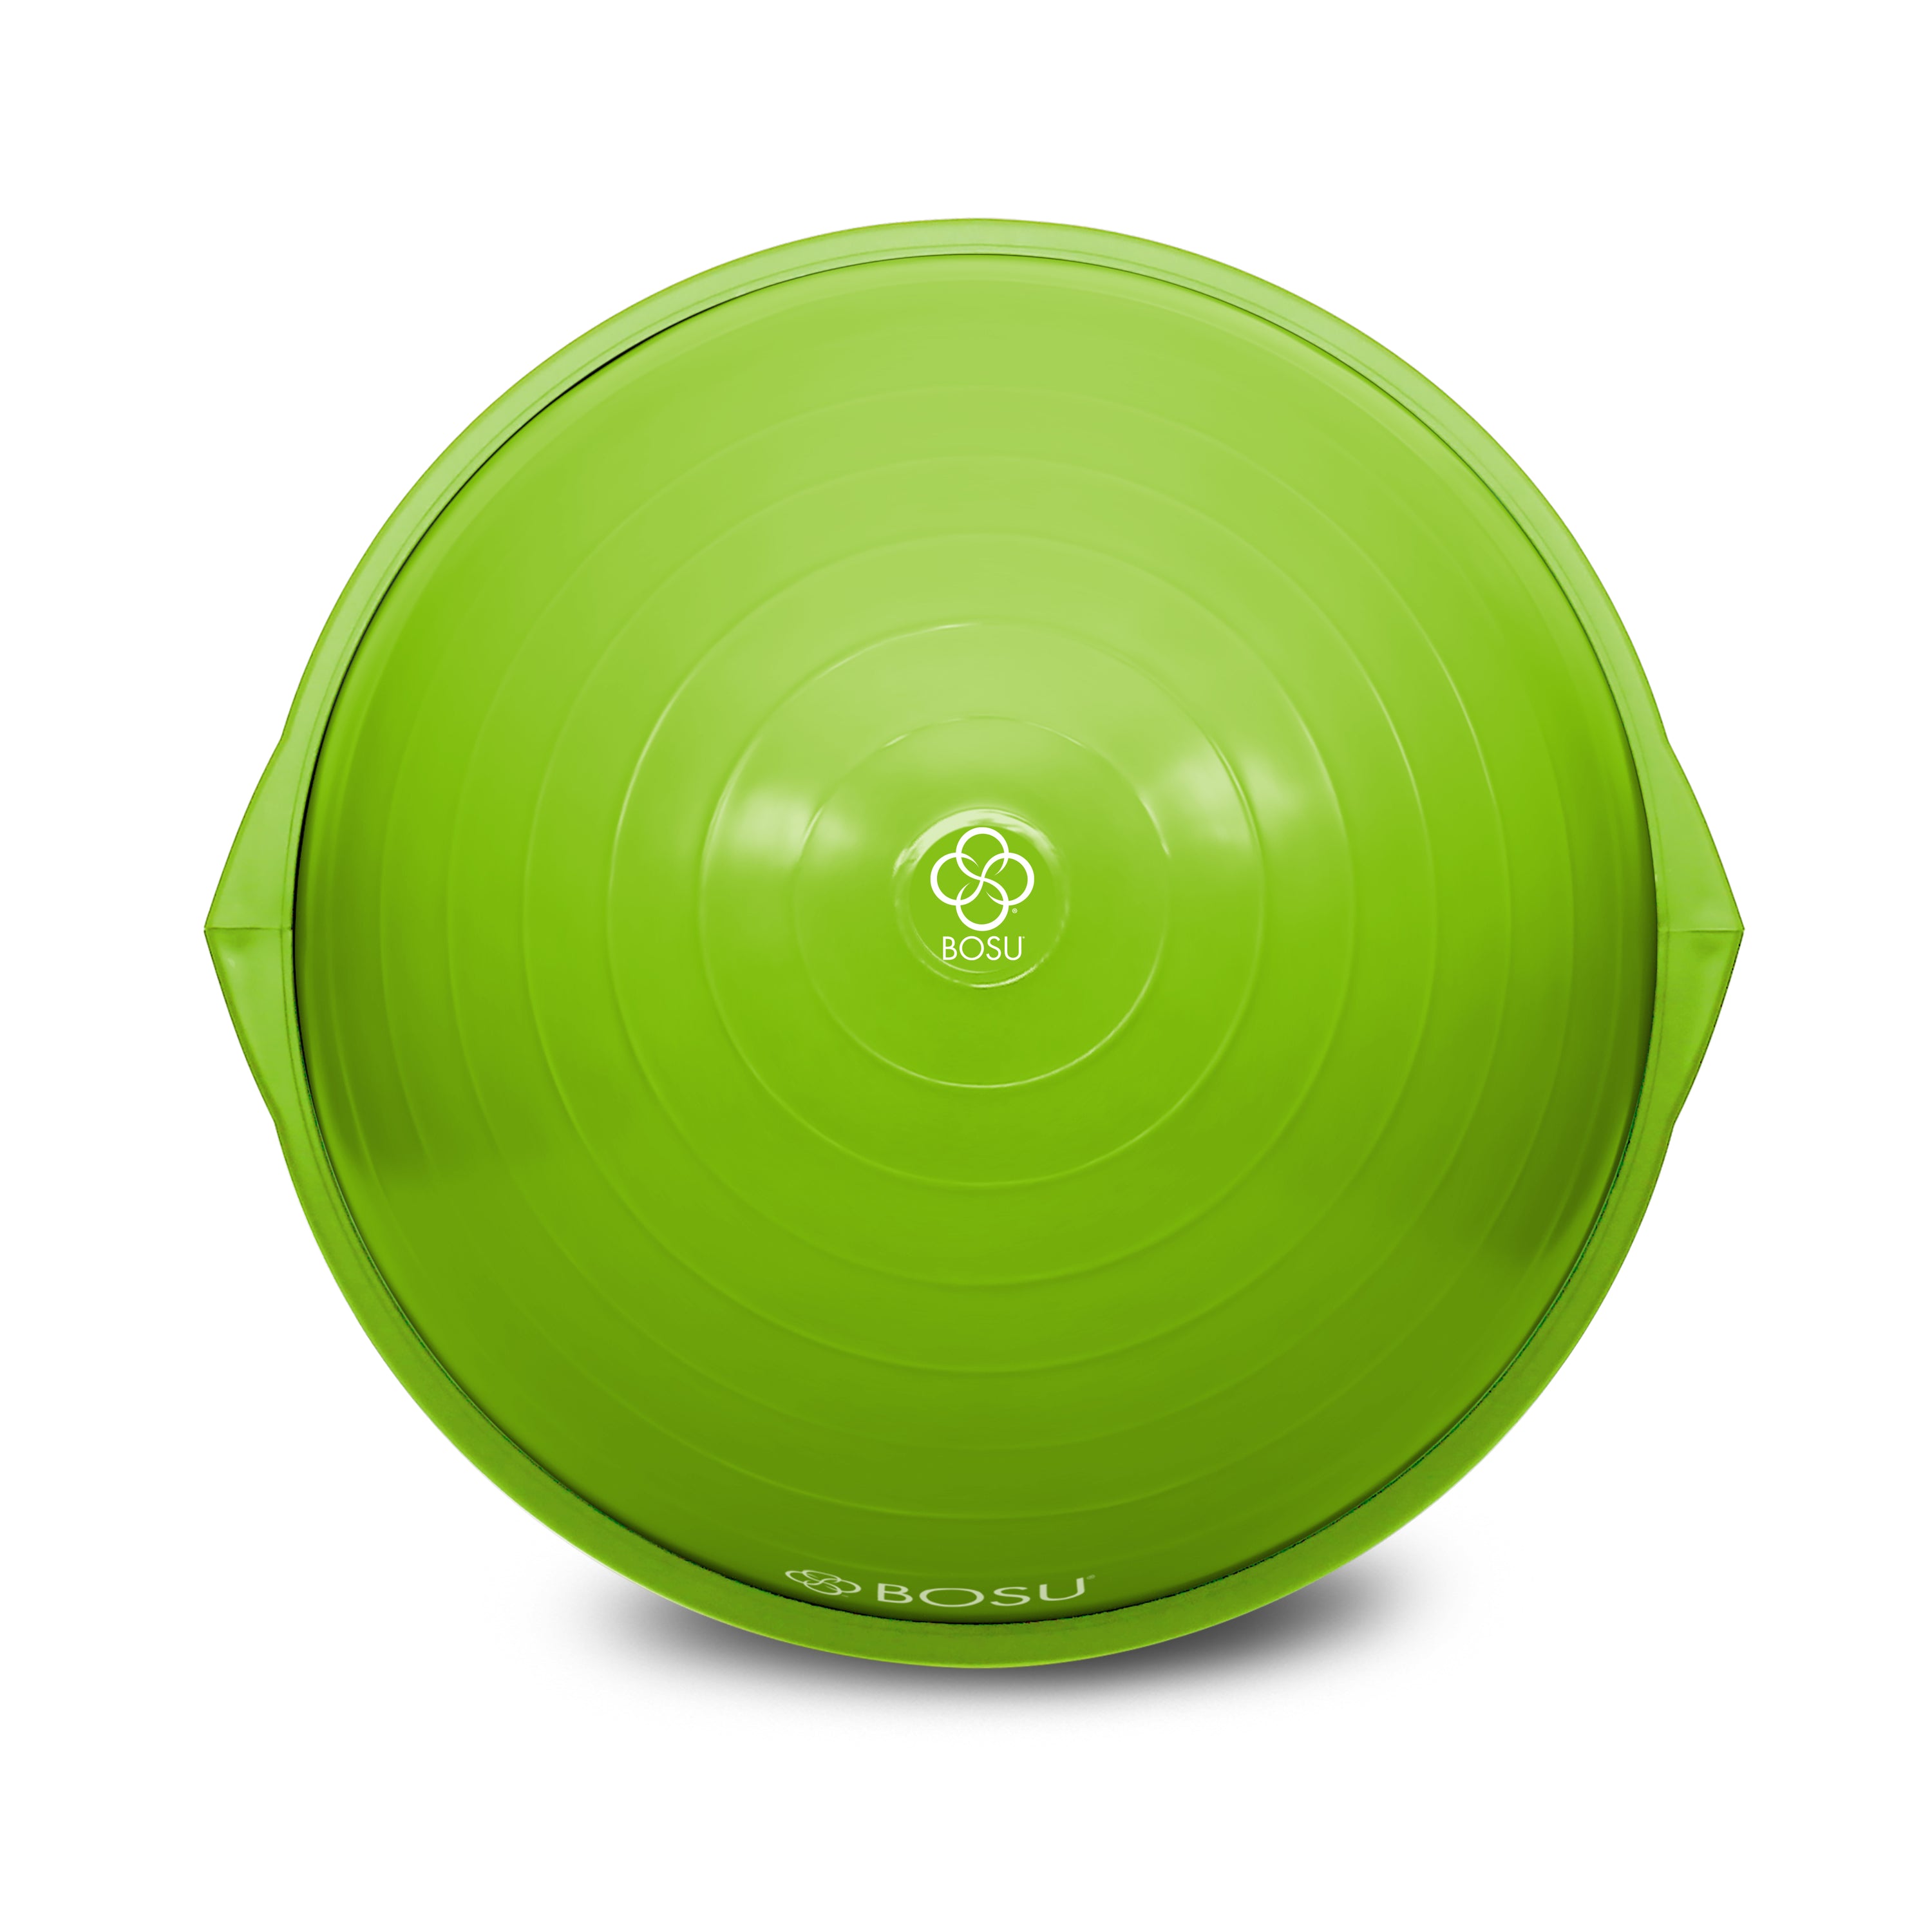
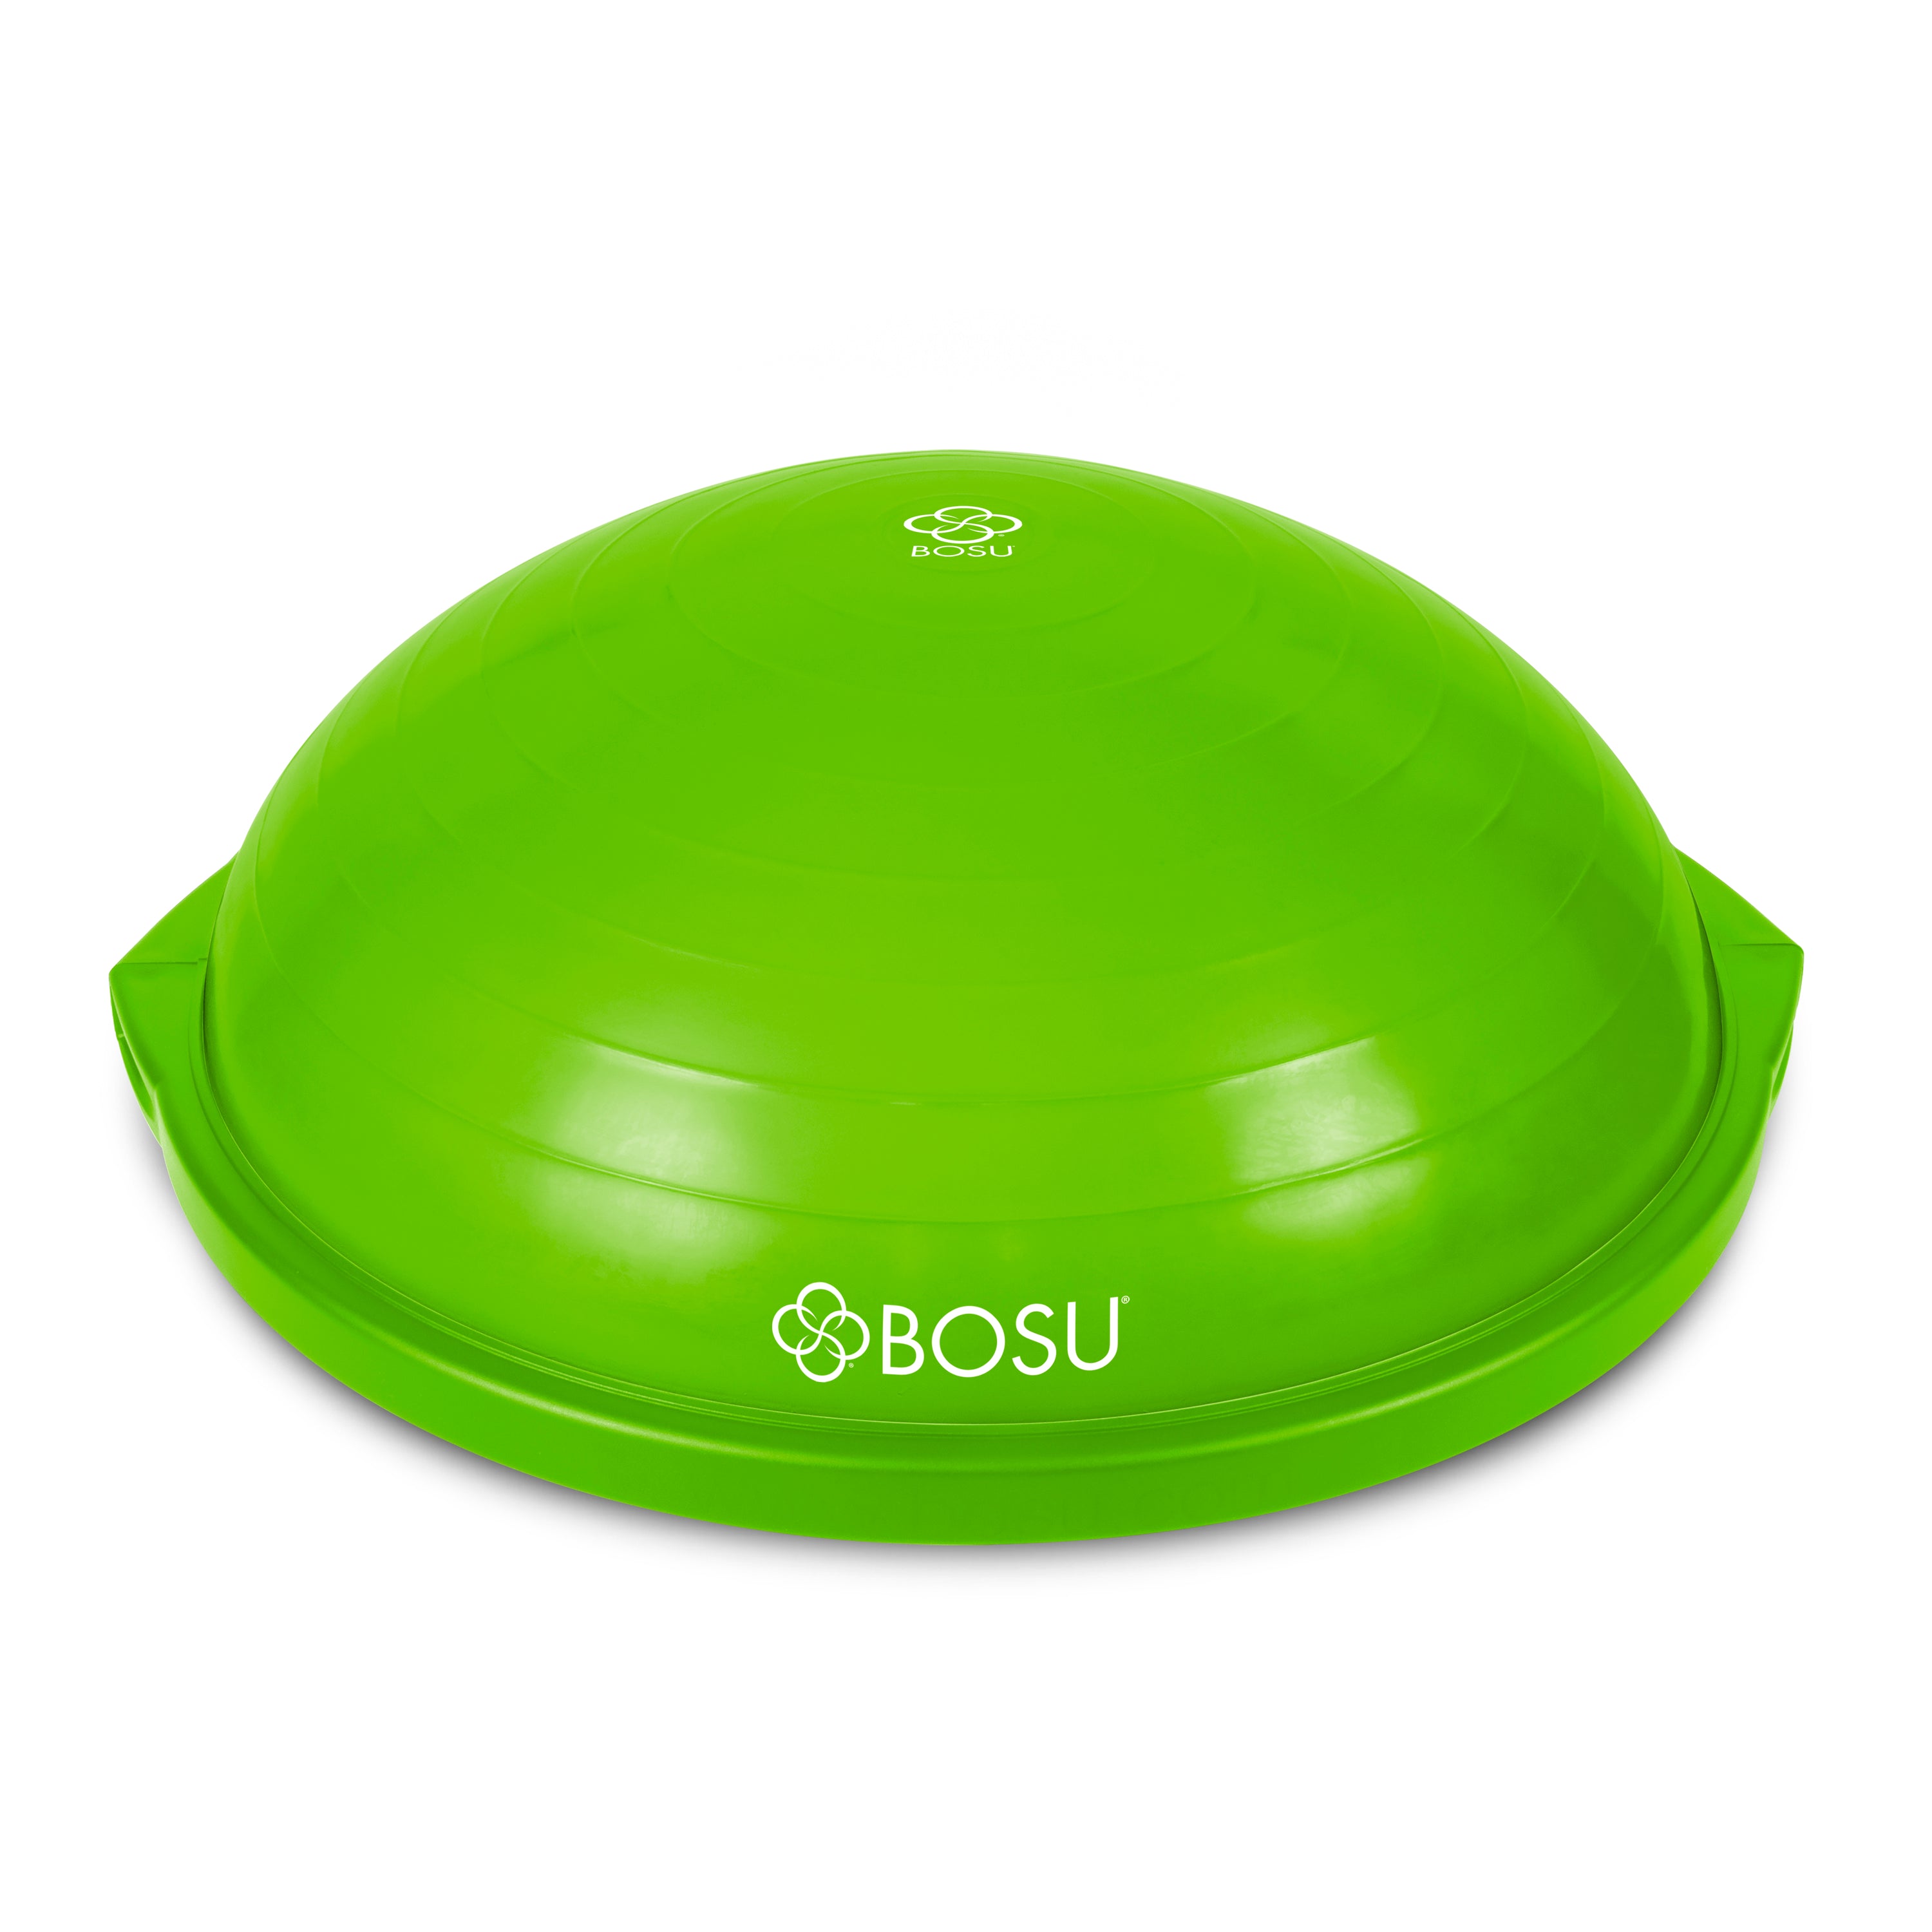
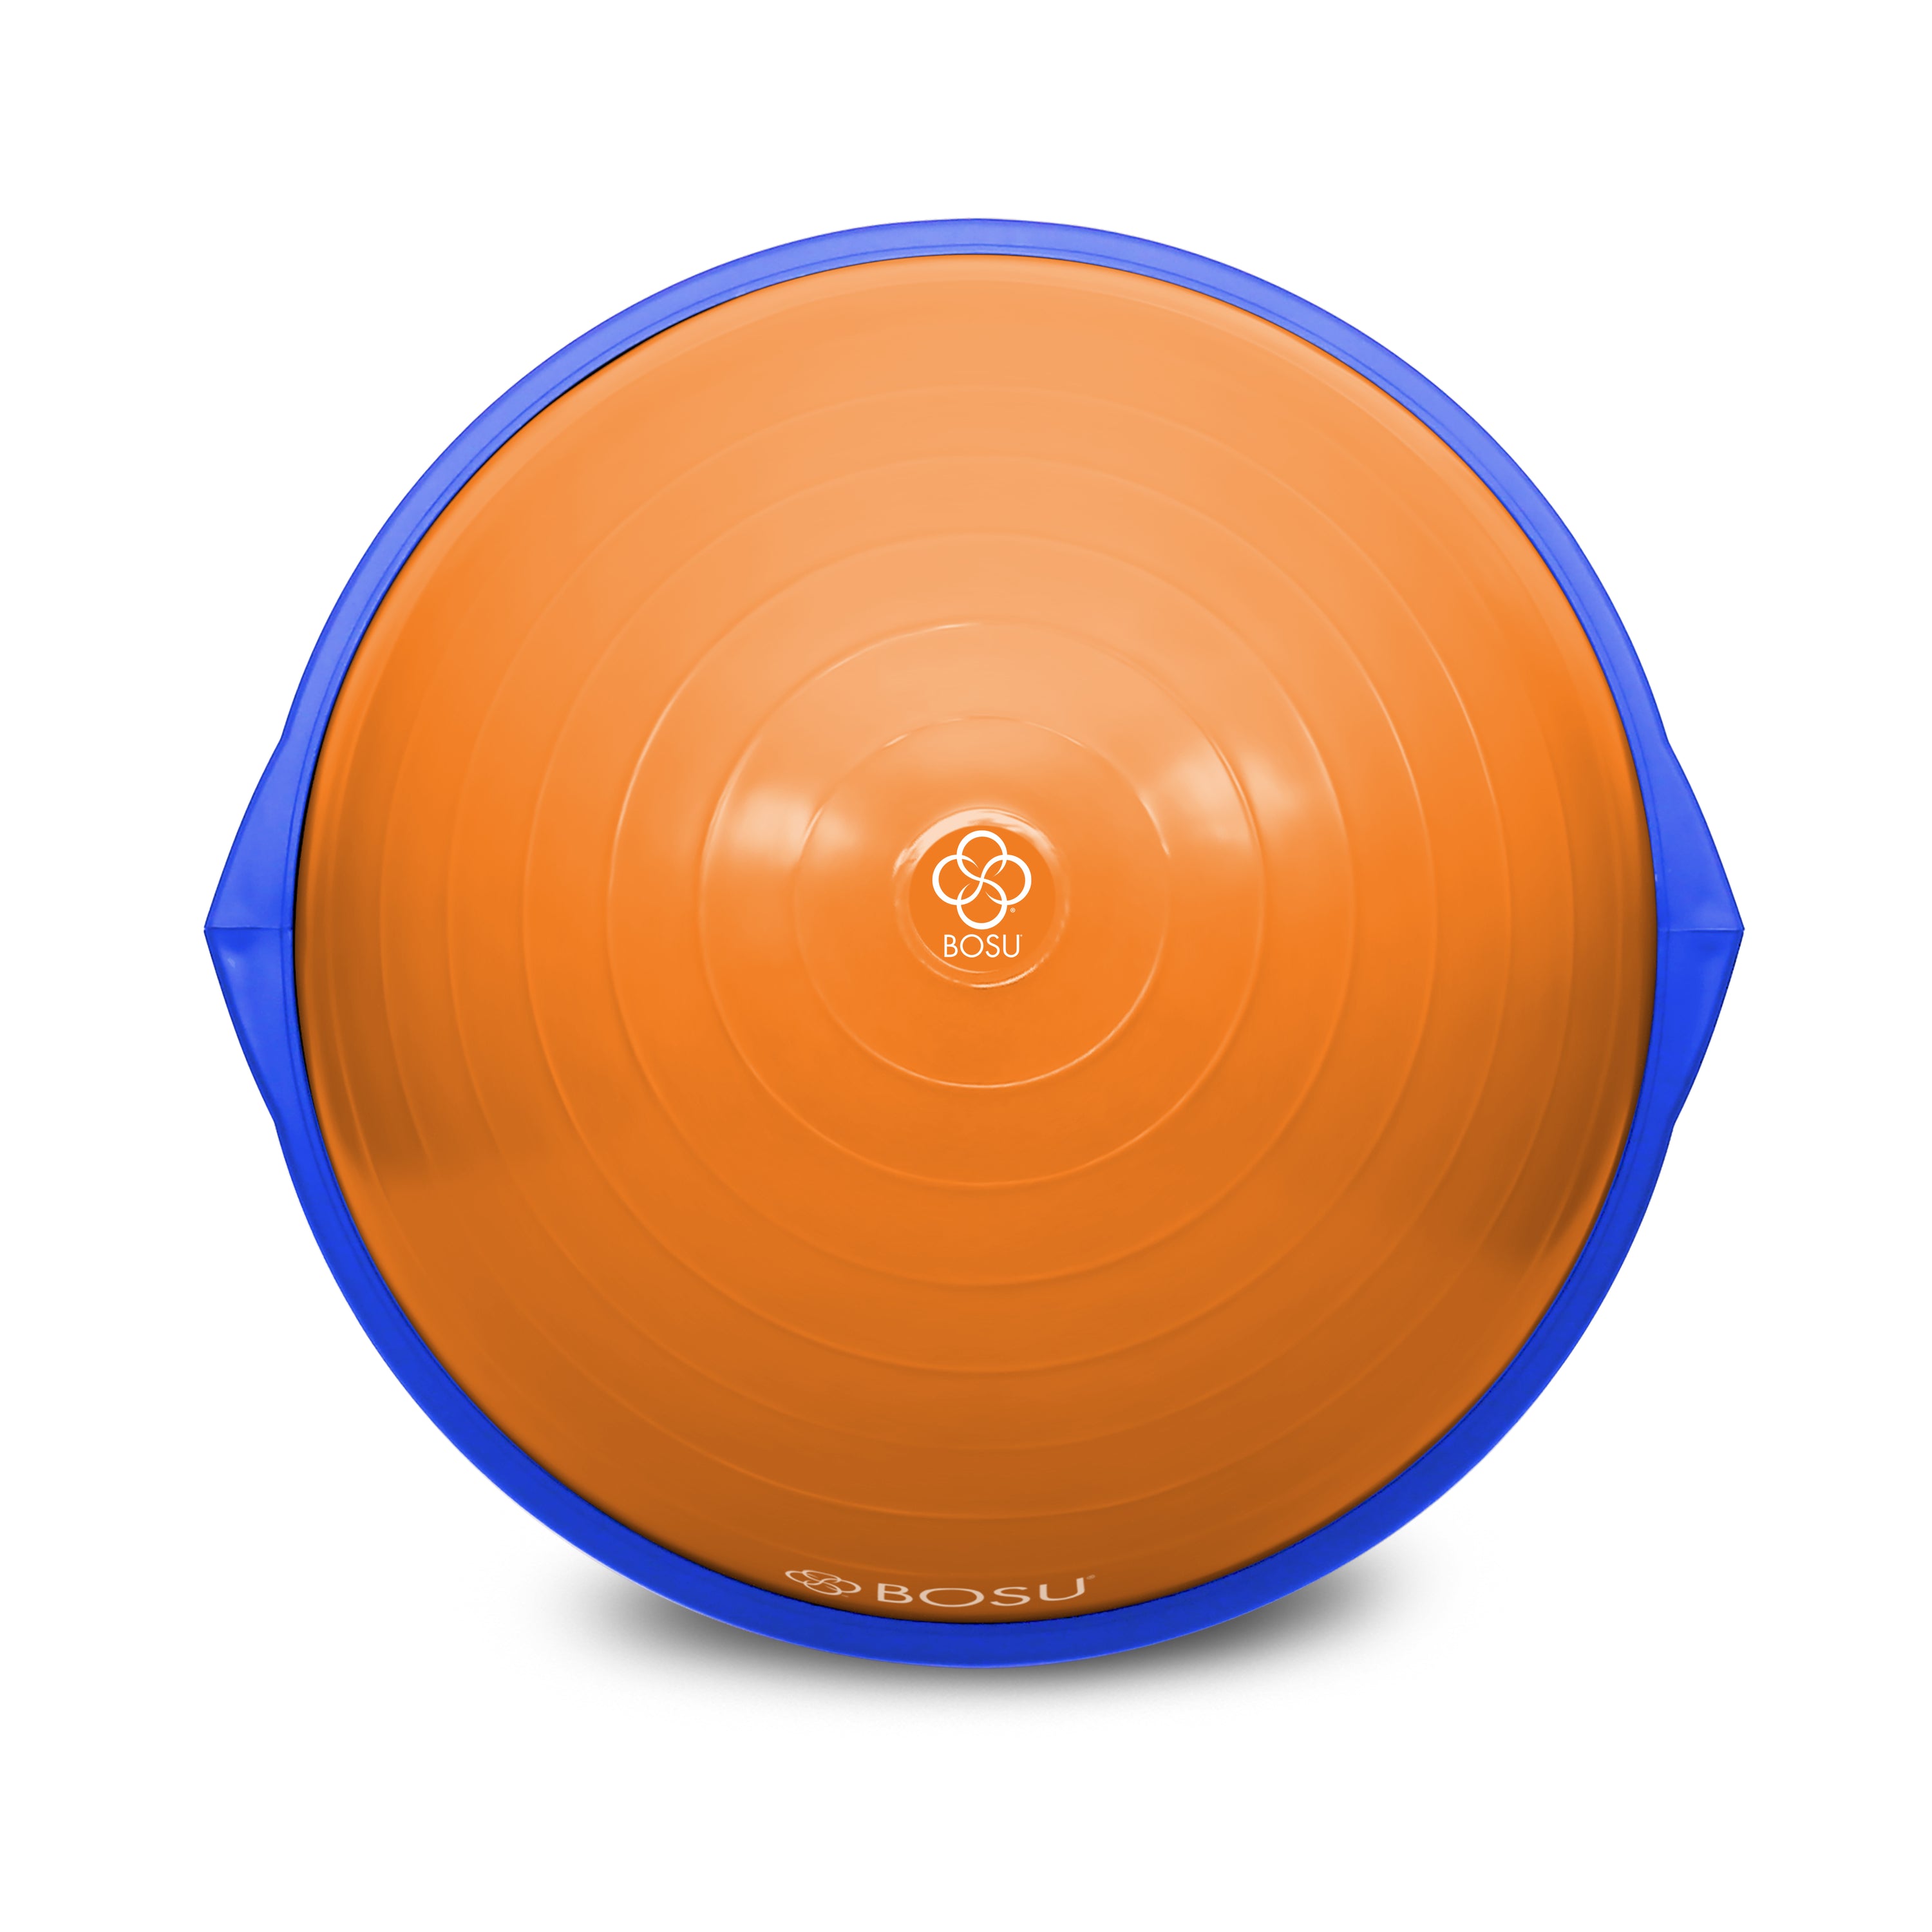
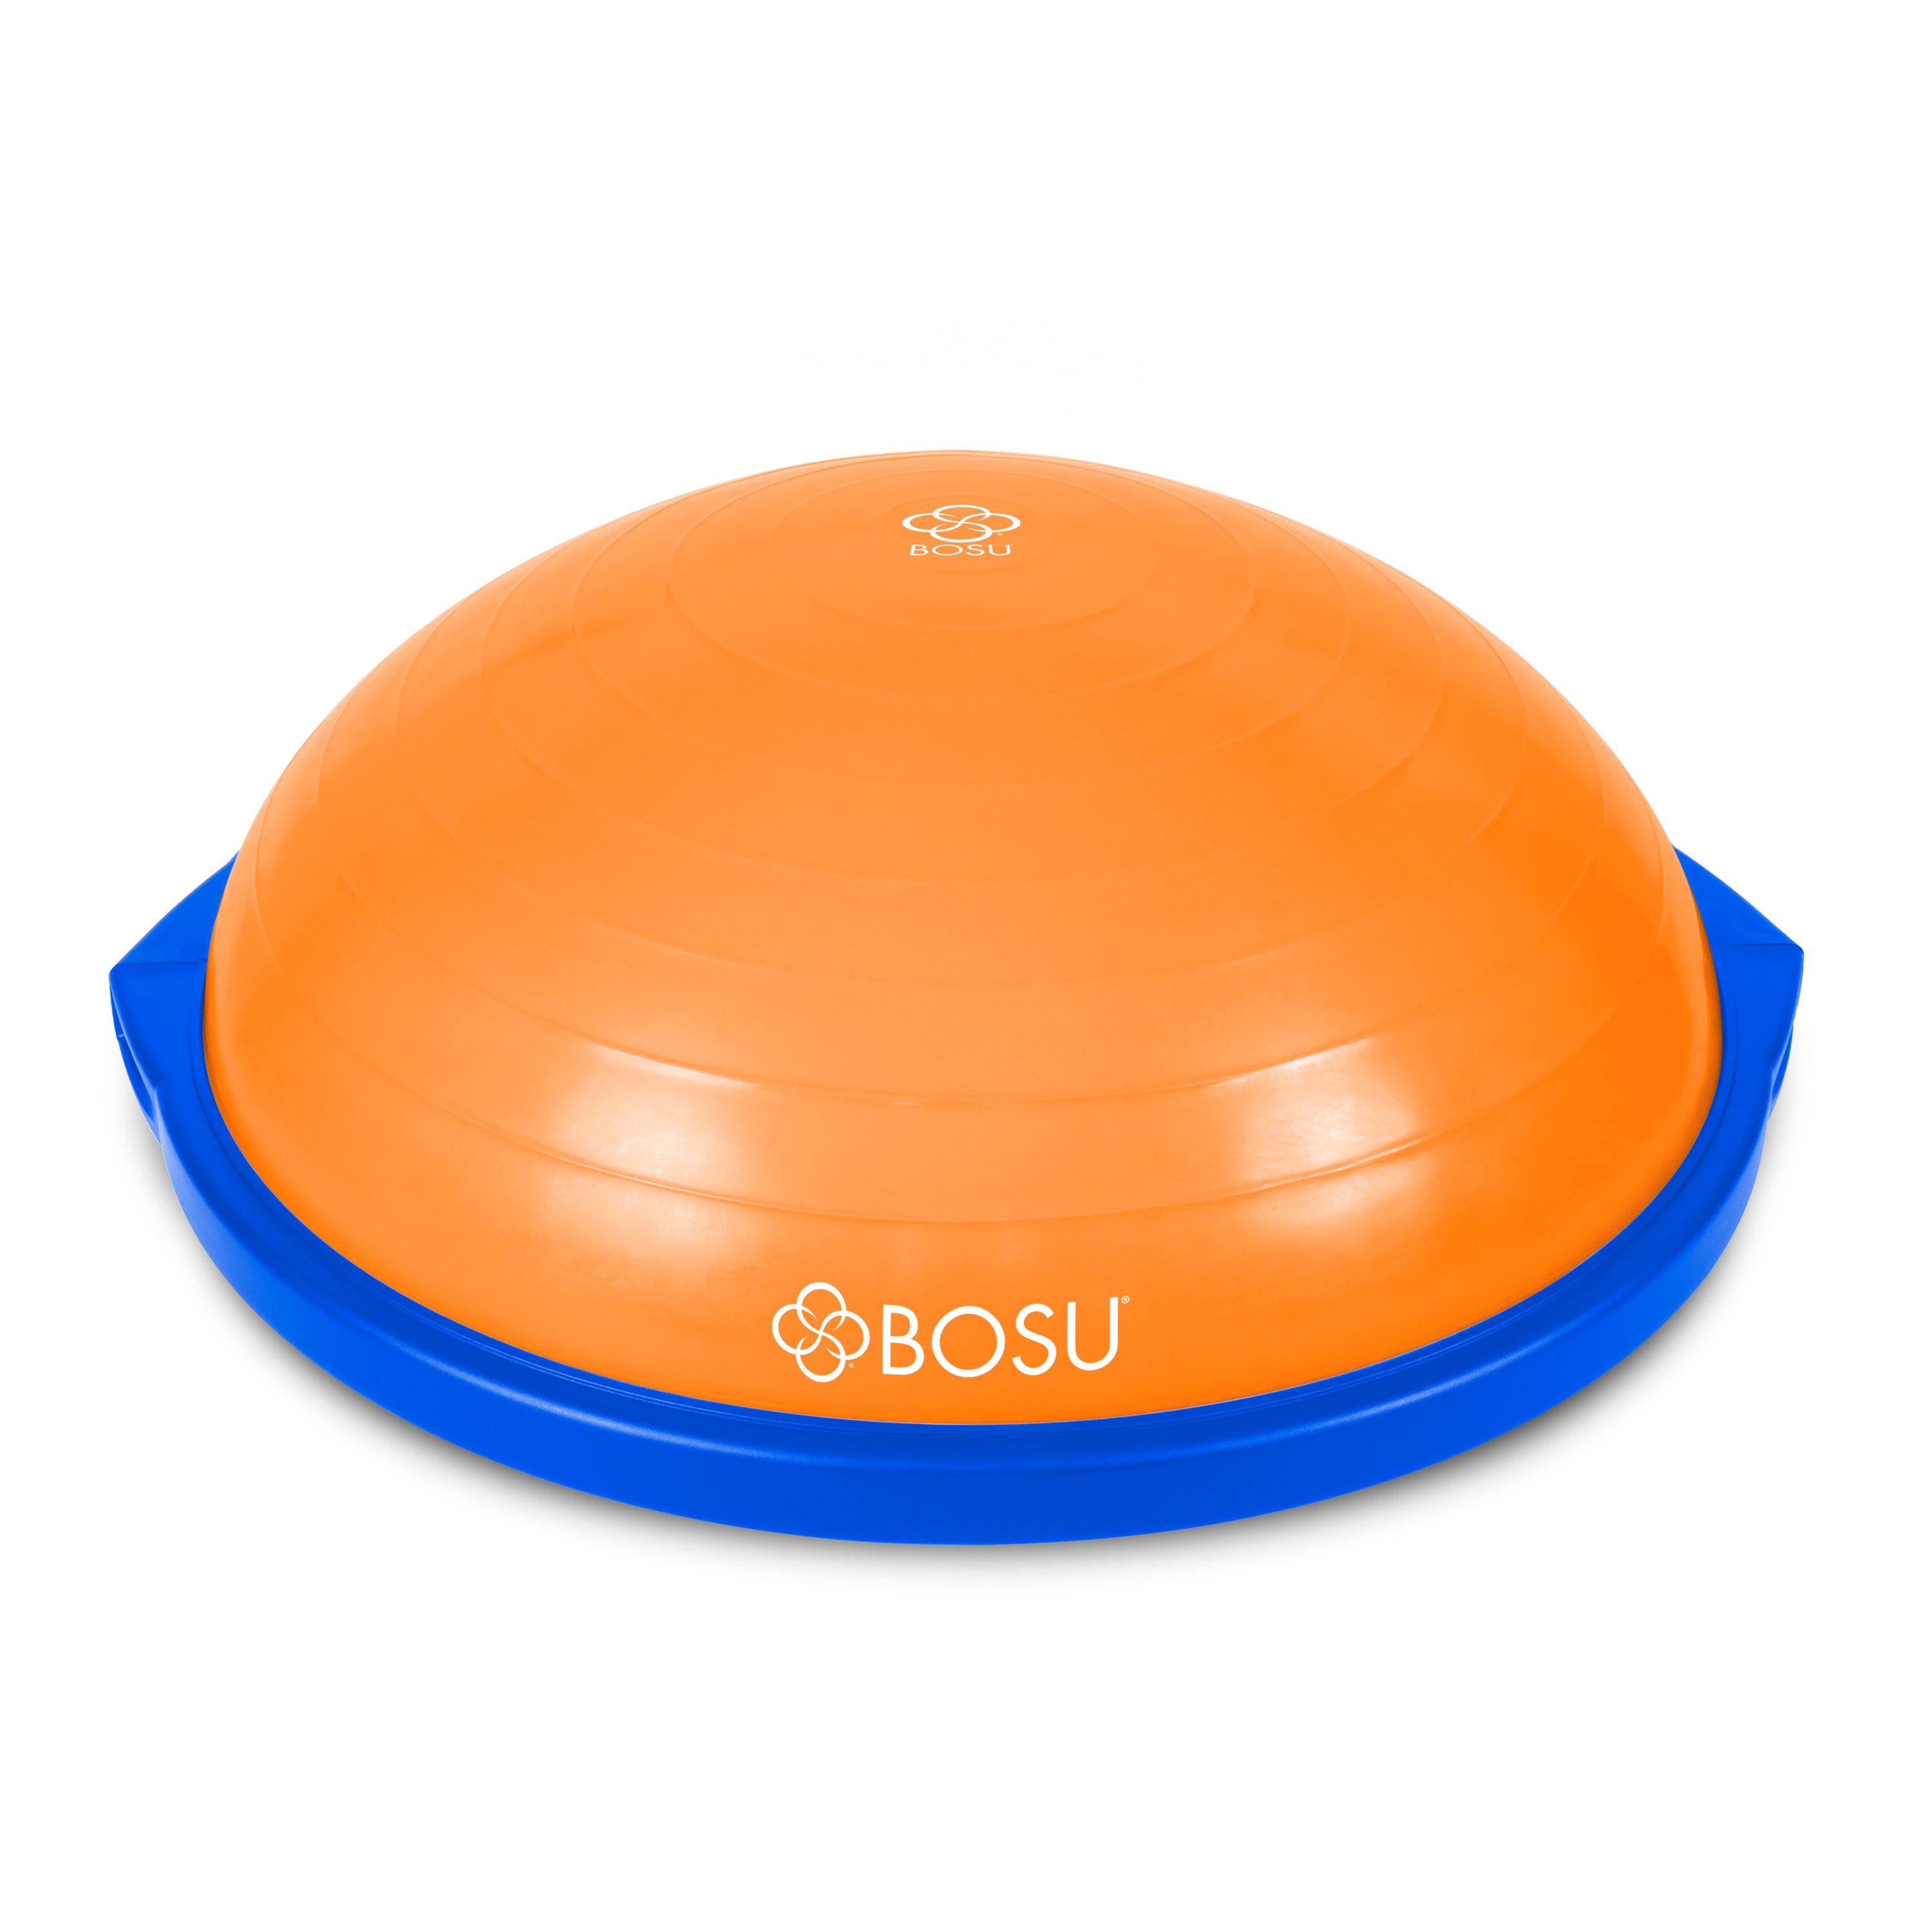
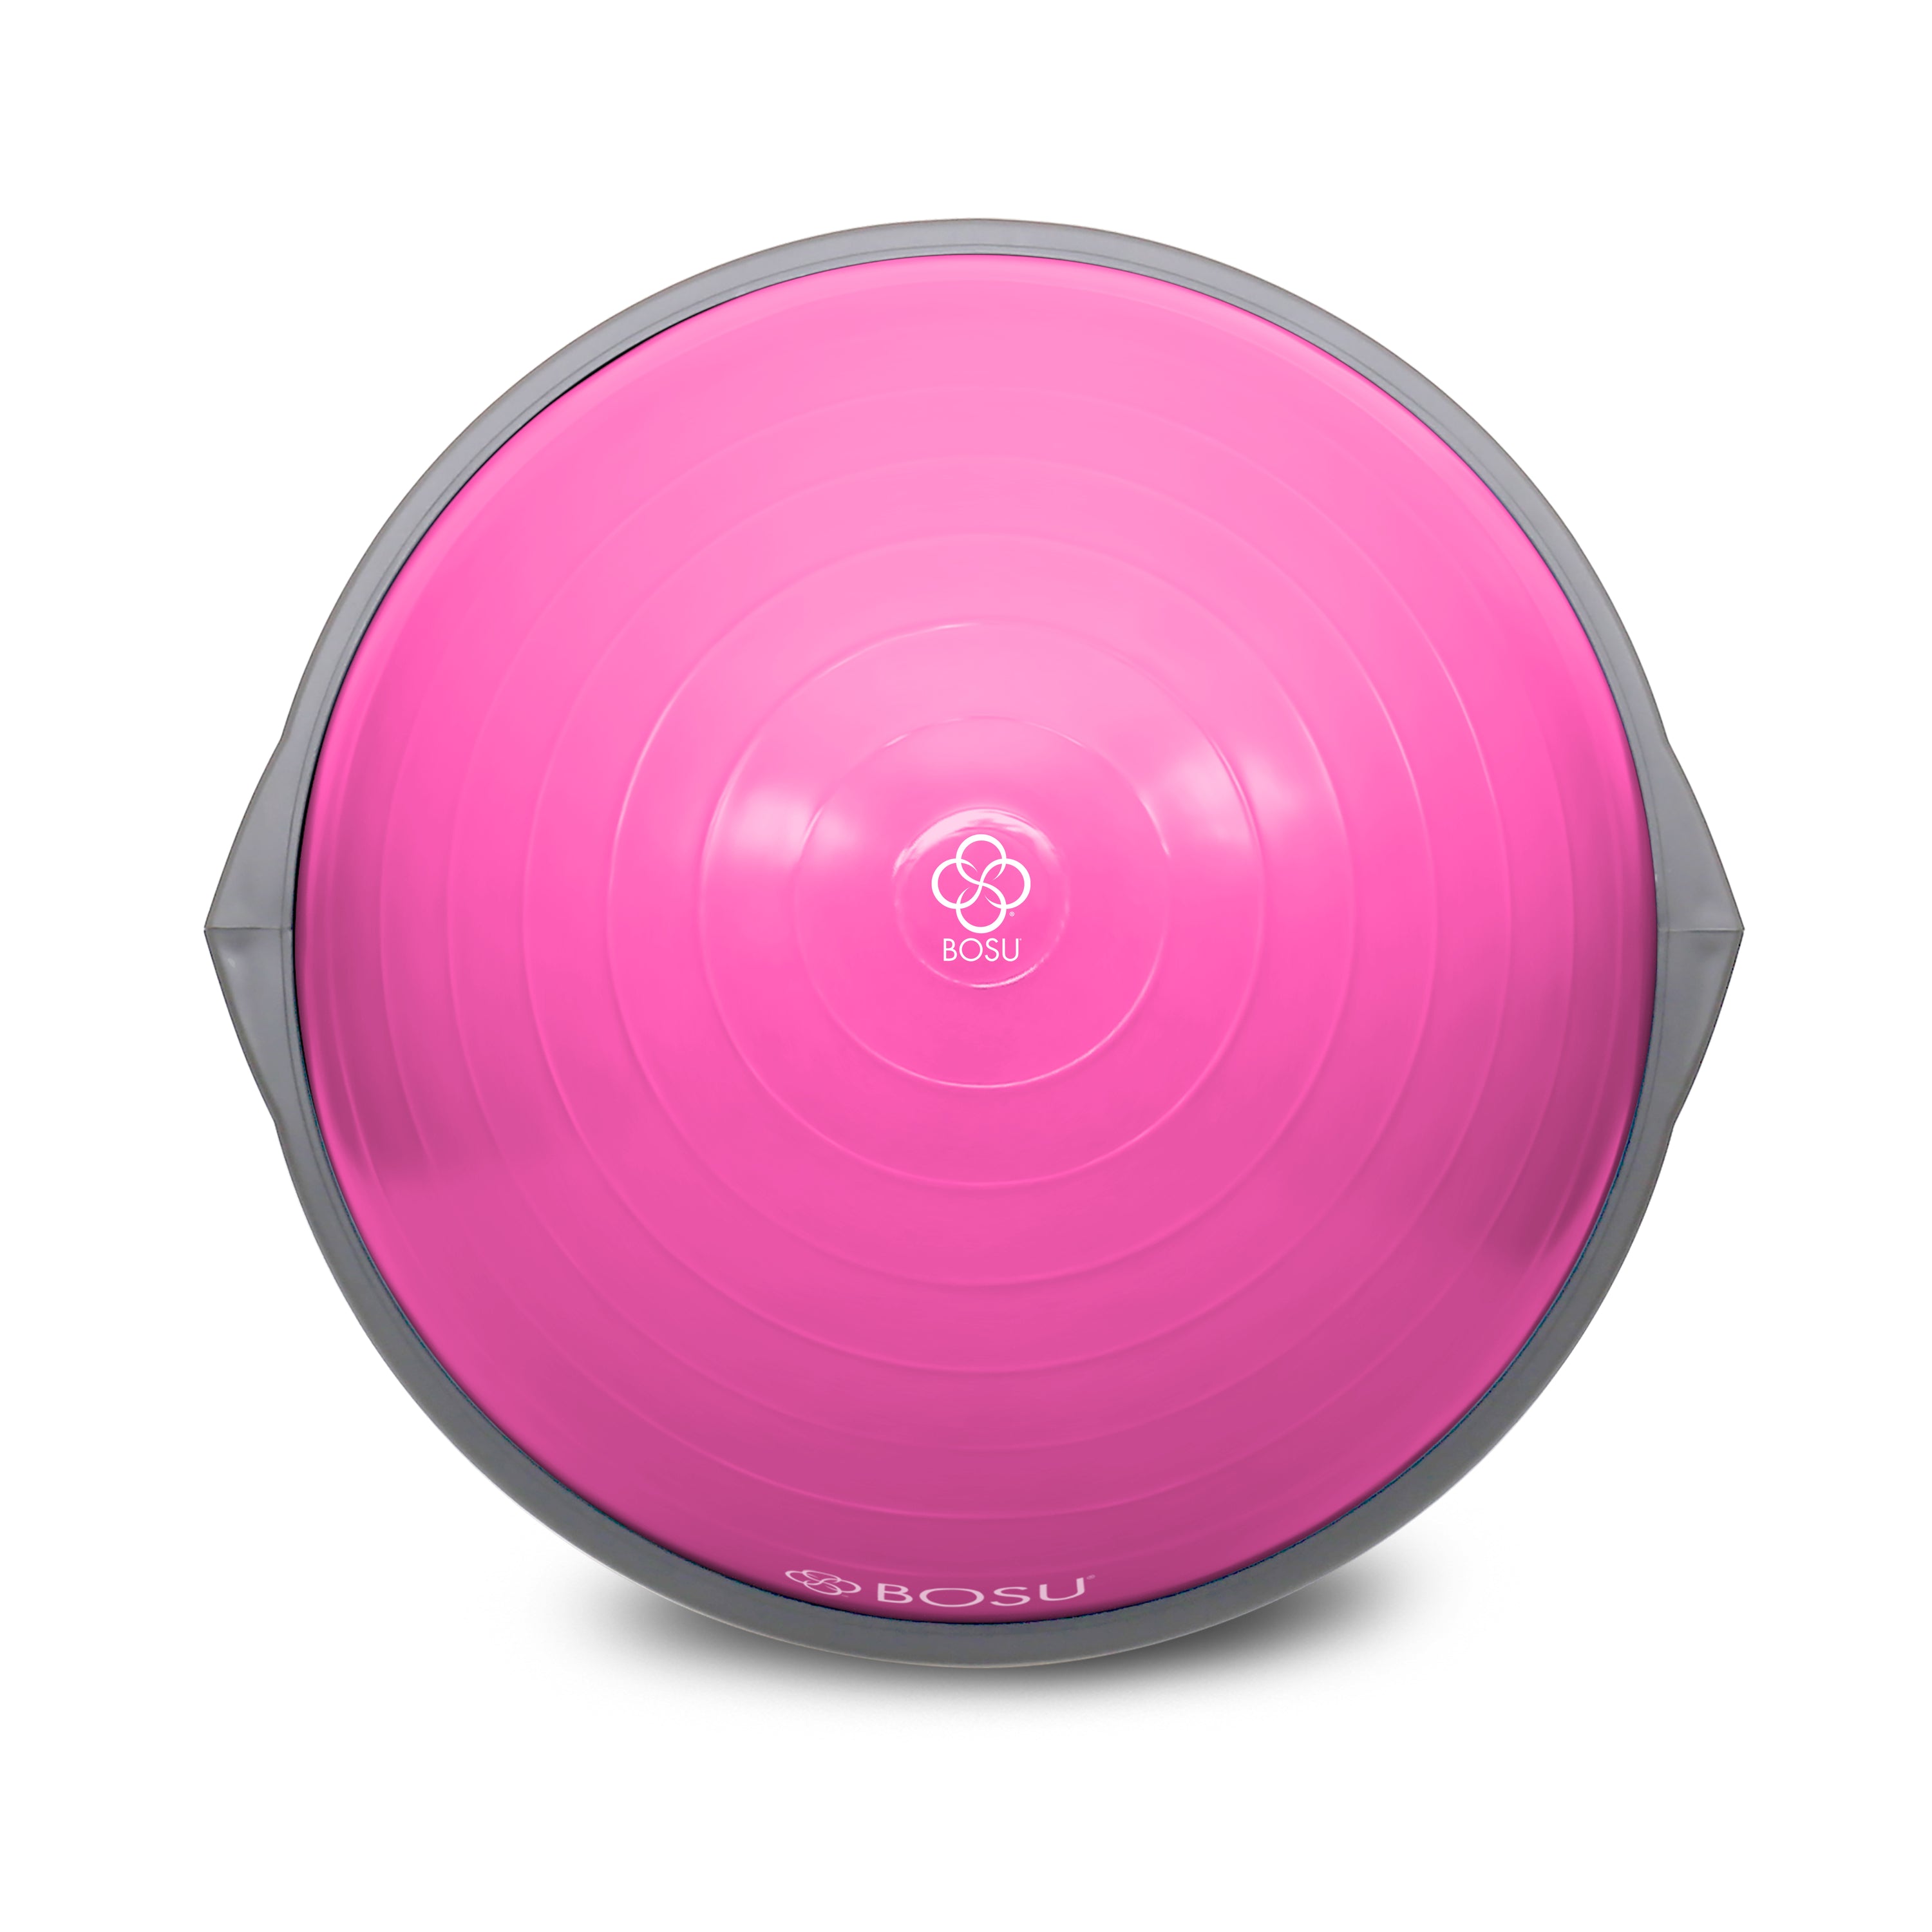
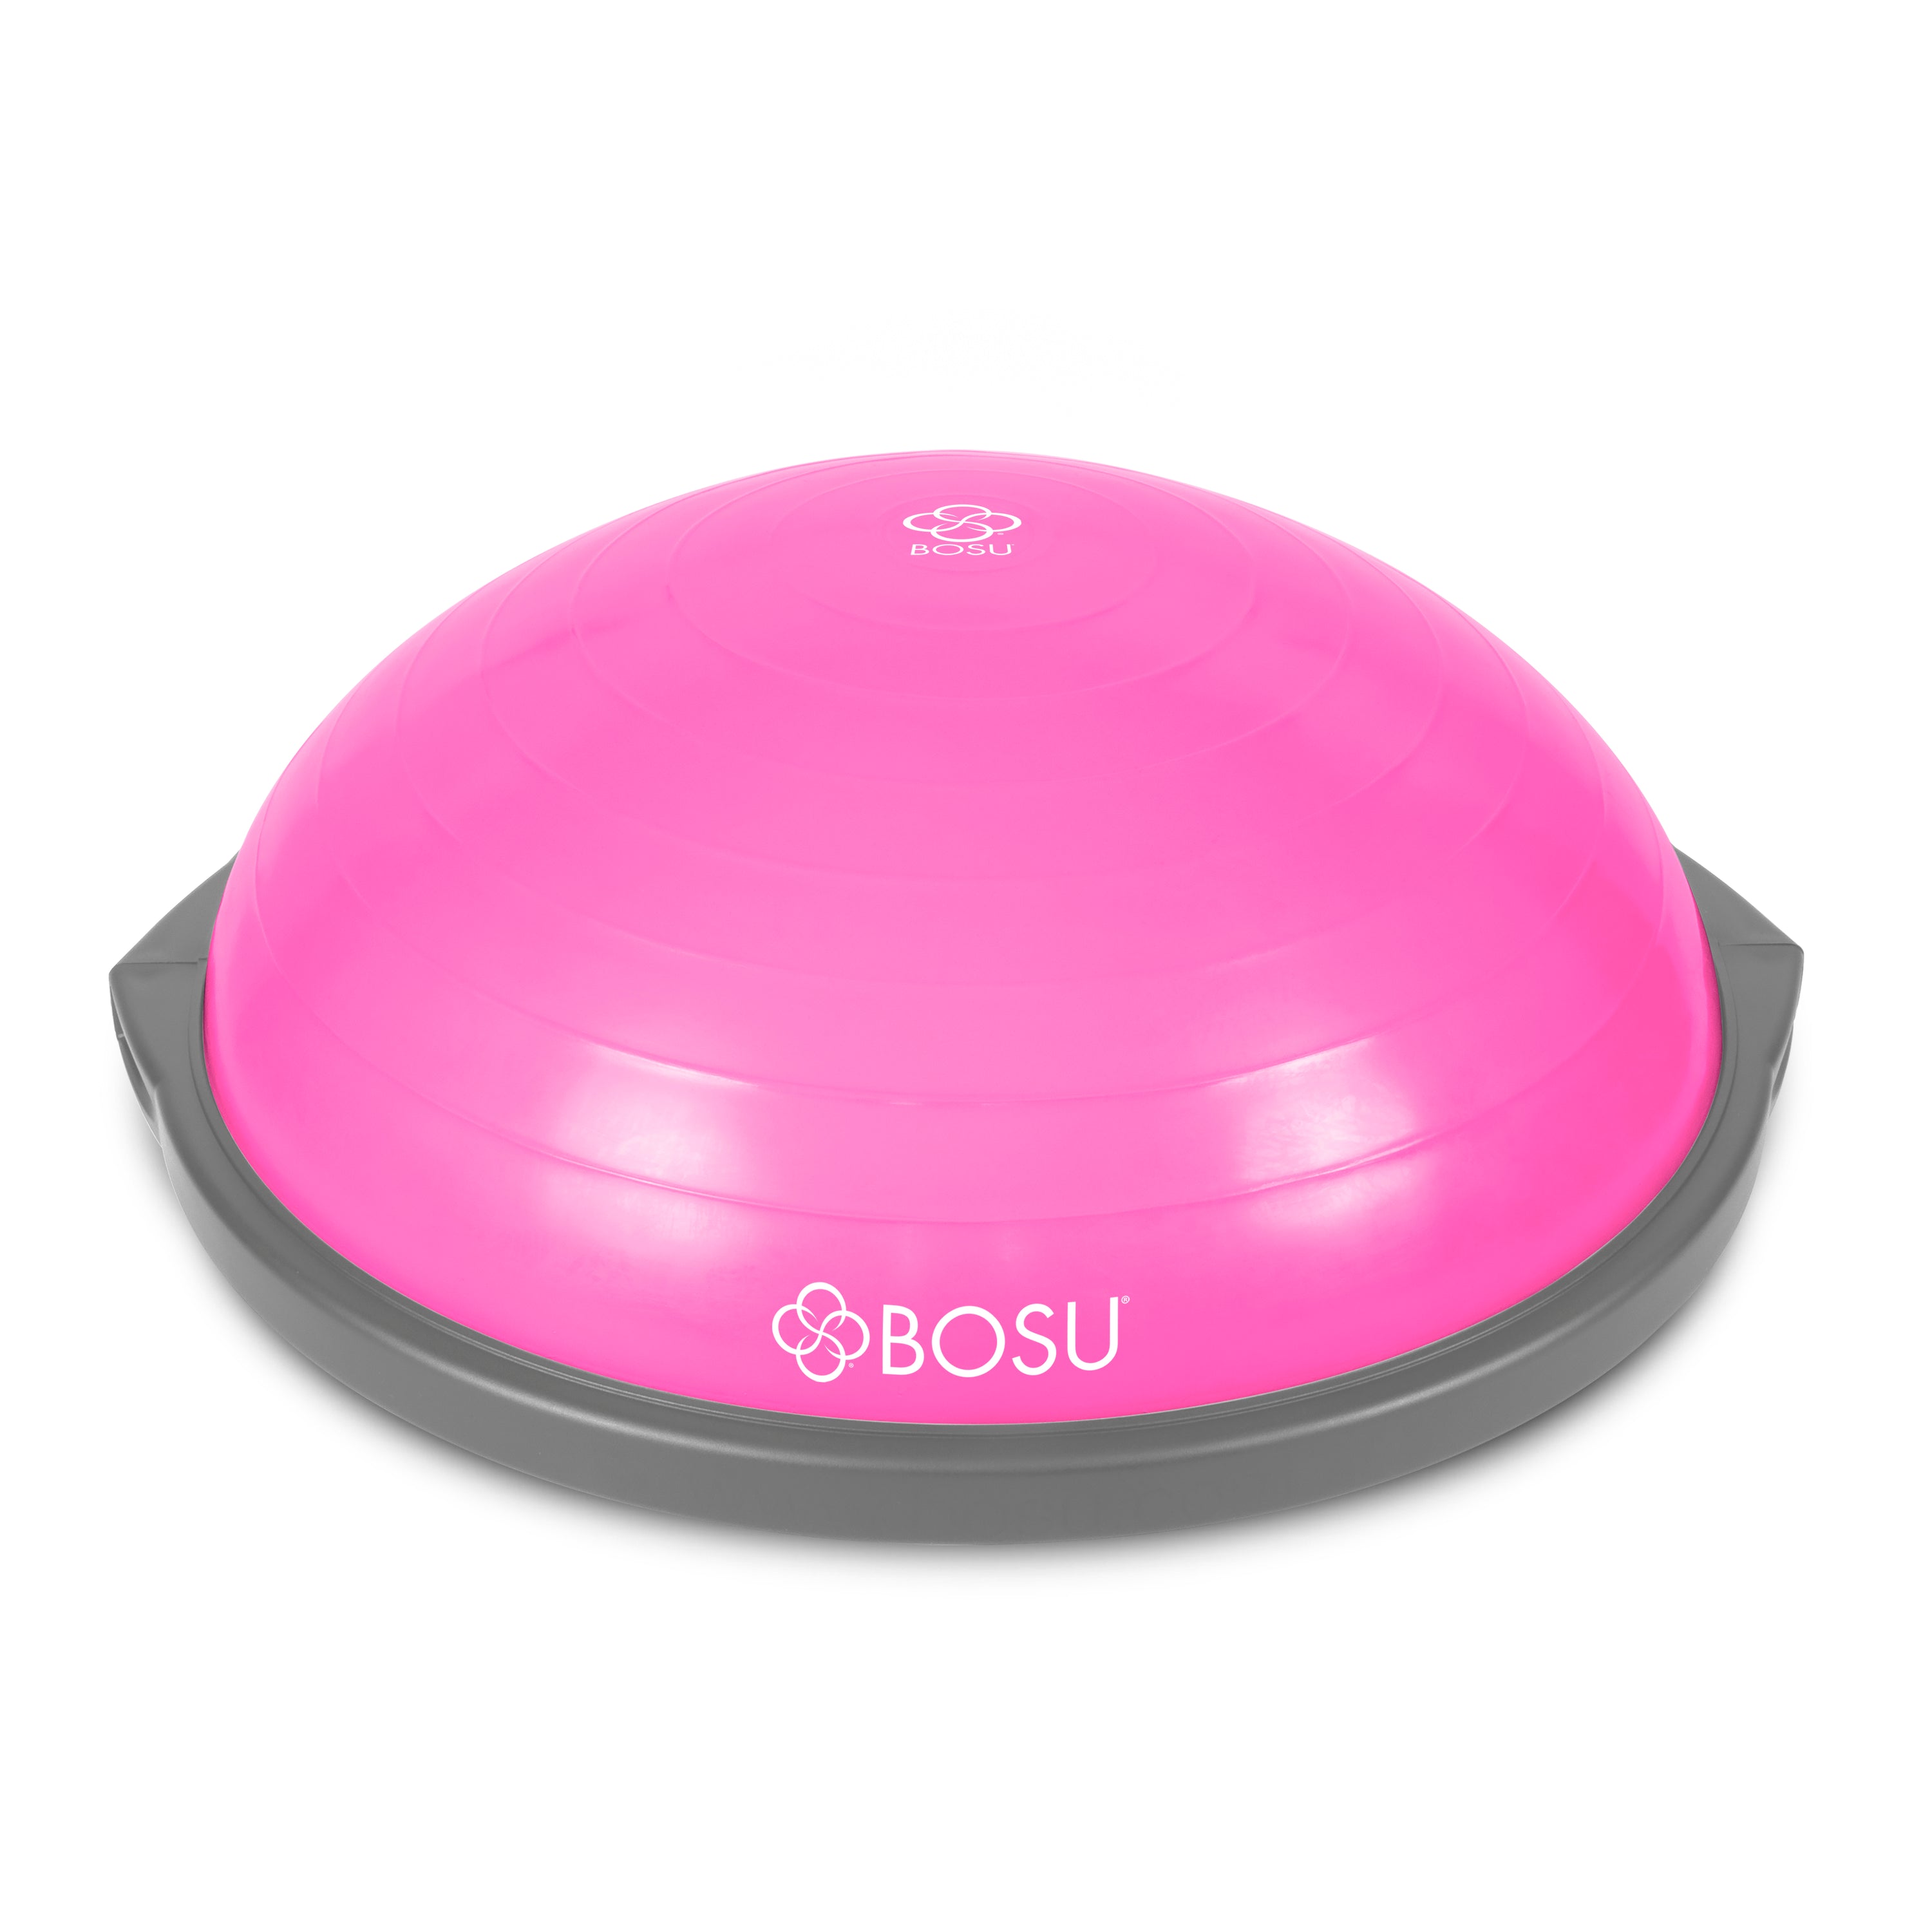
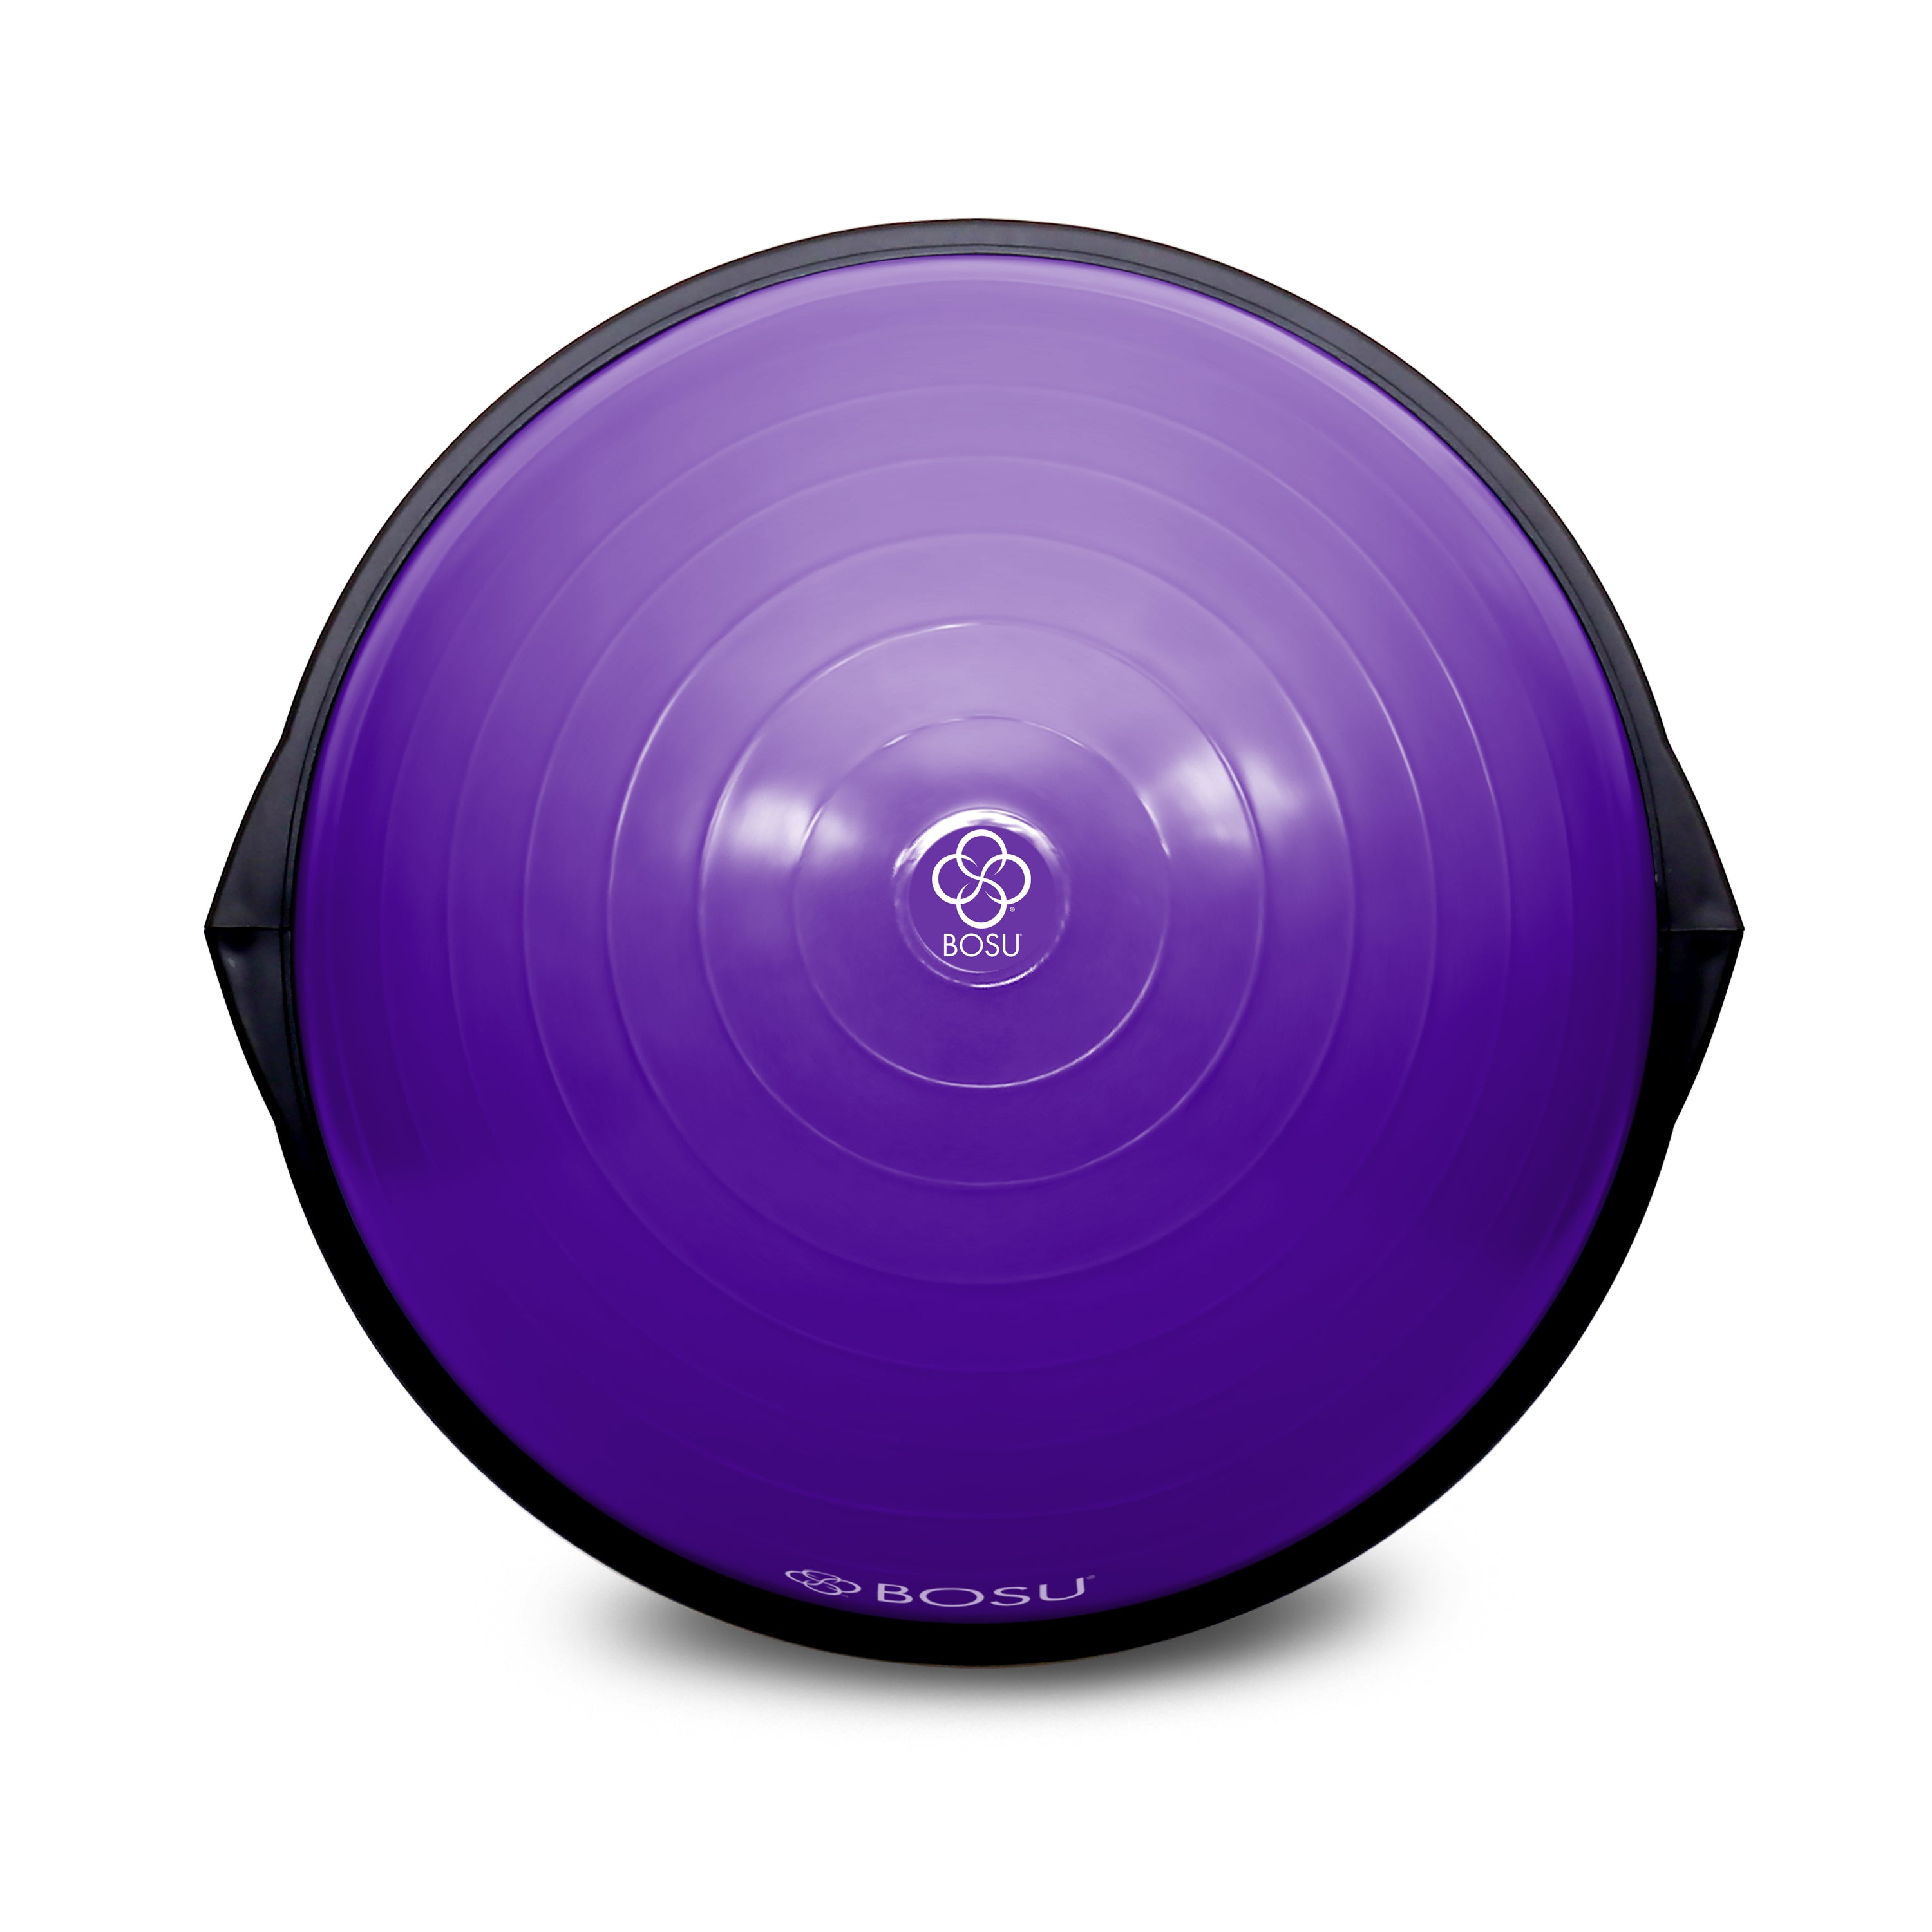
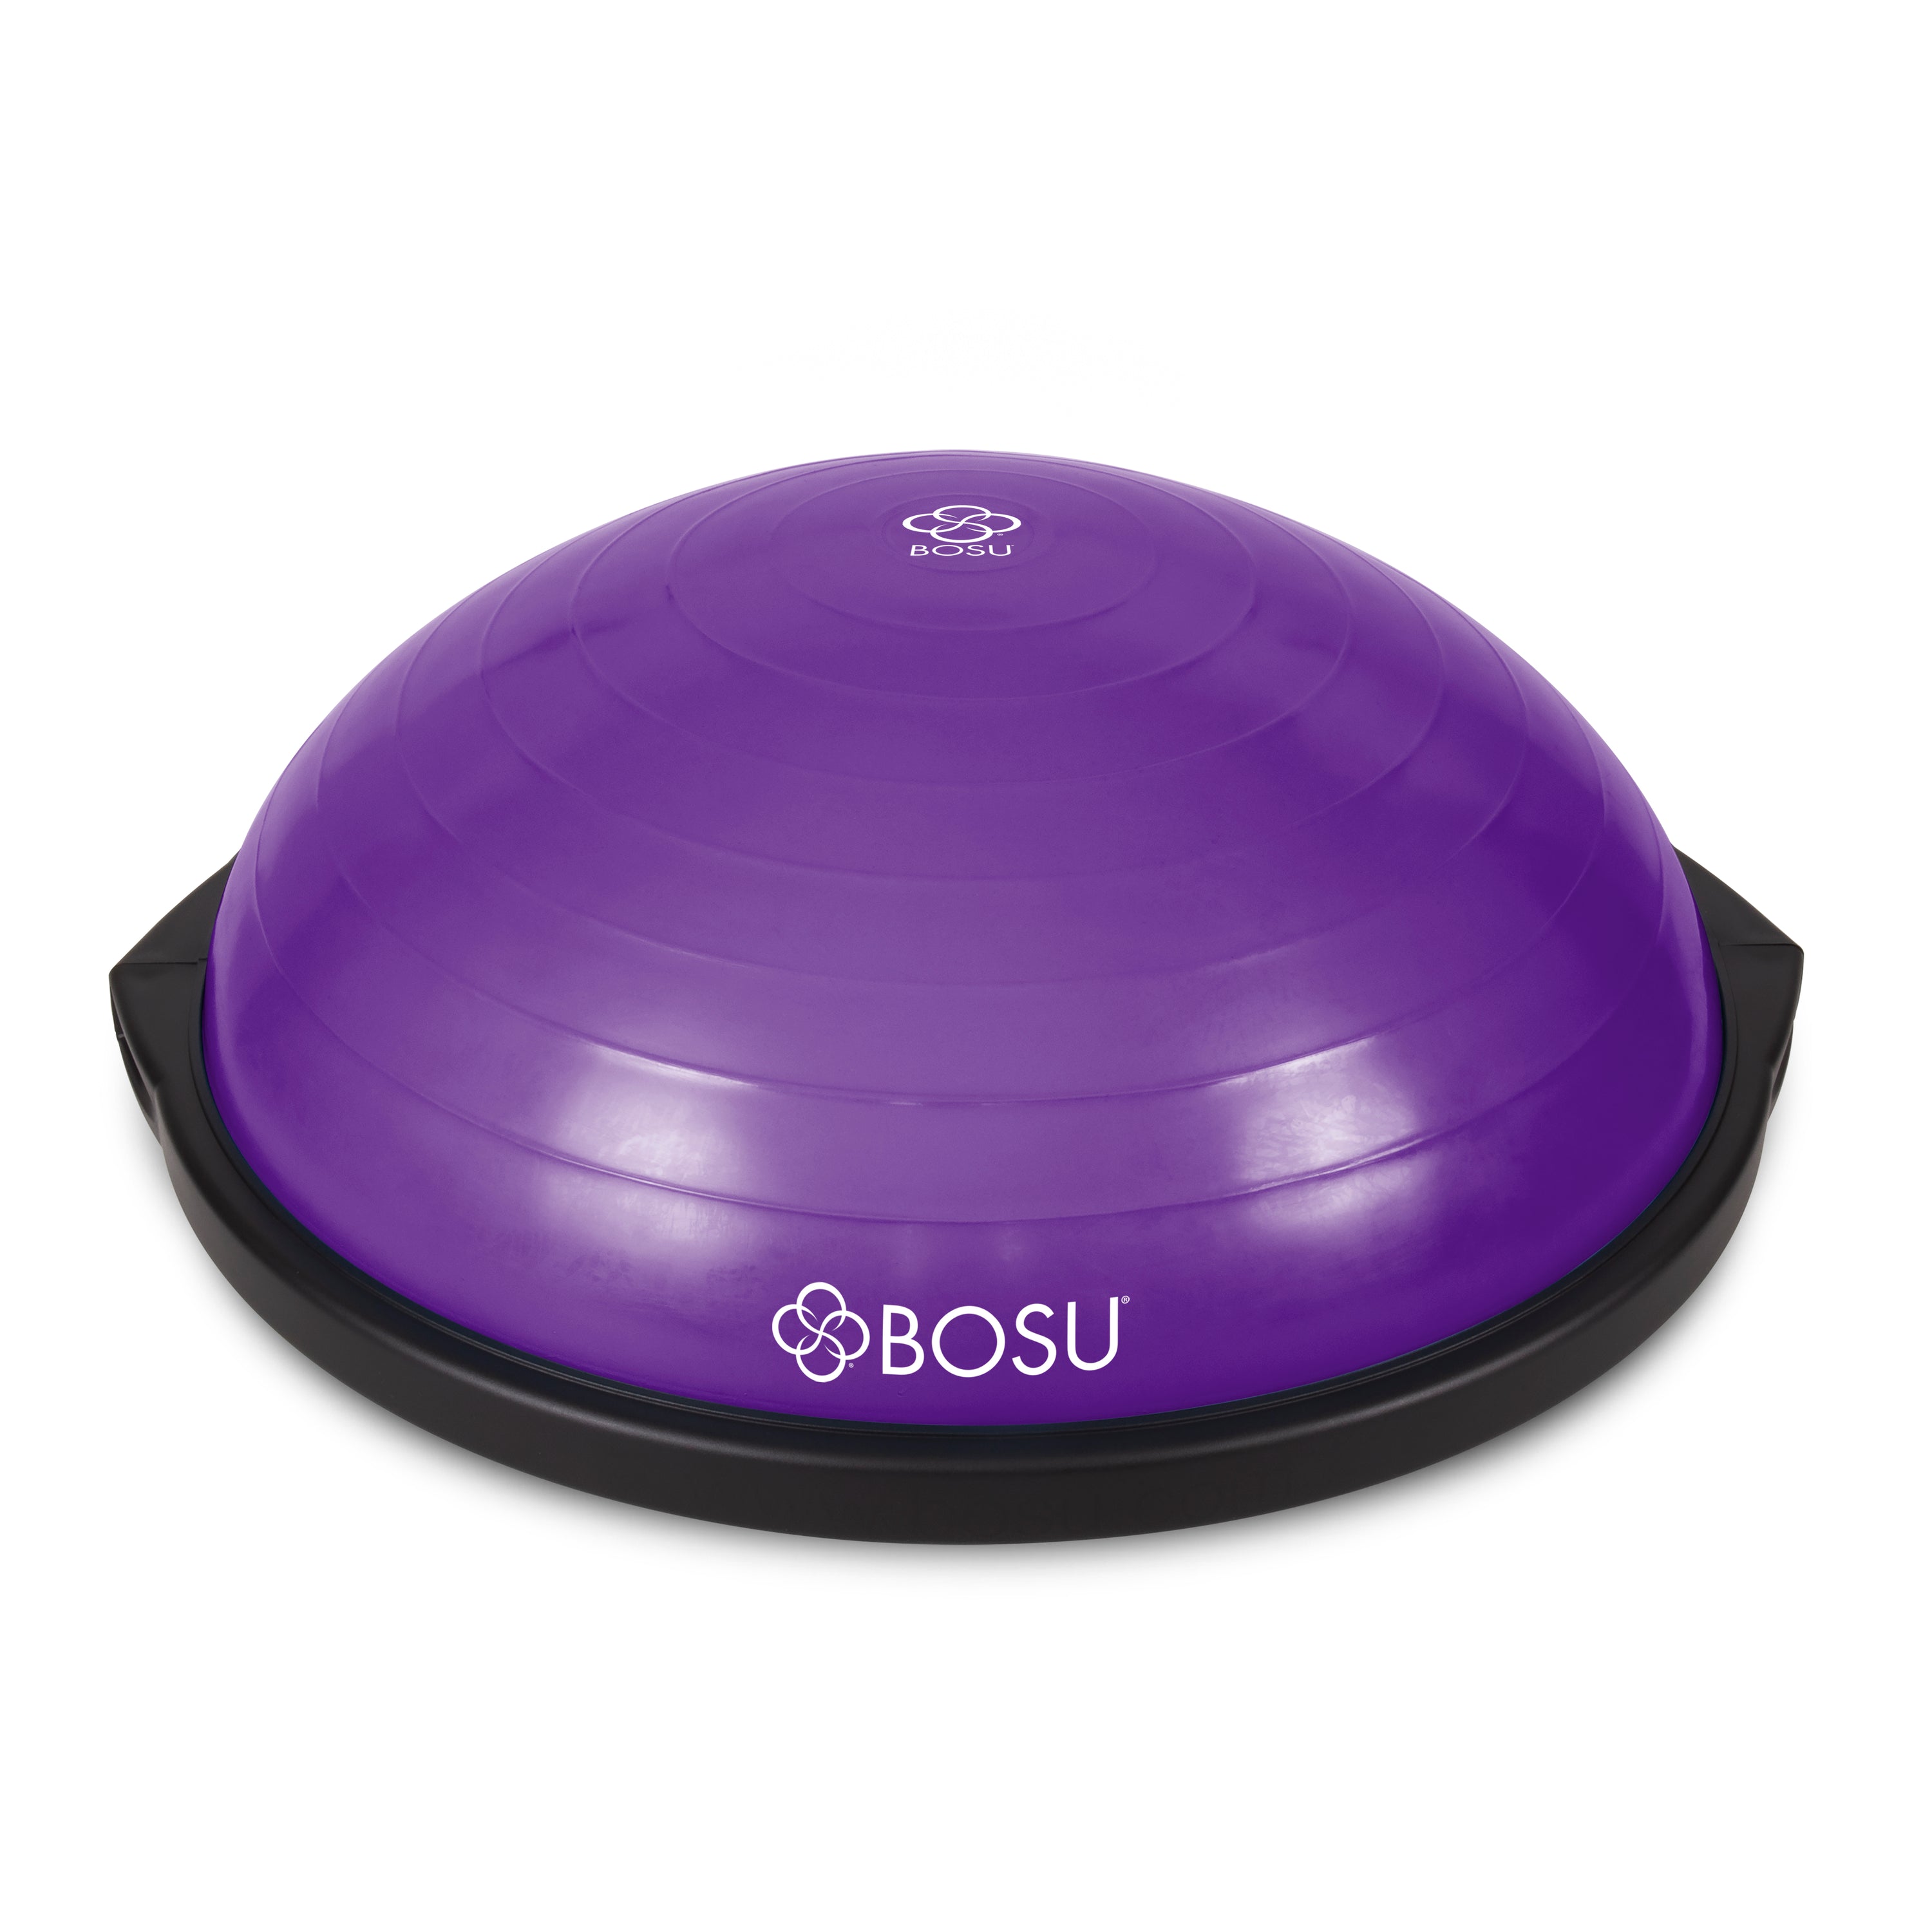
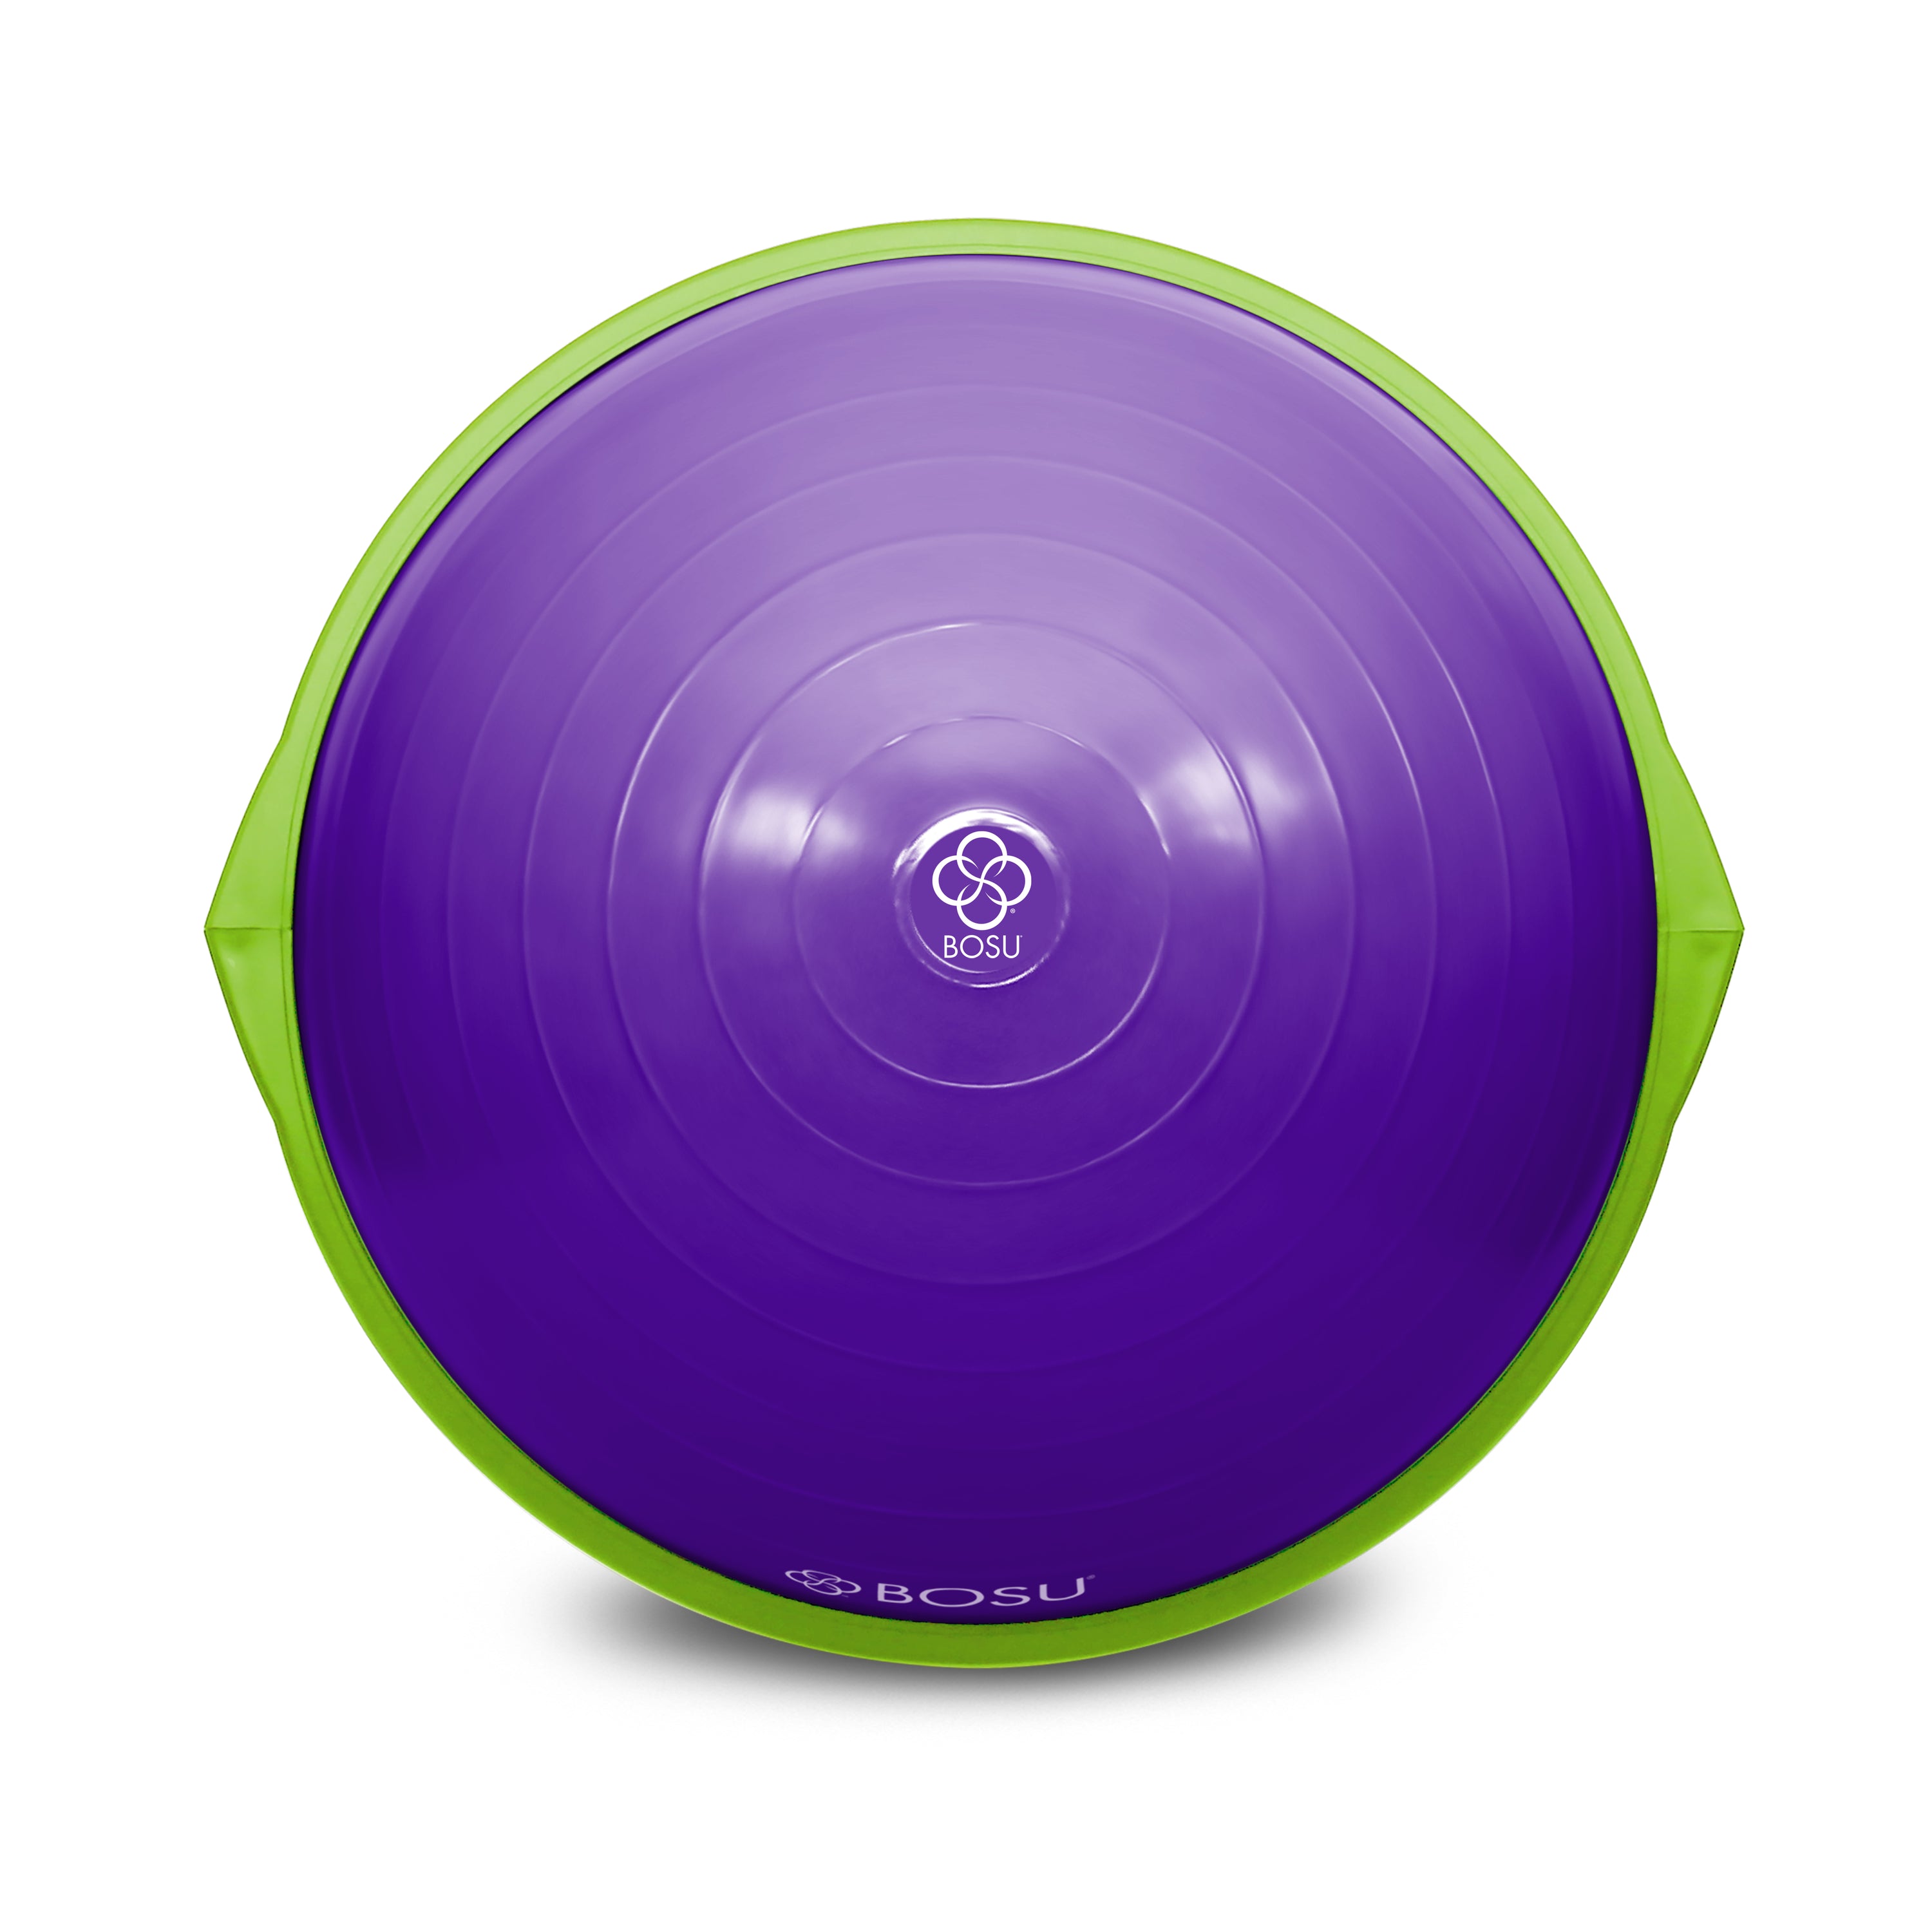
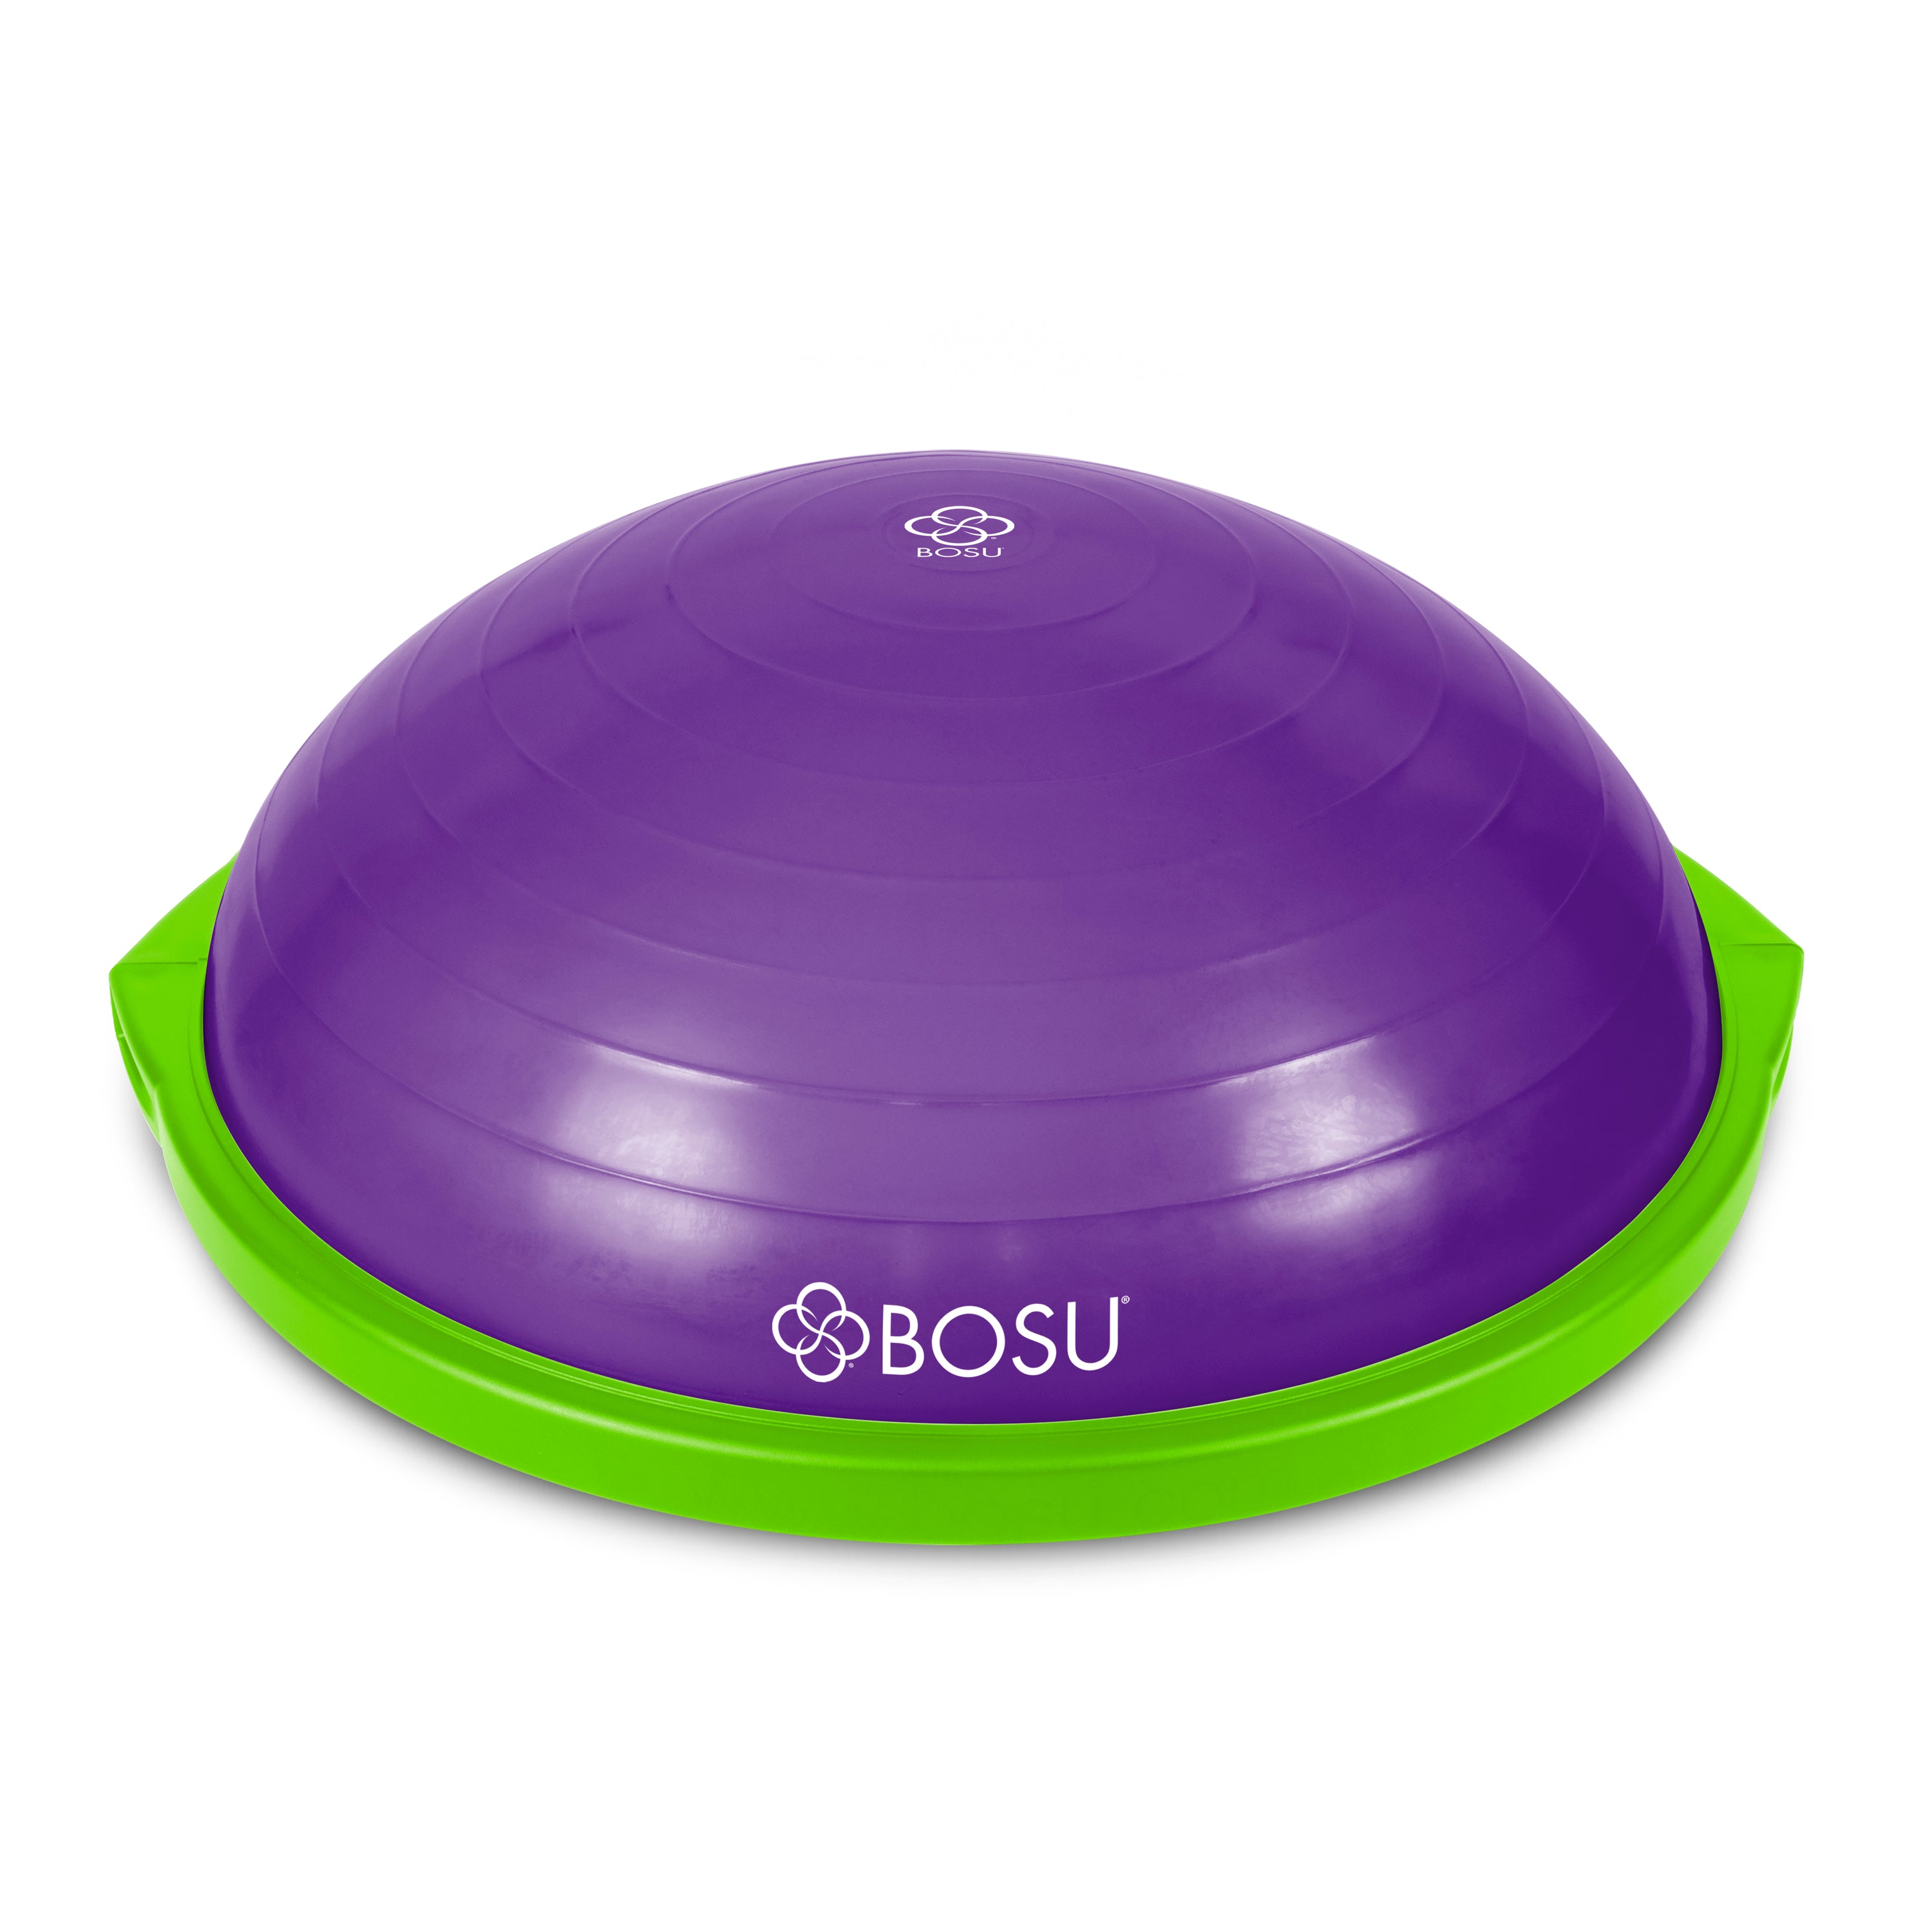
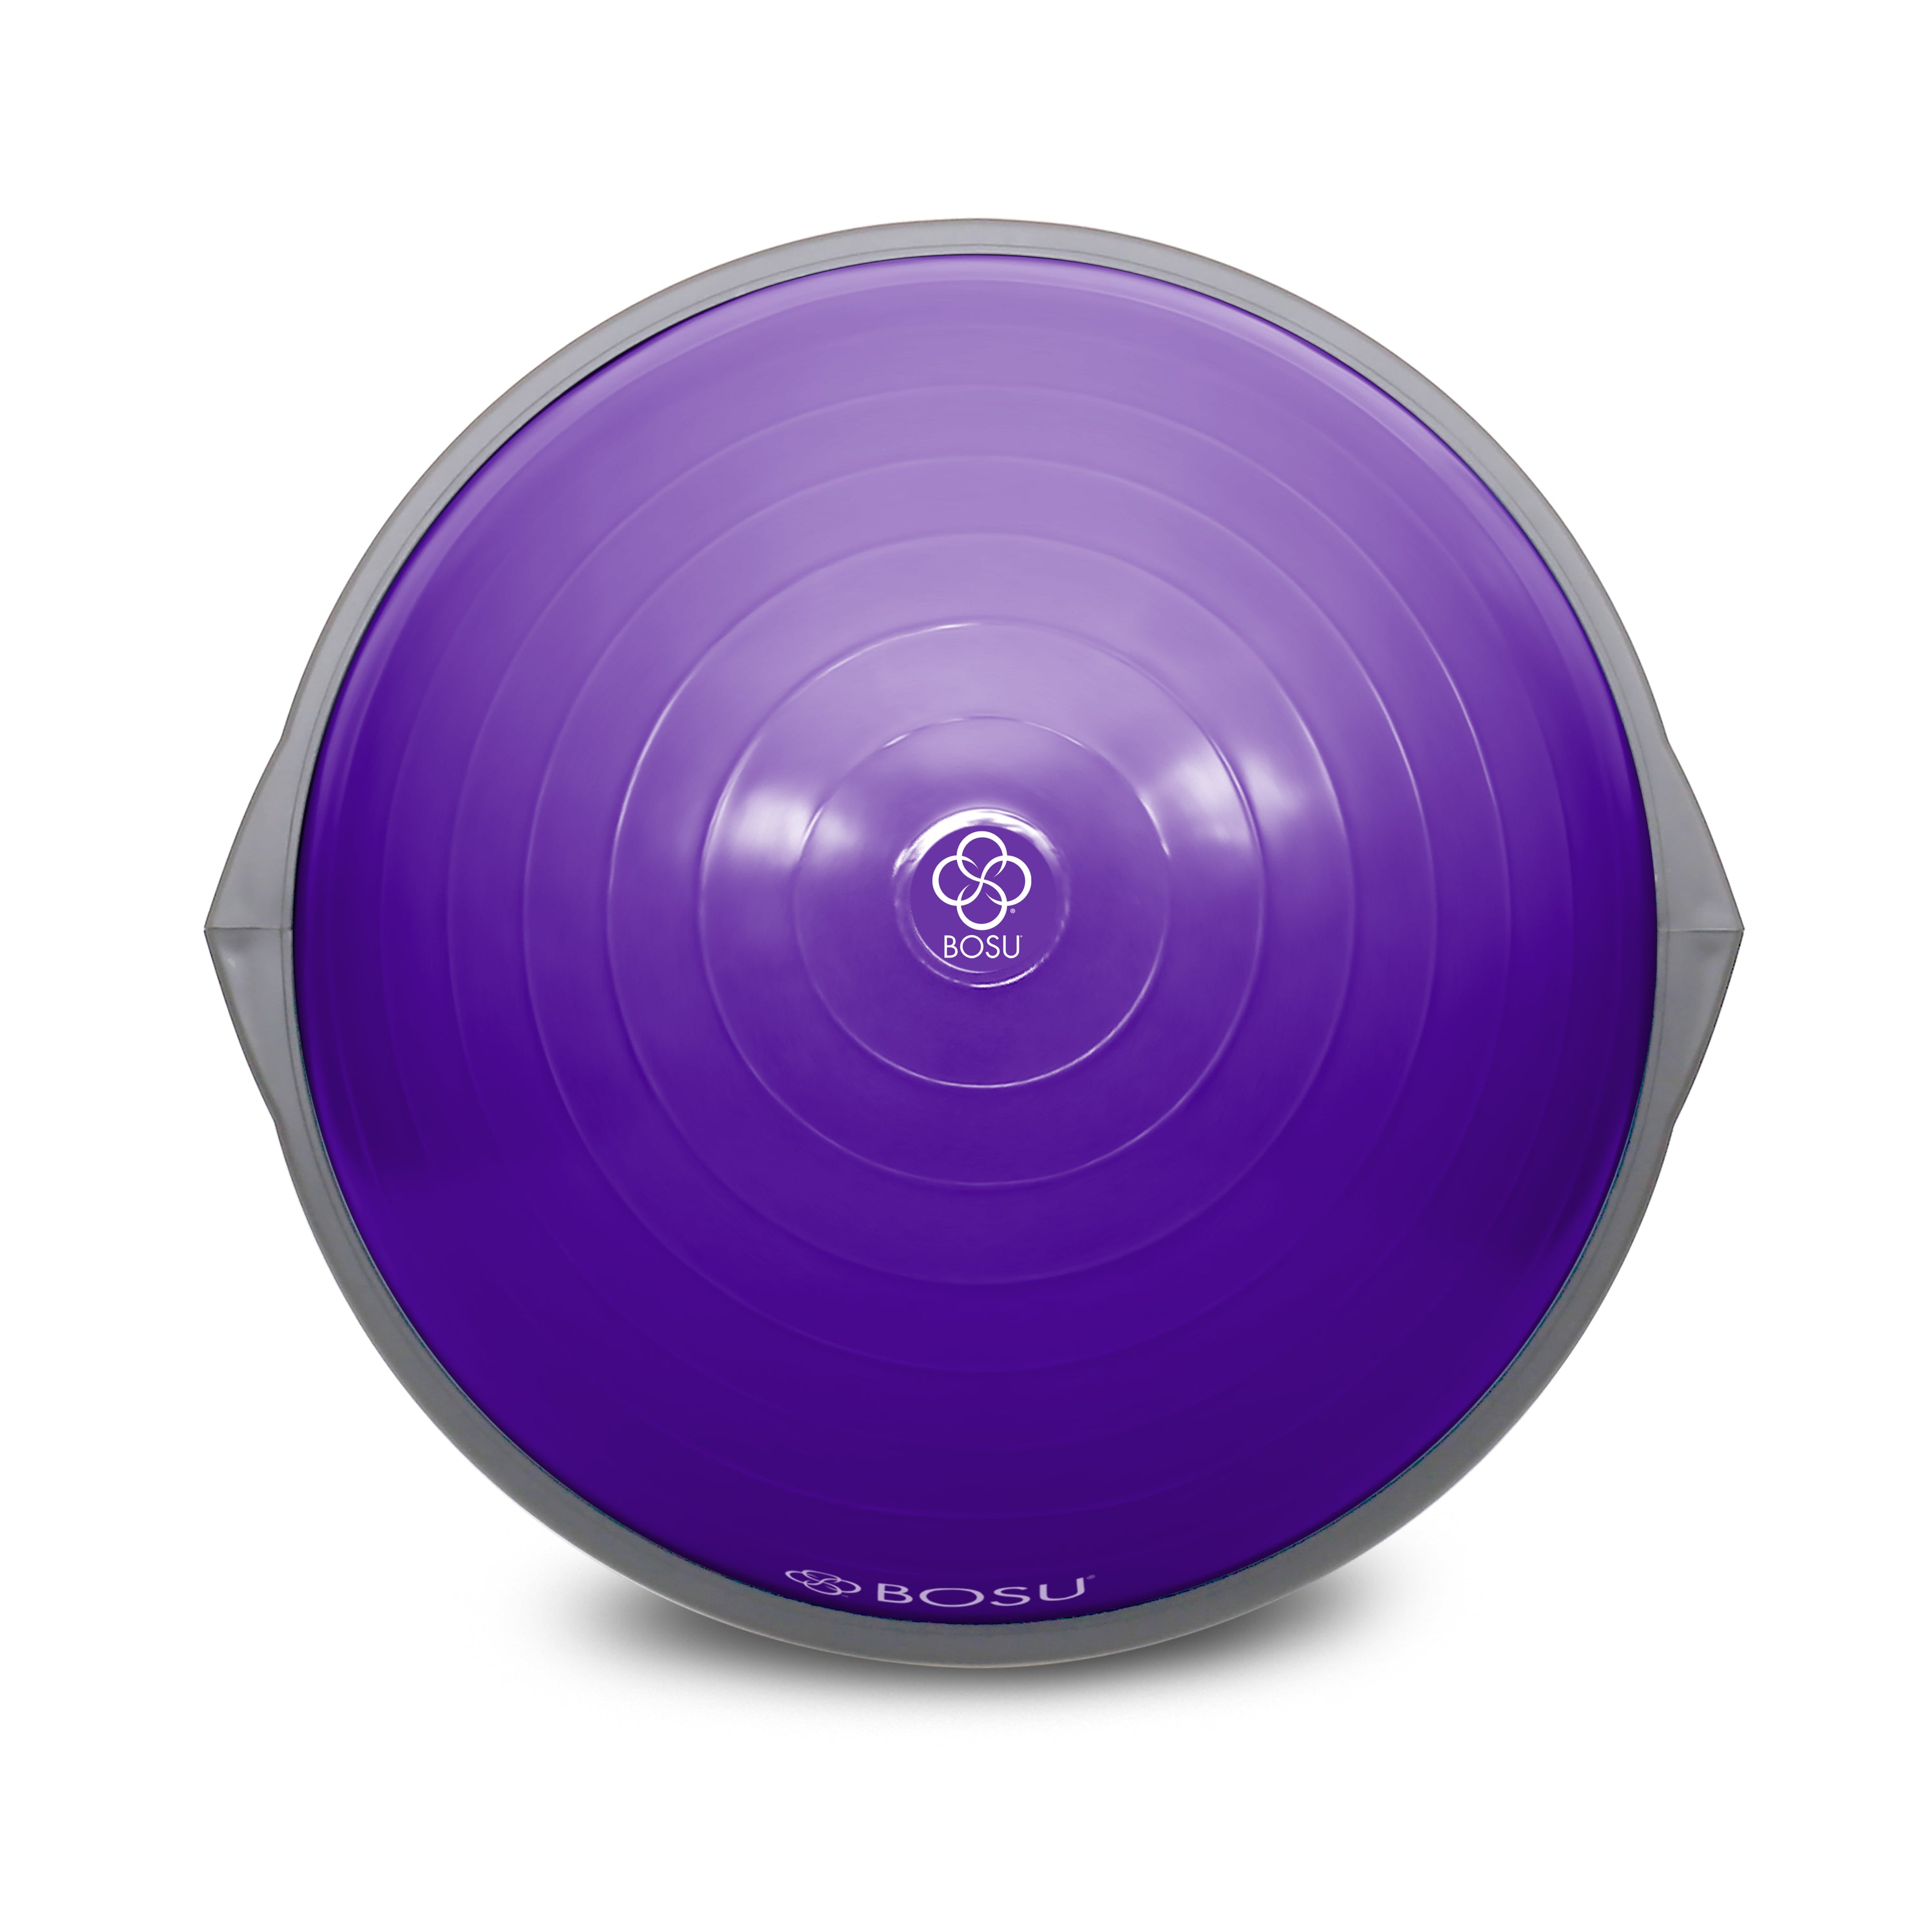

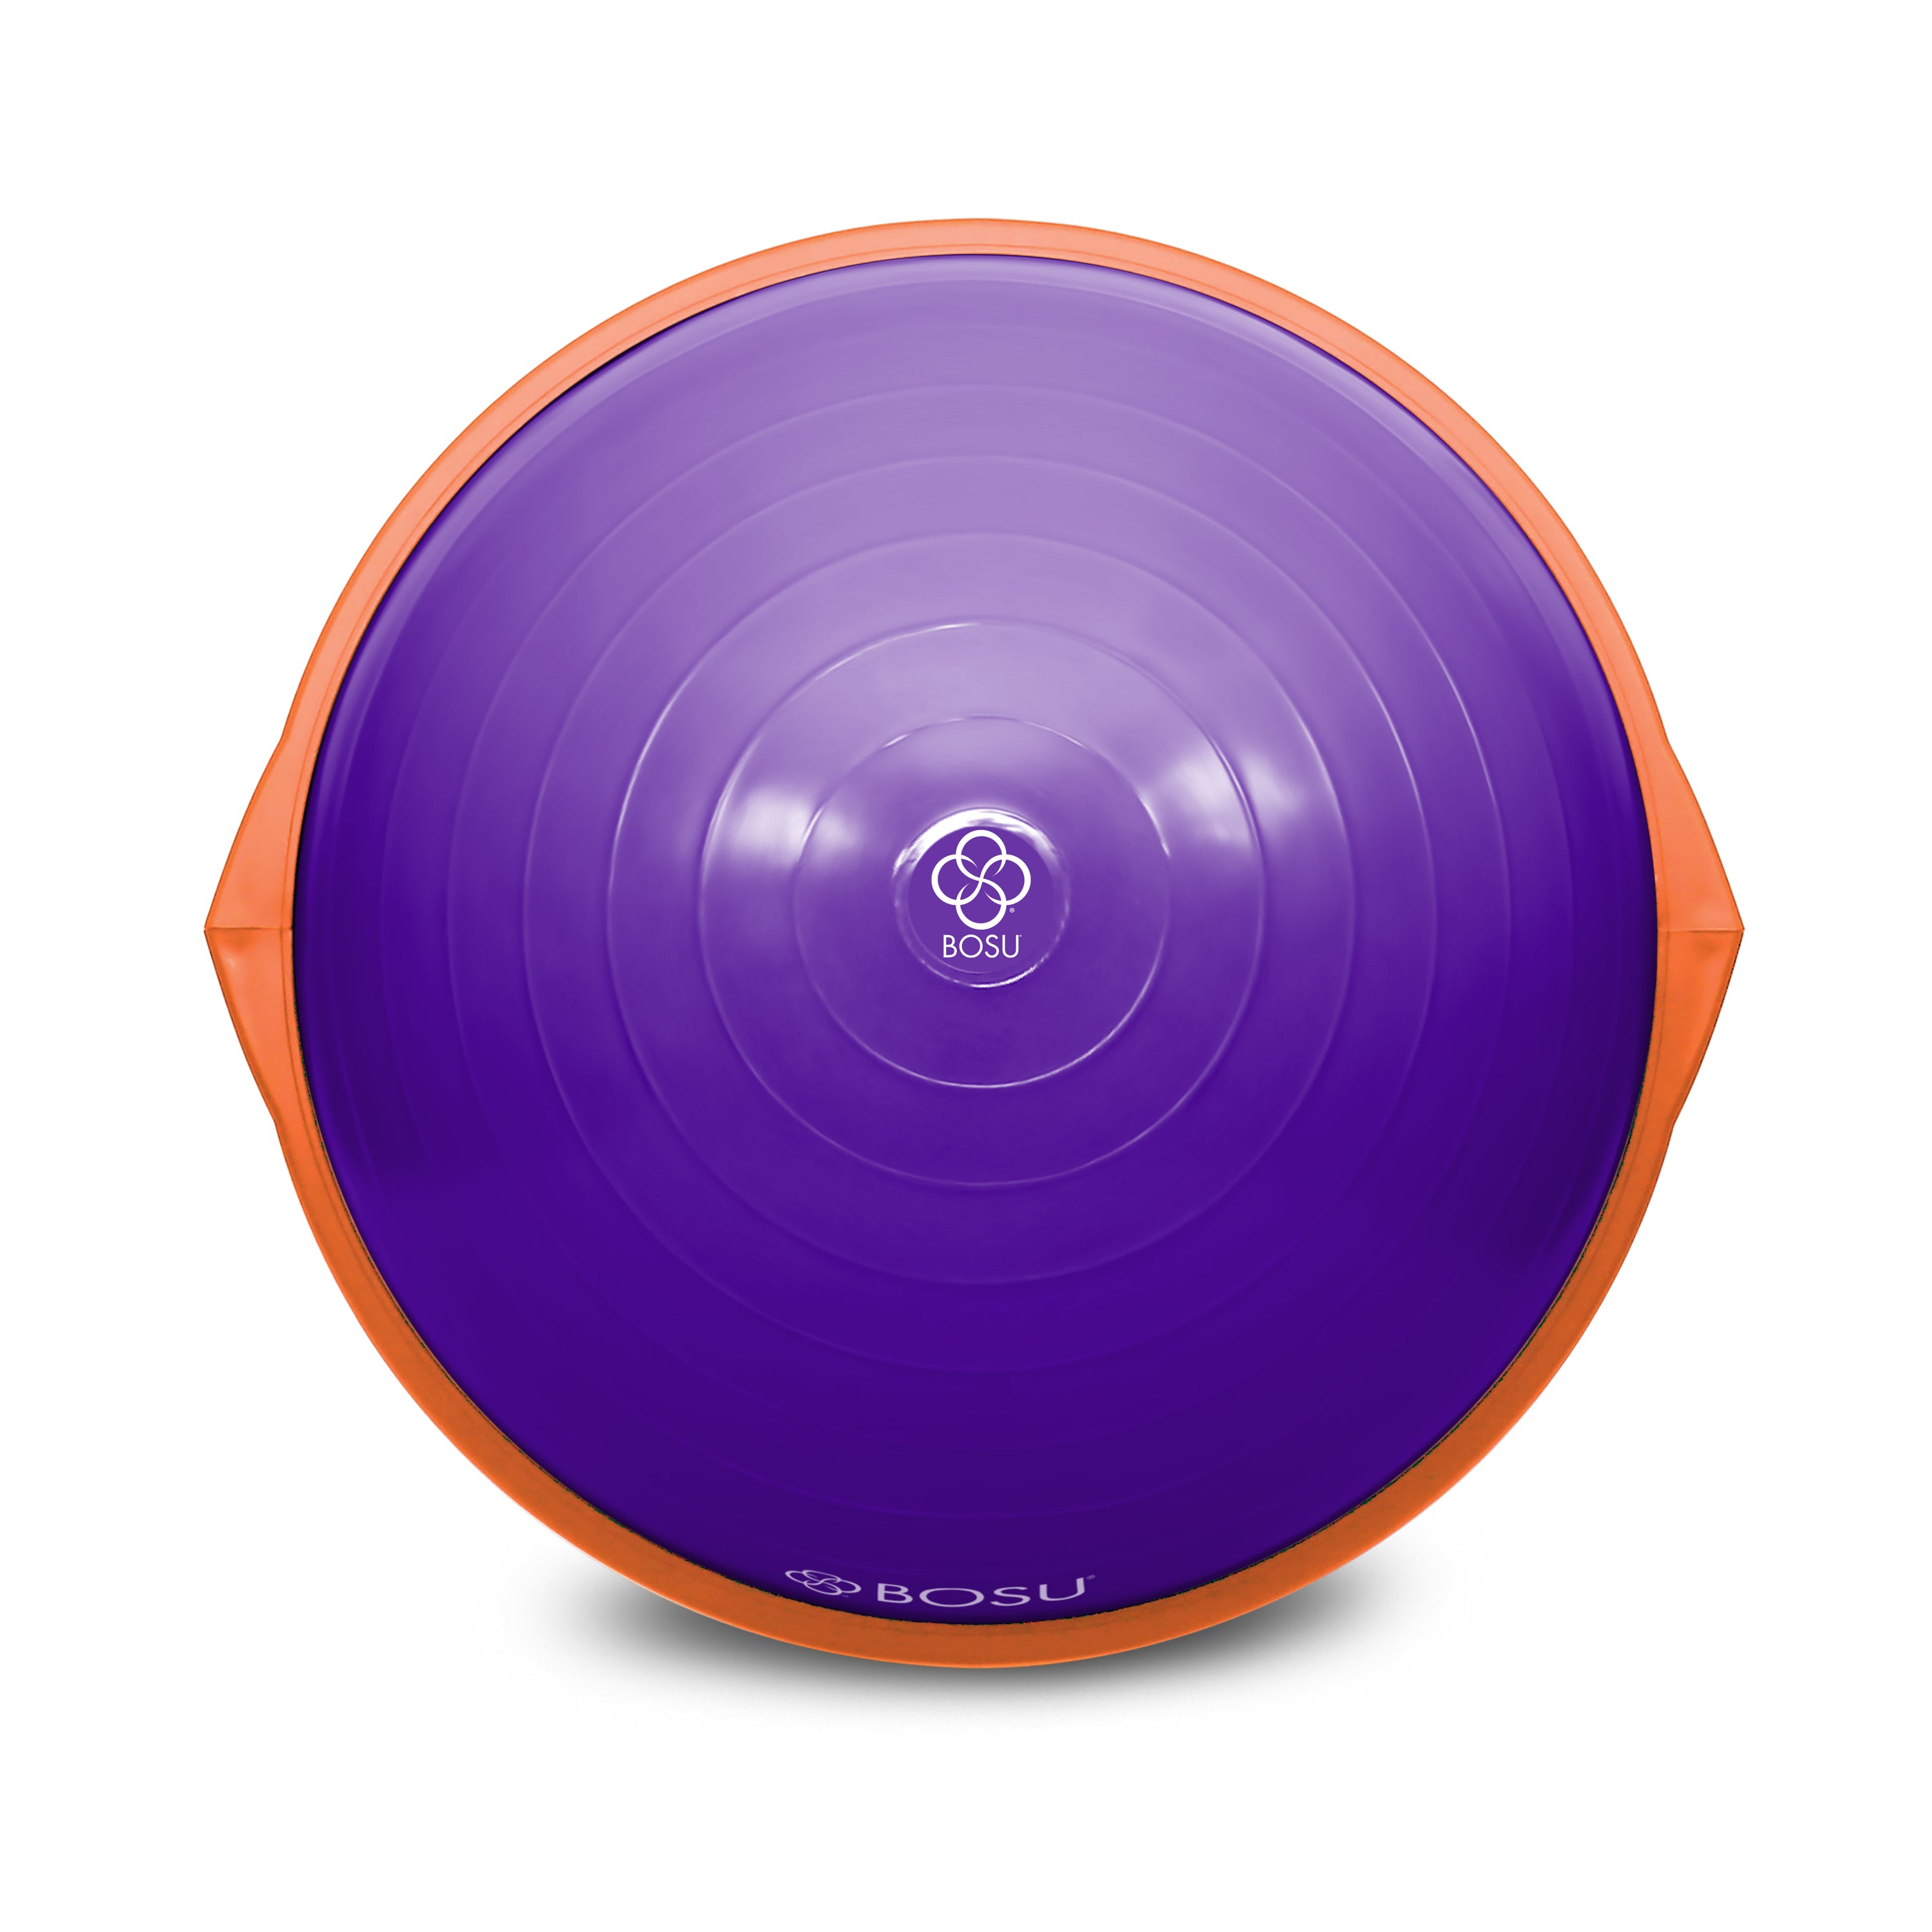
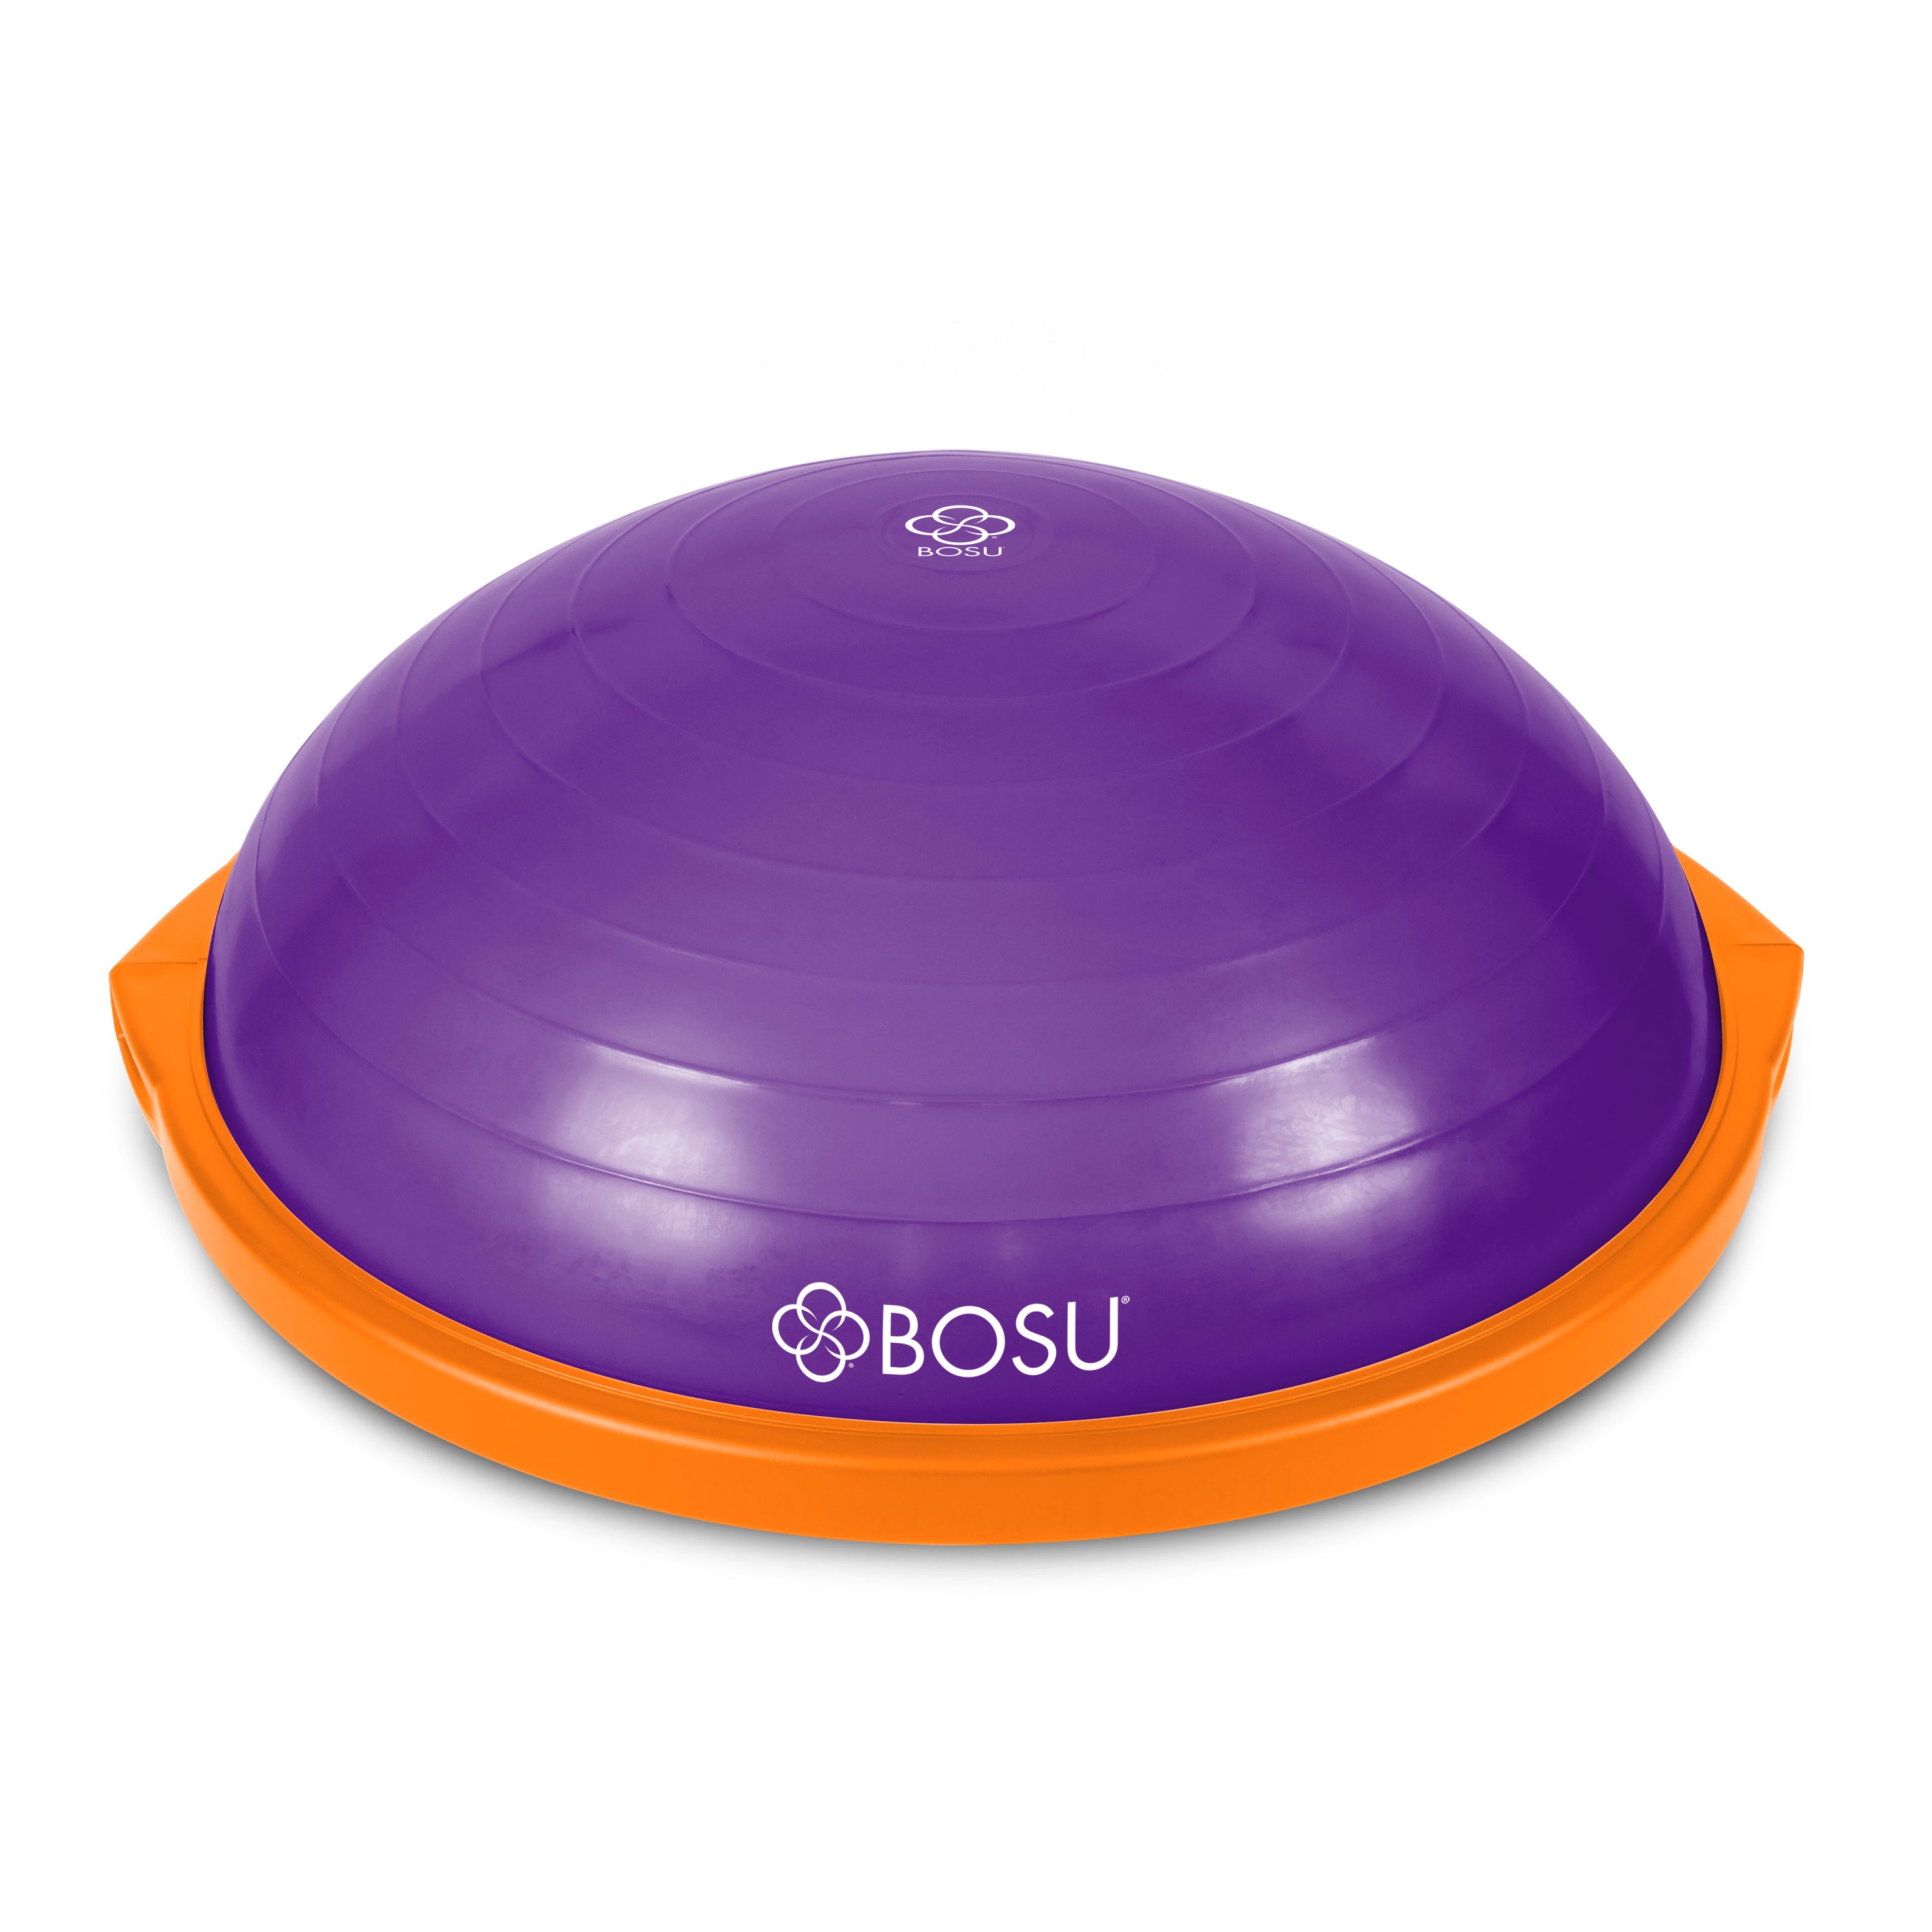
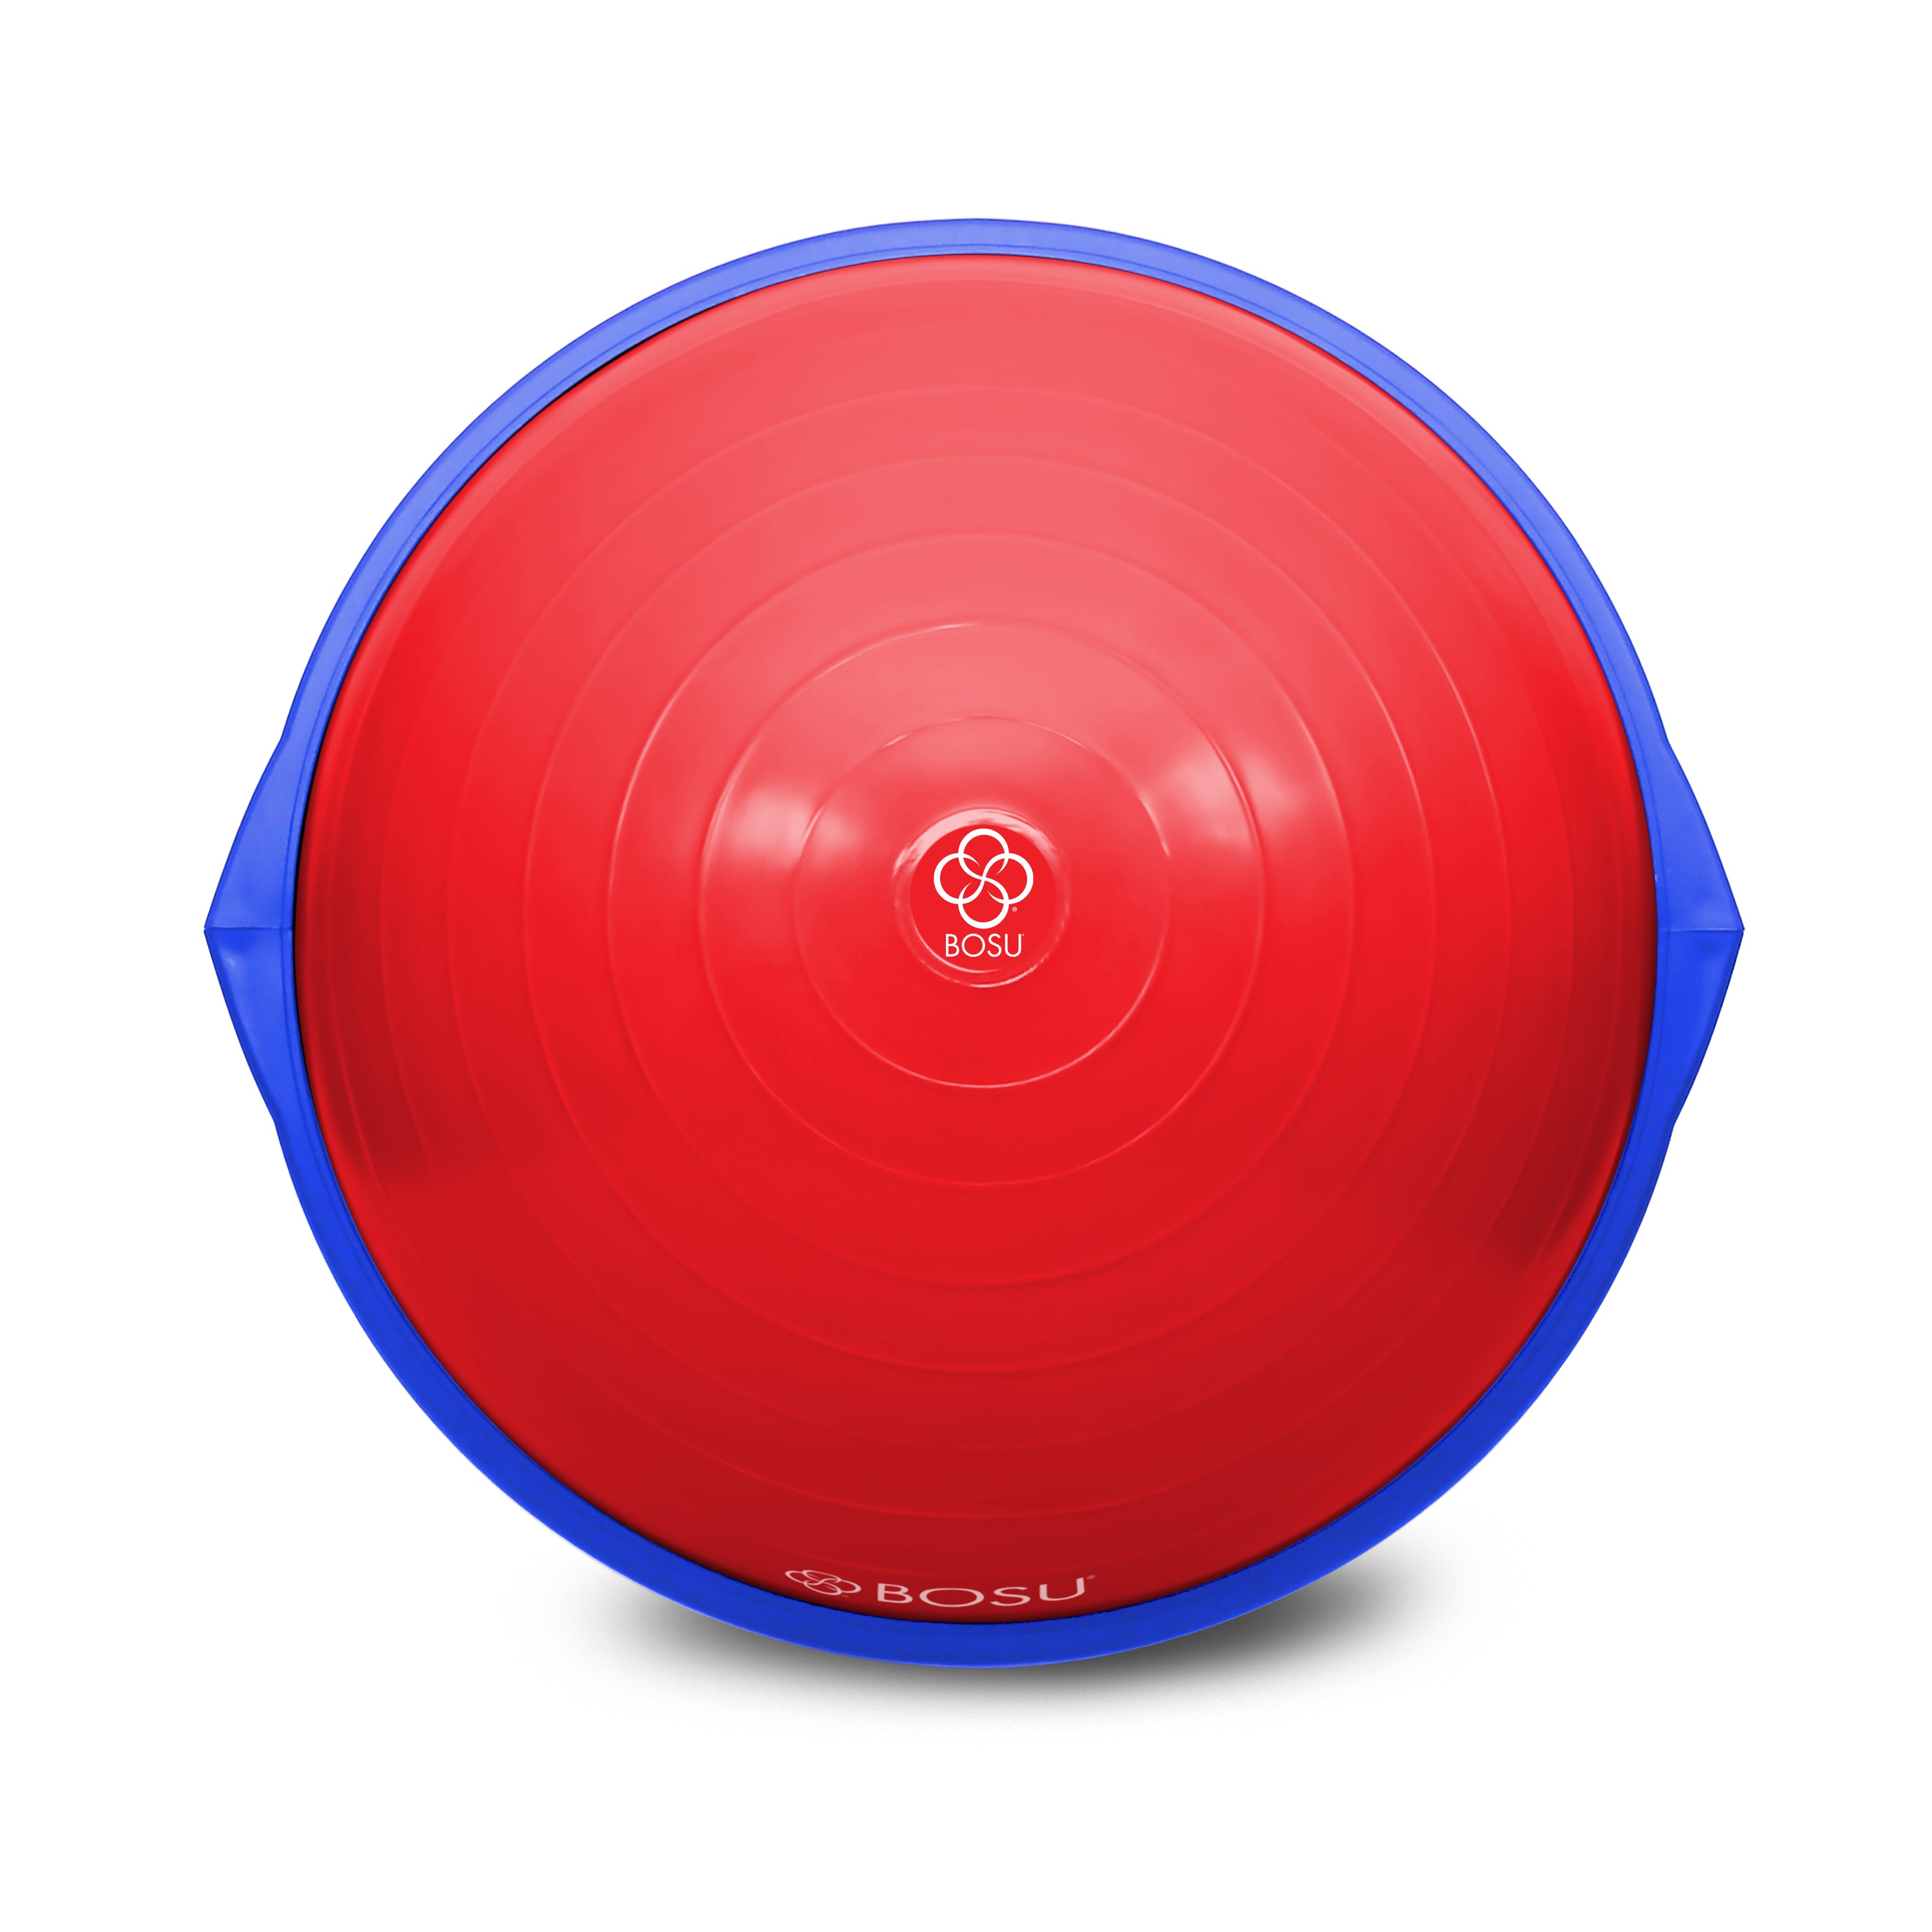

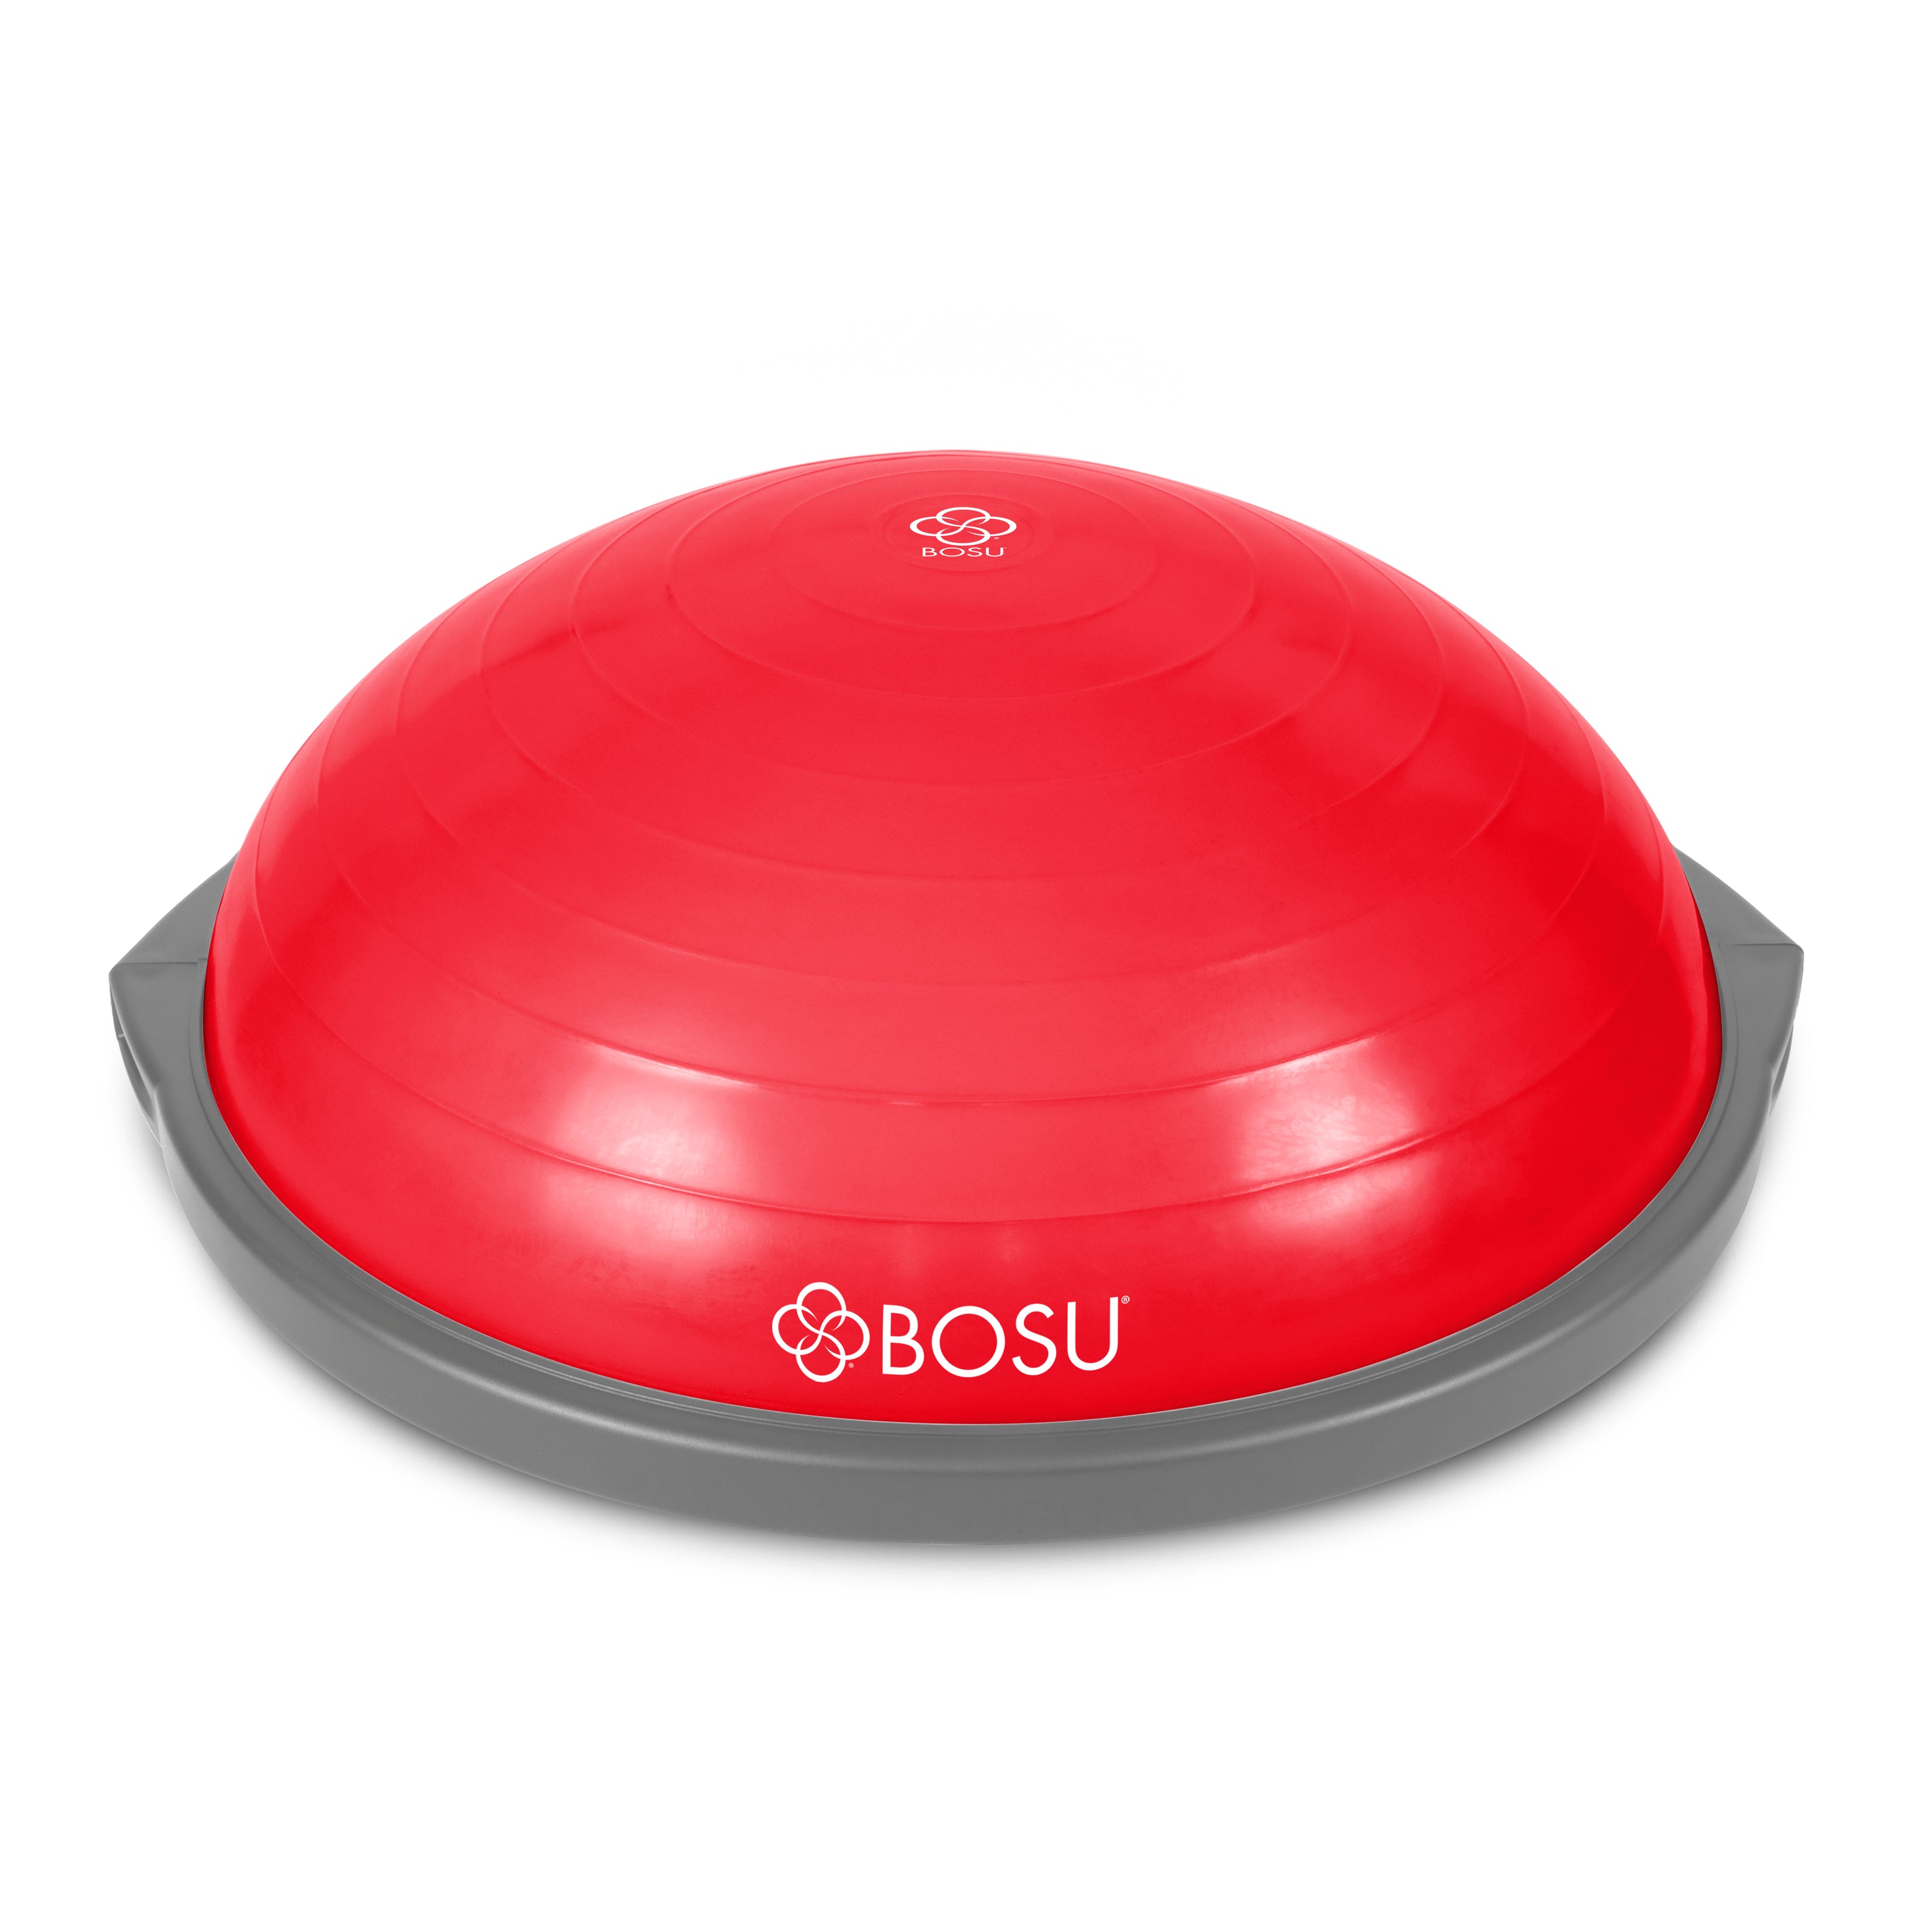
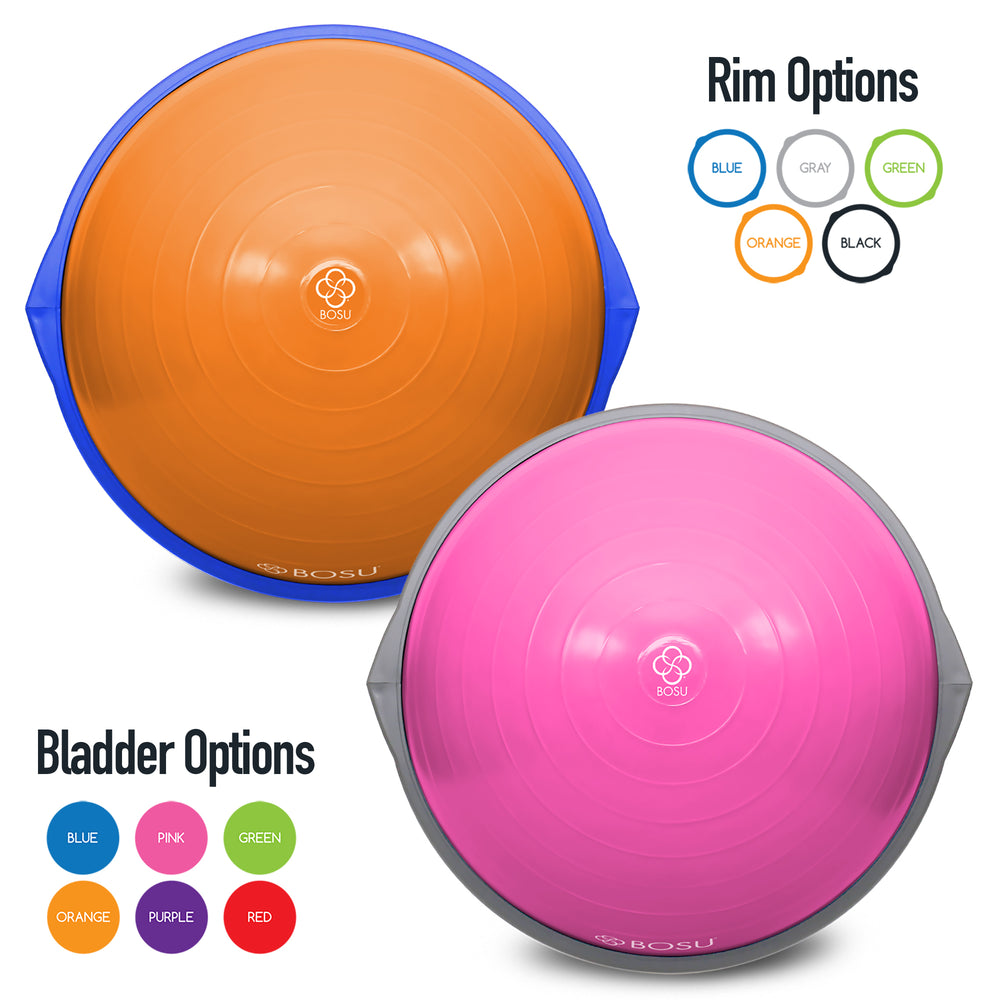
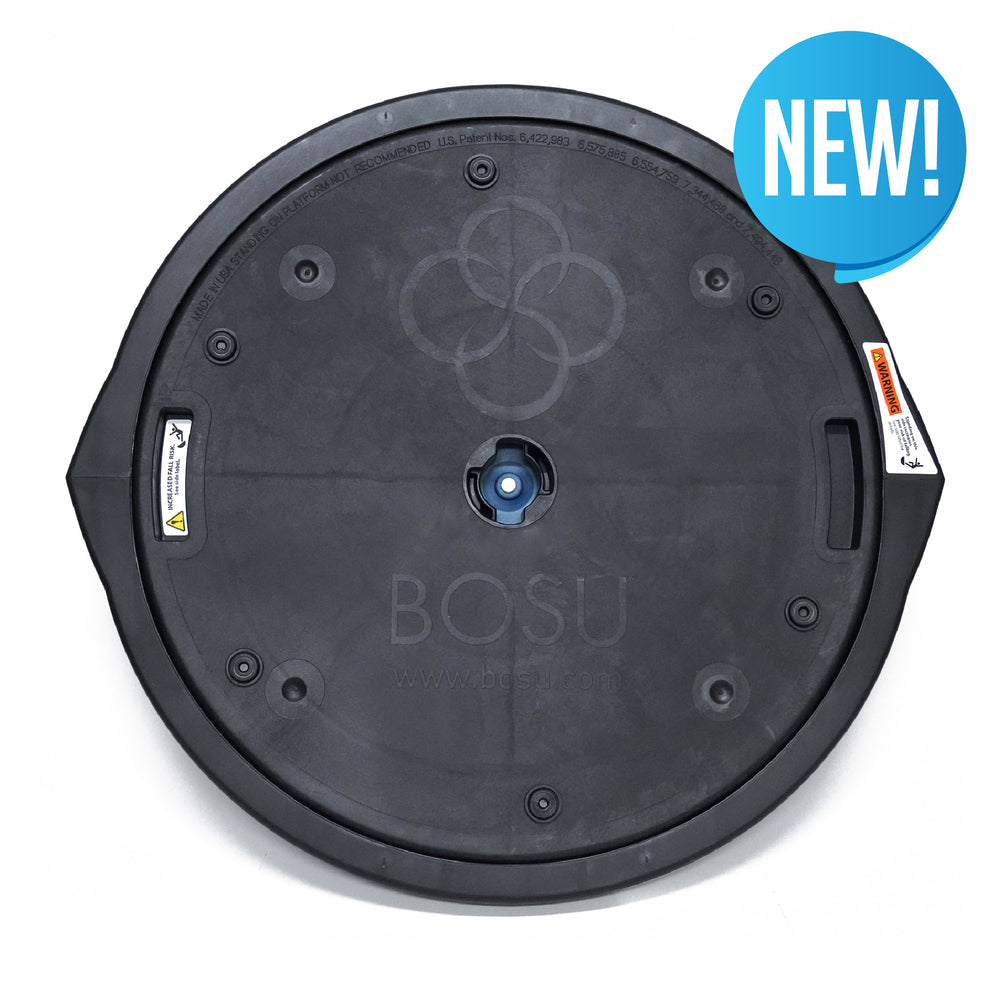
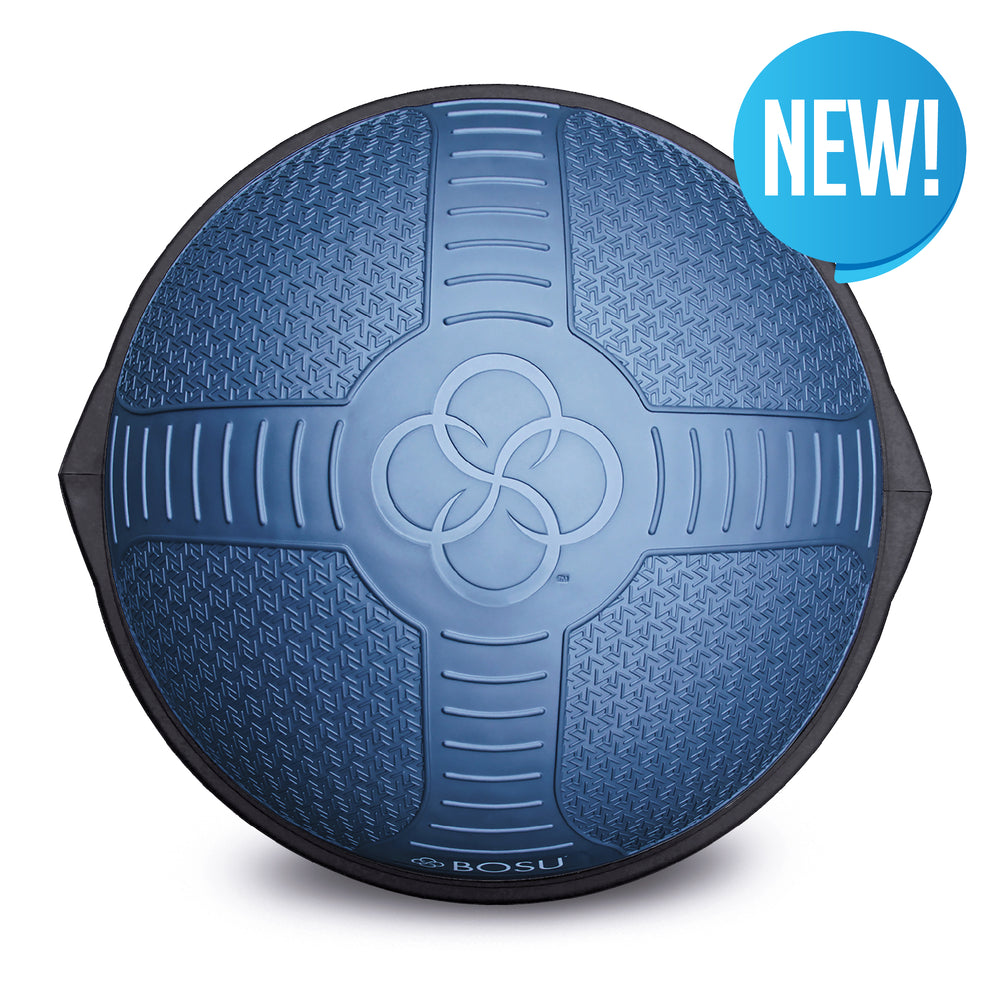
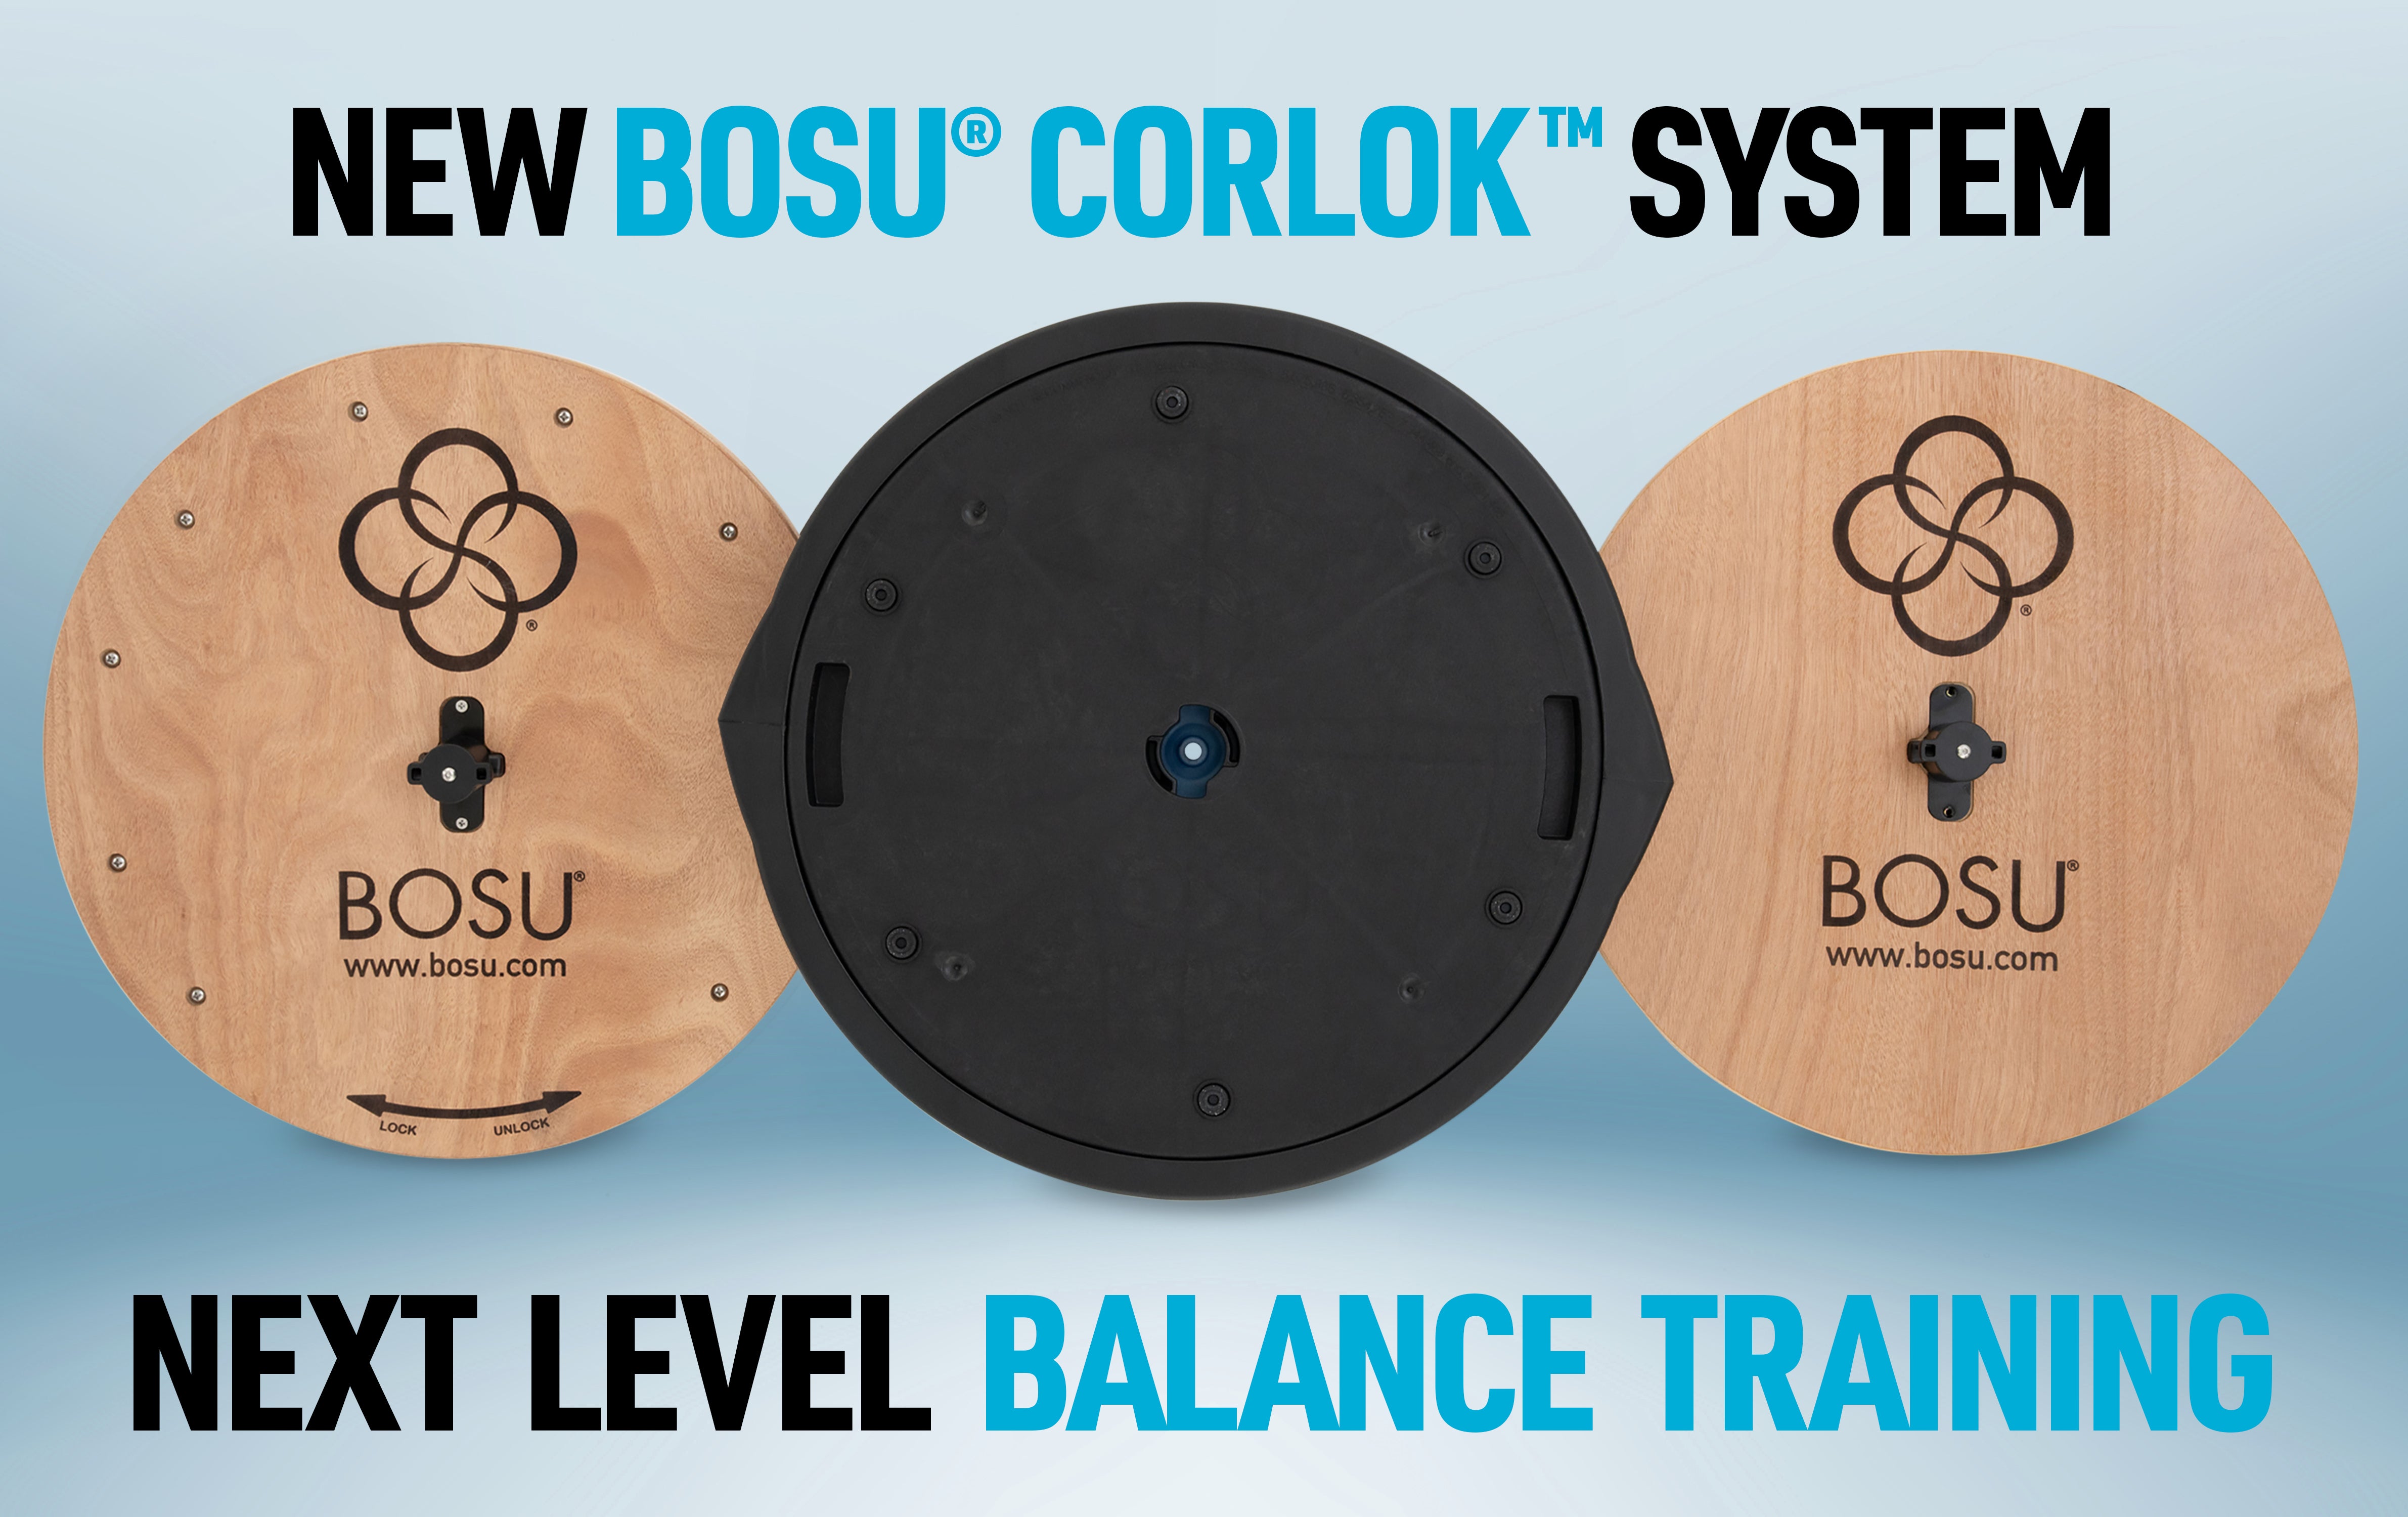
BYOB (Build Your Own) BOSU® Home Balance Trainer
Regular price
$159.99 USD
Sale price
$159.99 USD
Regular price
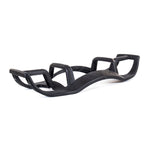
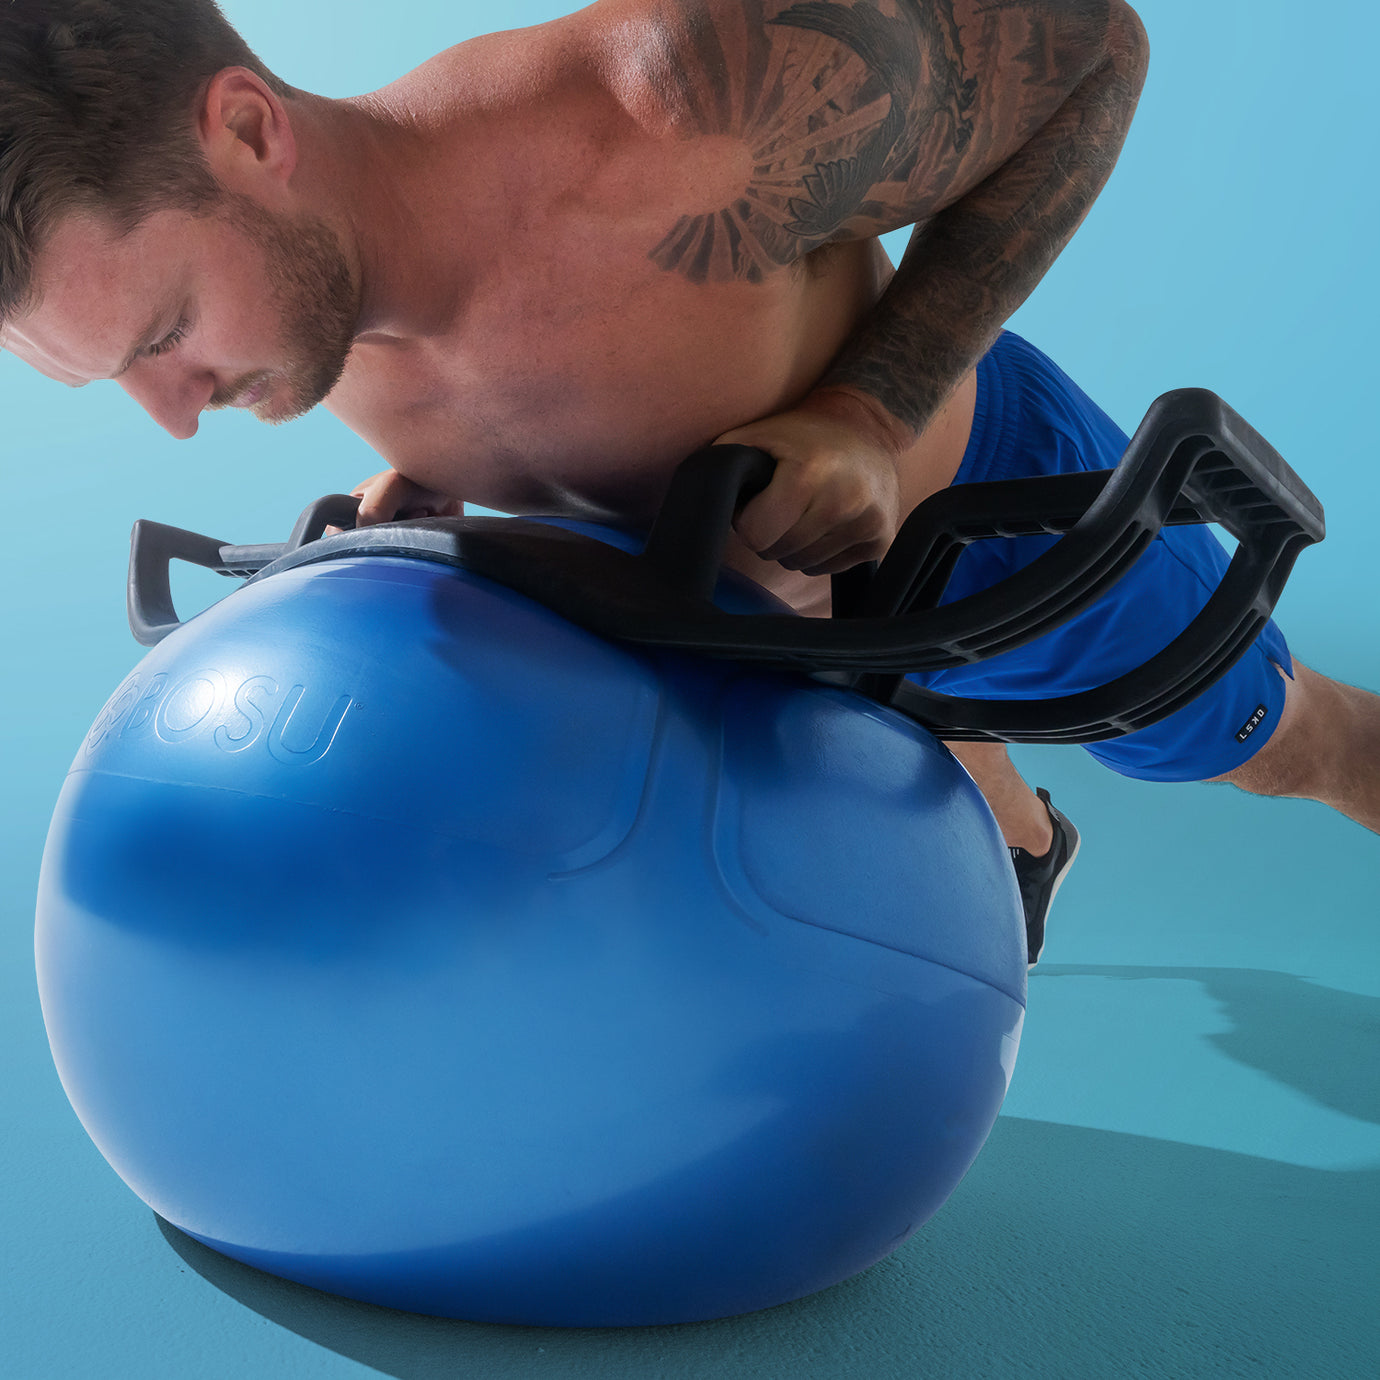
Dynamic Design
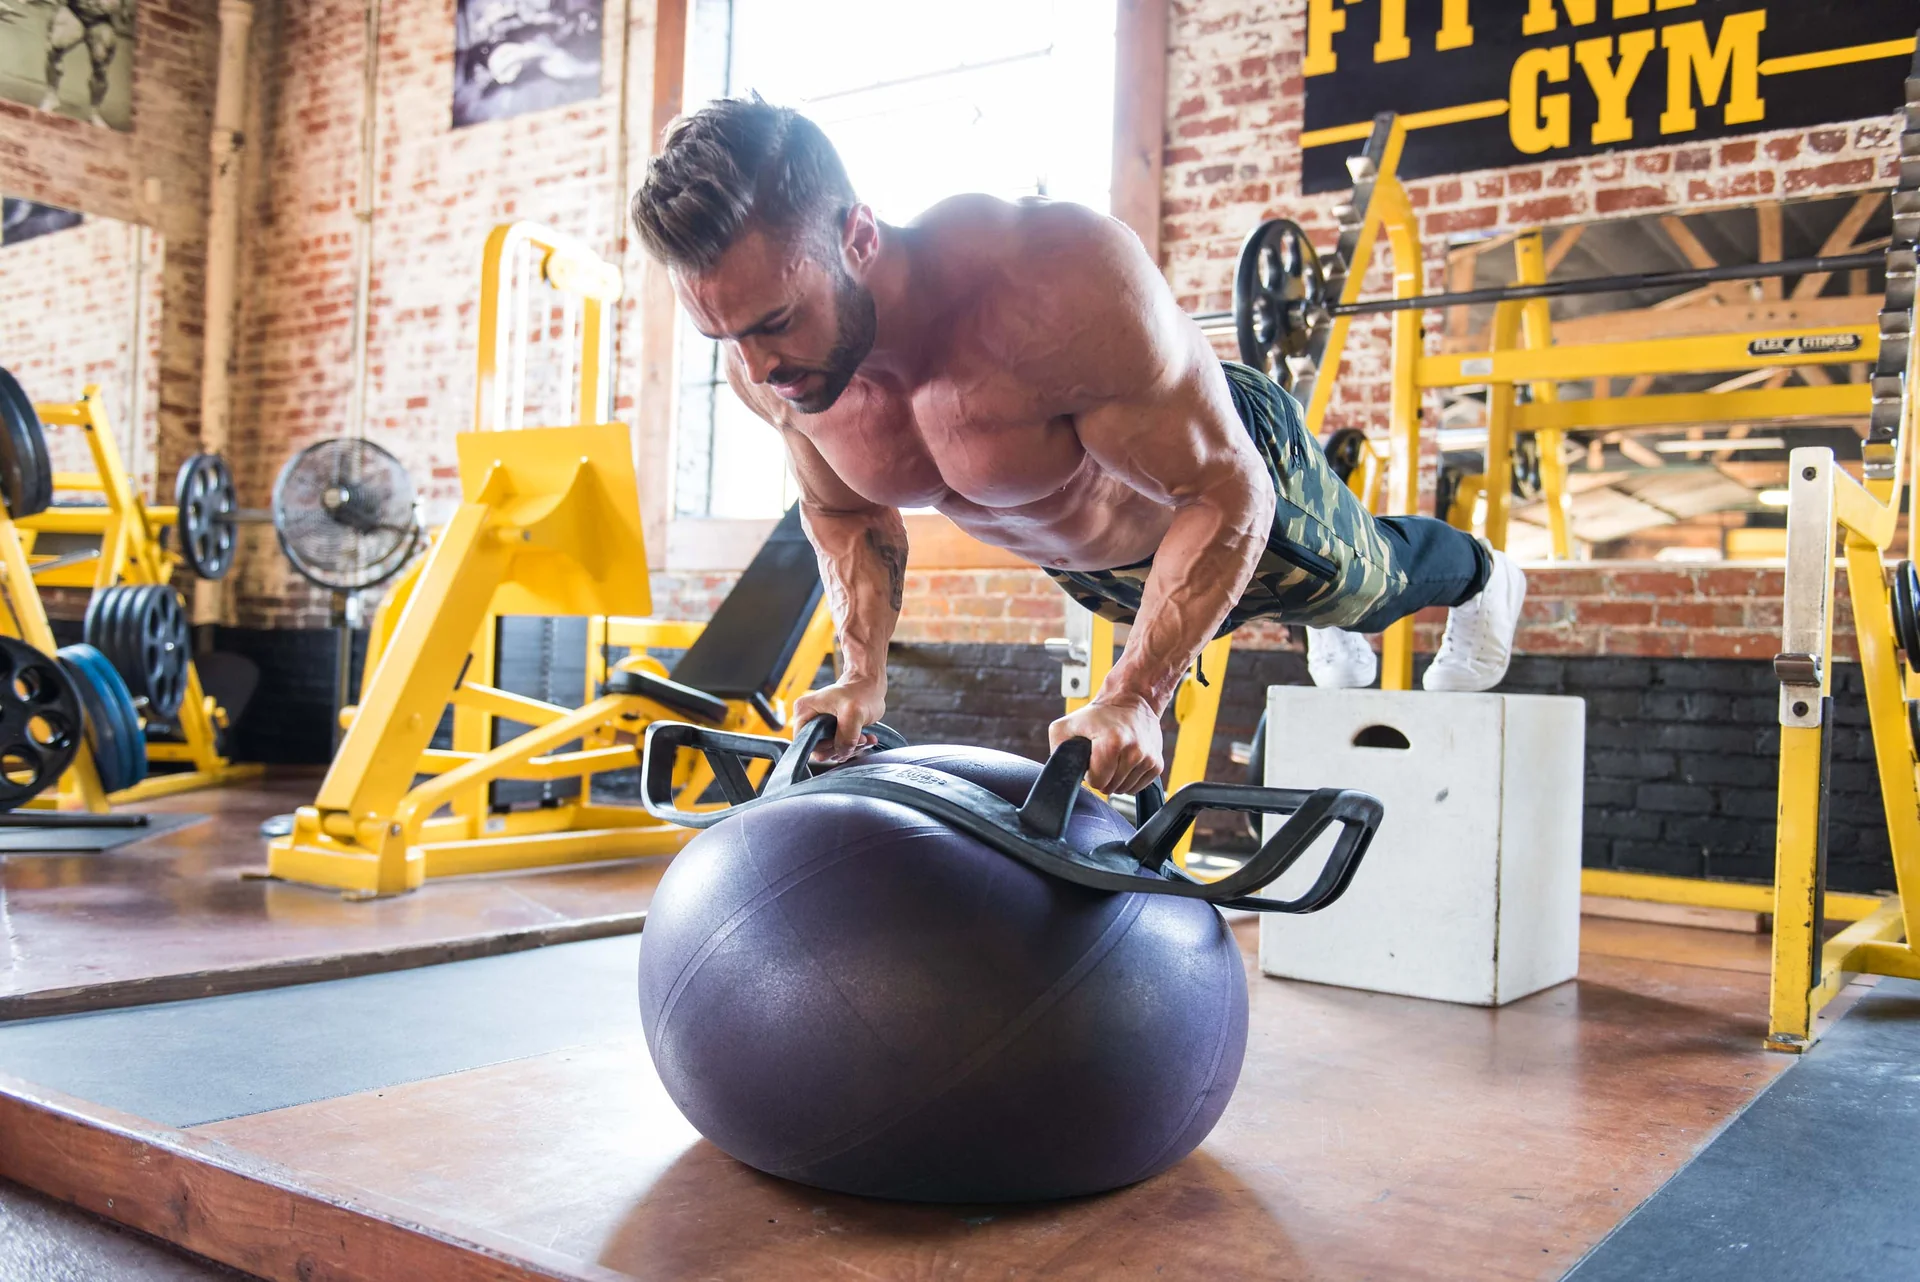
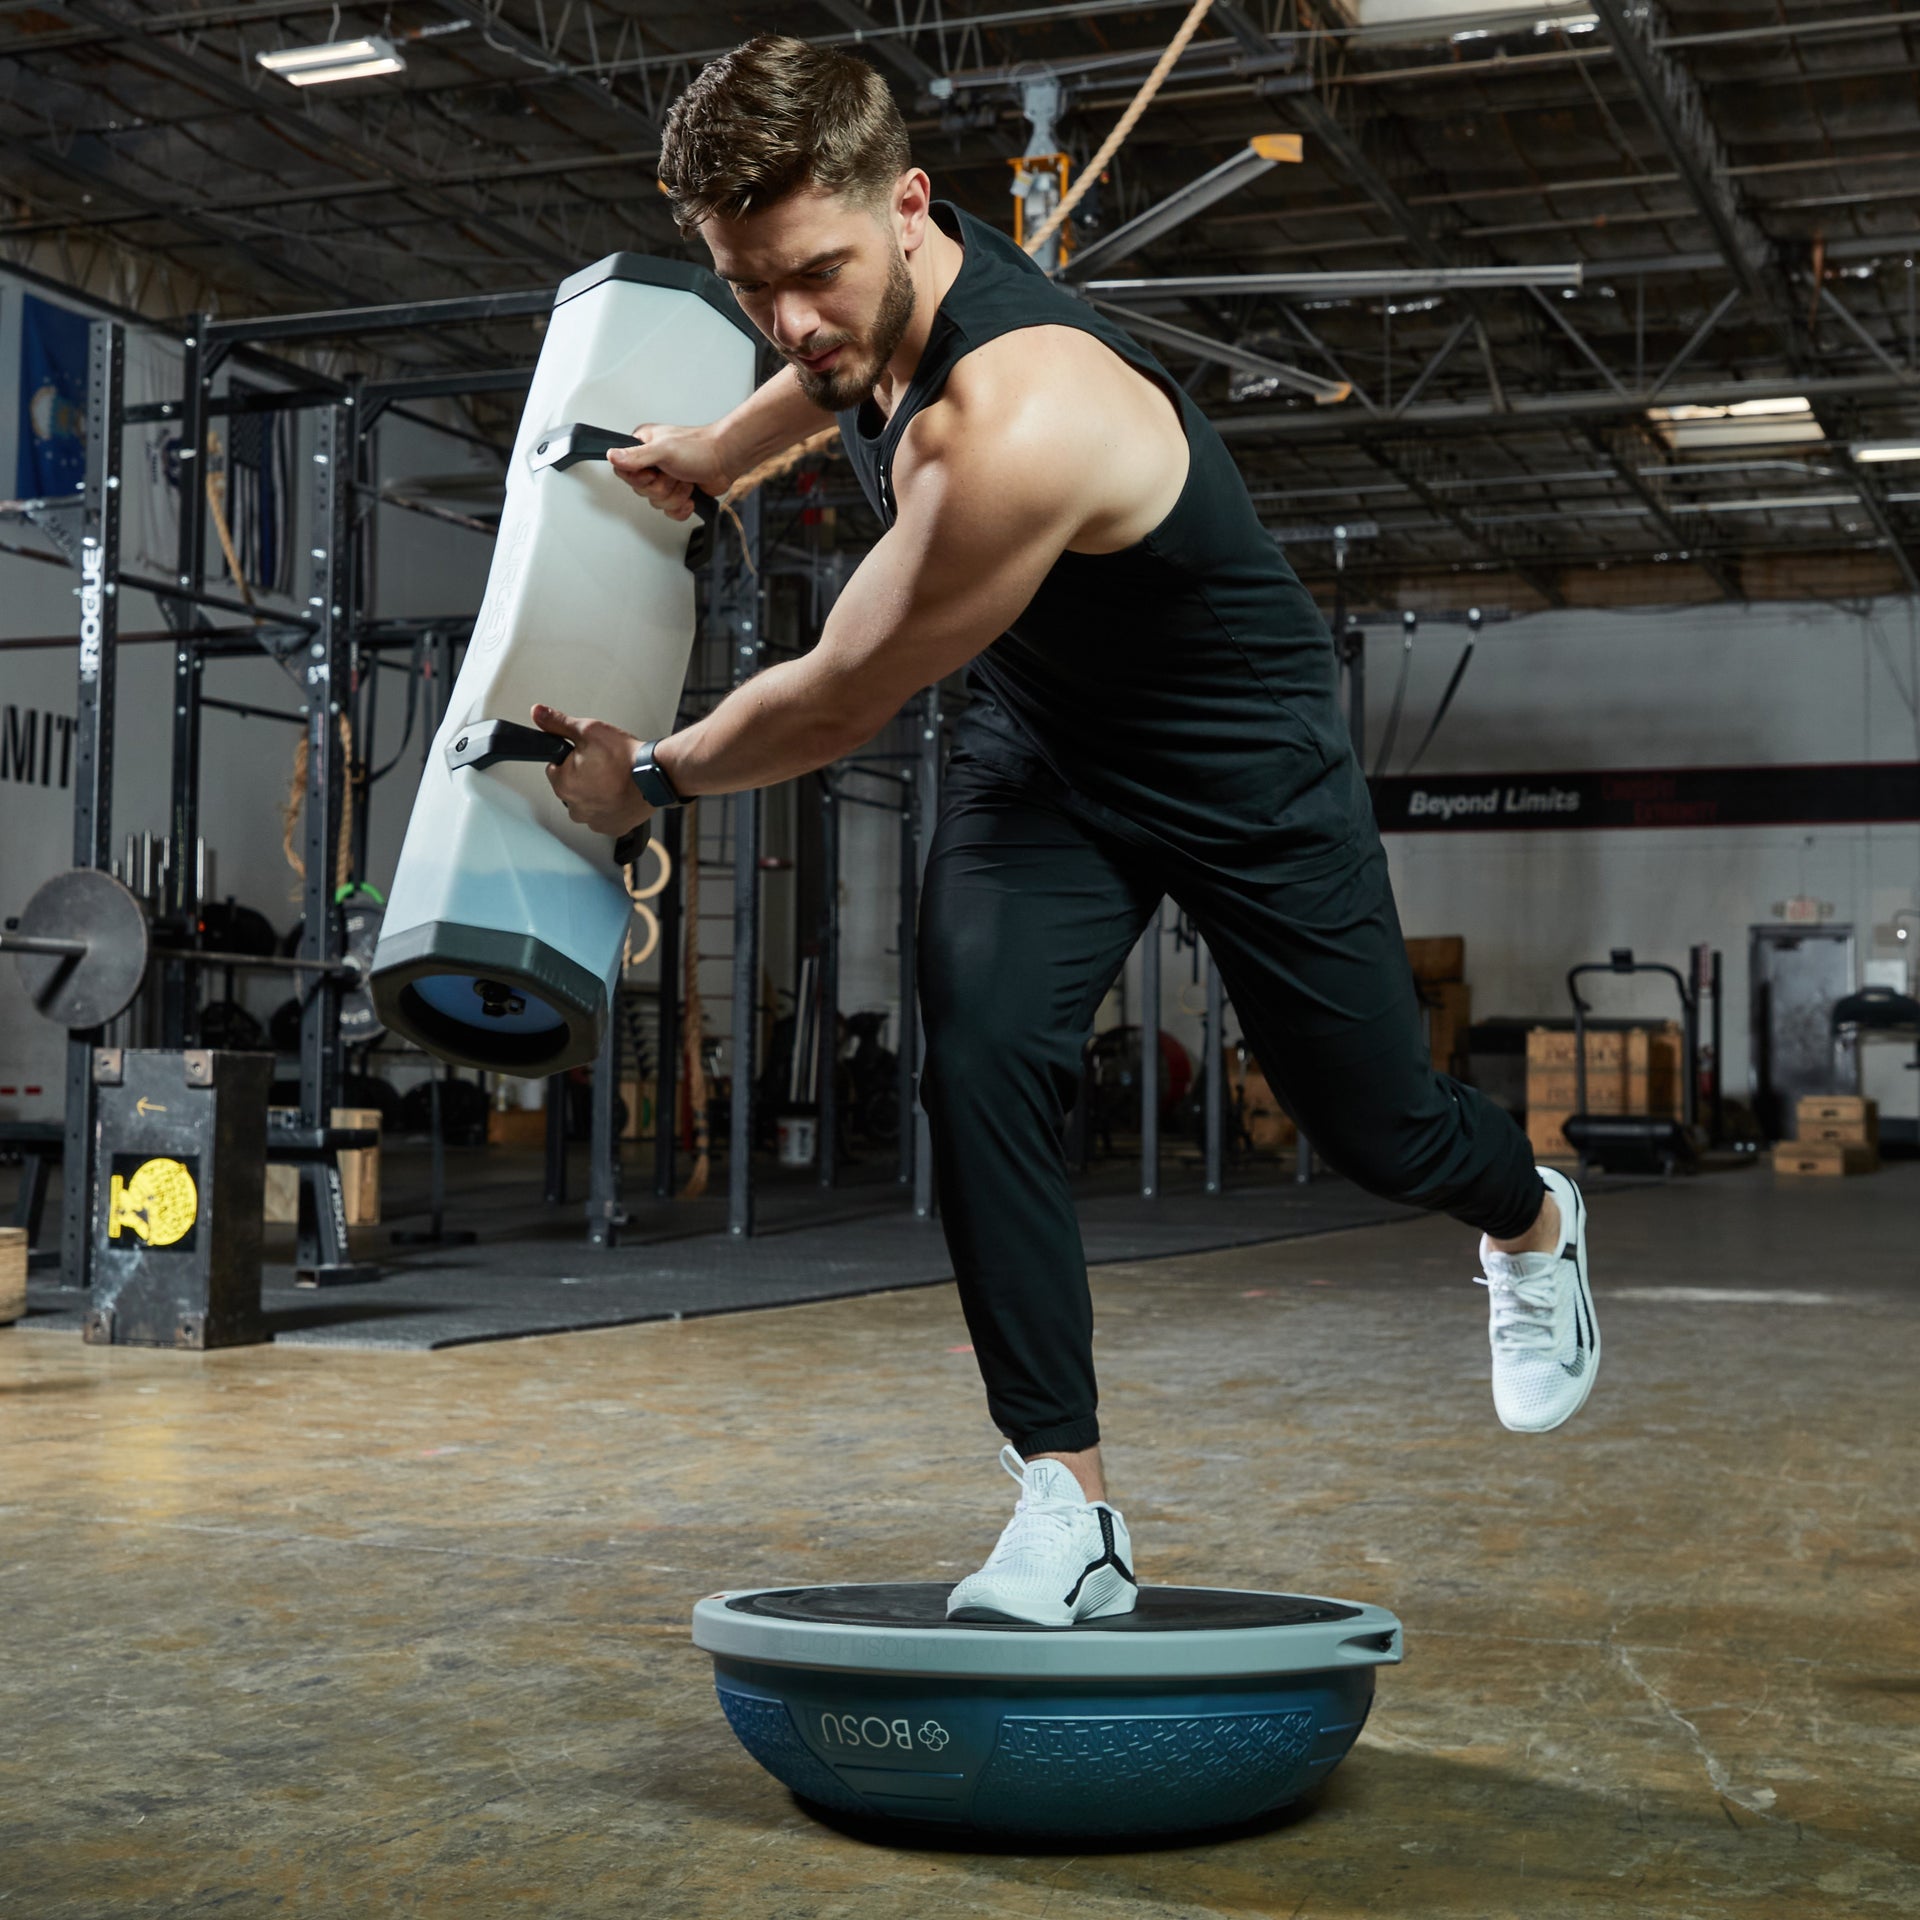
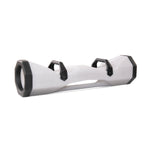
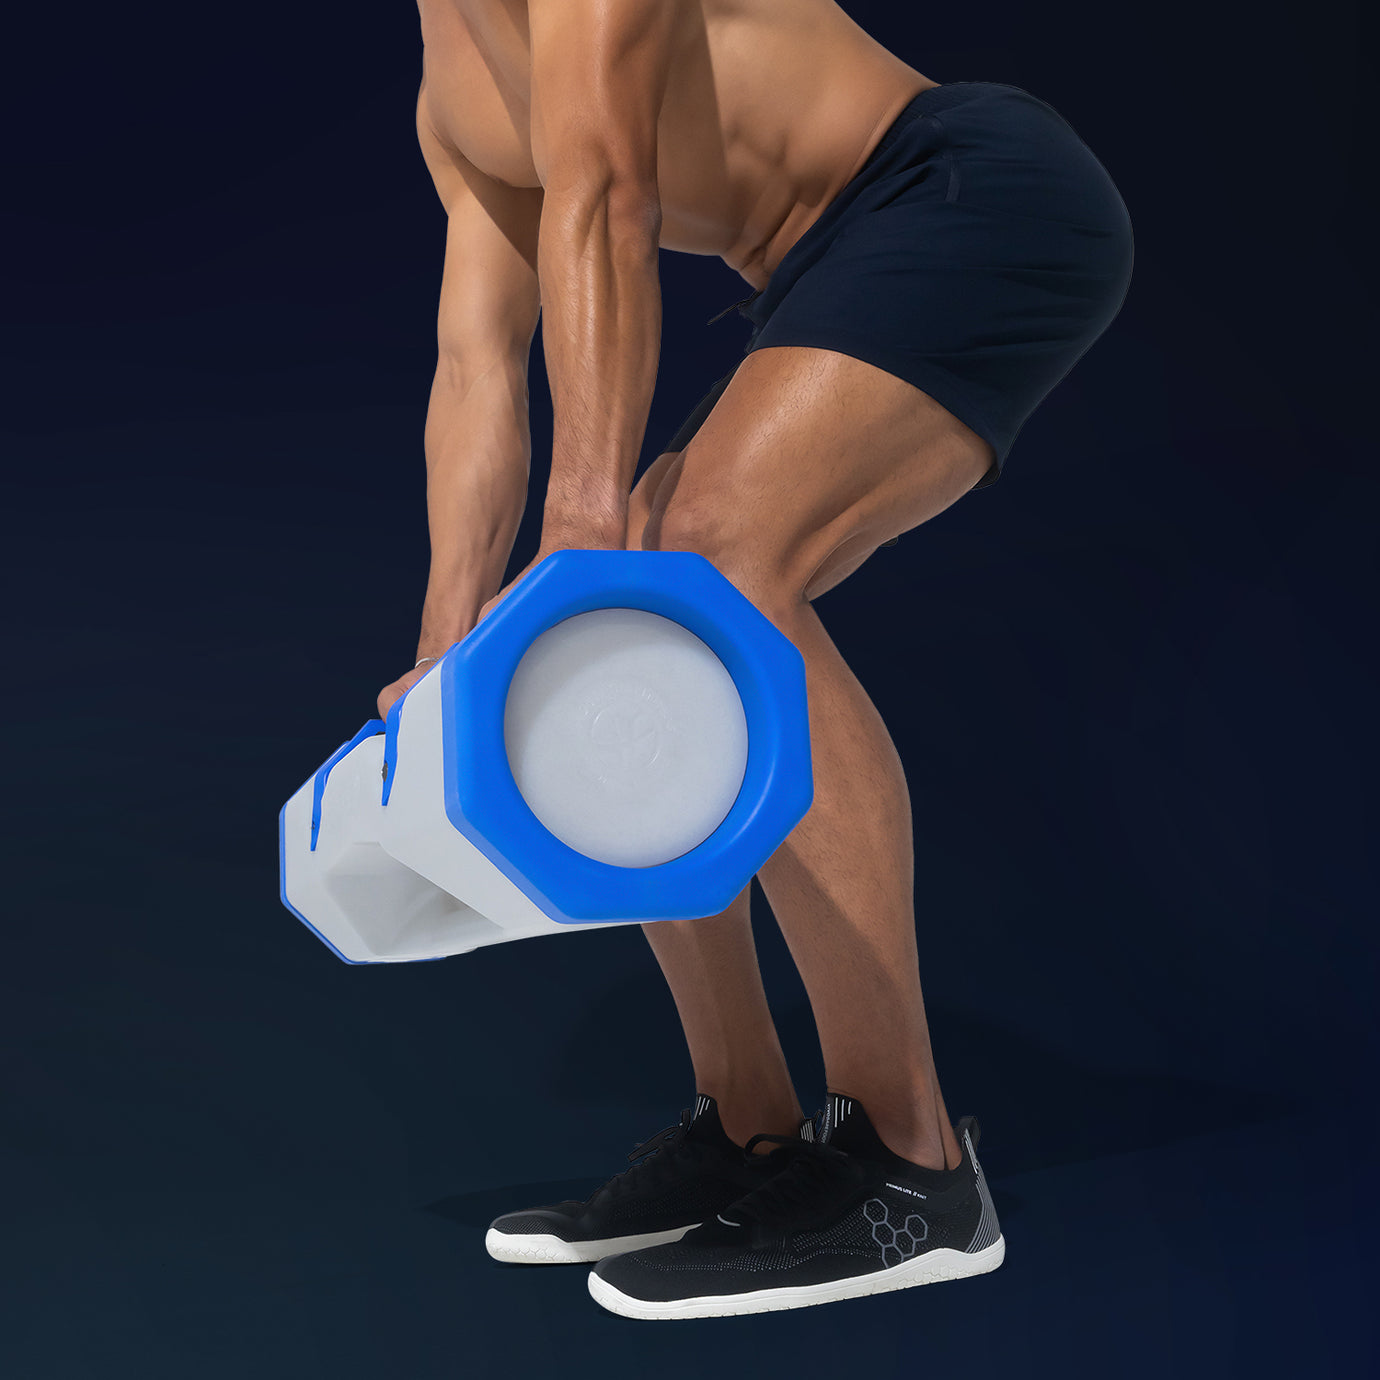
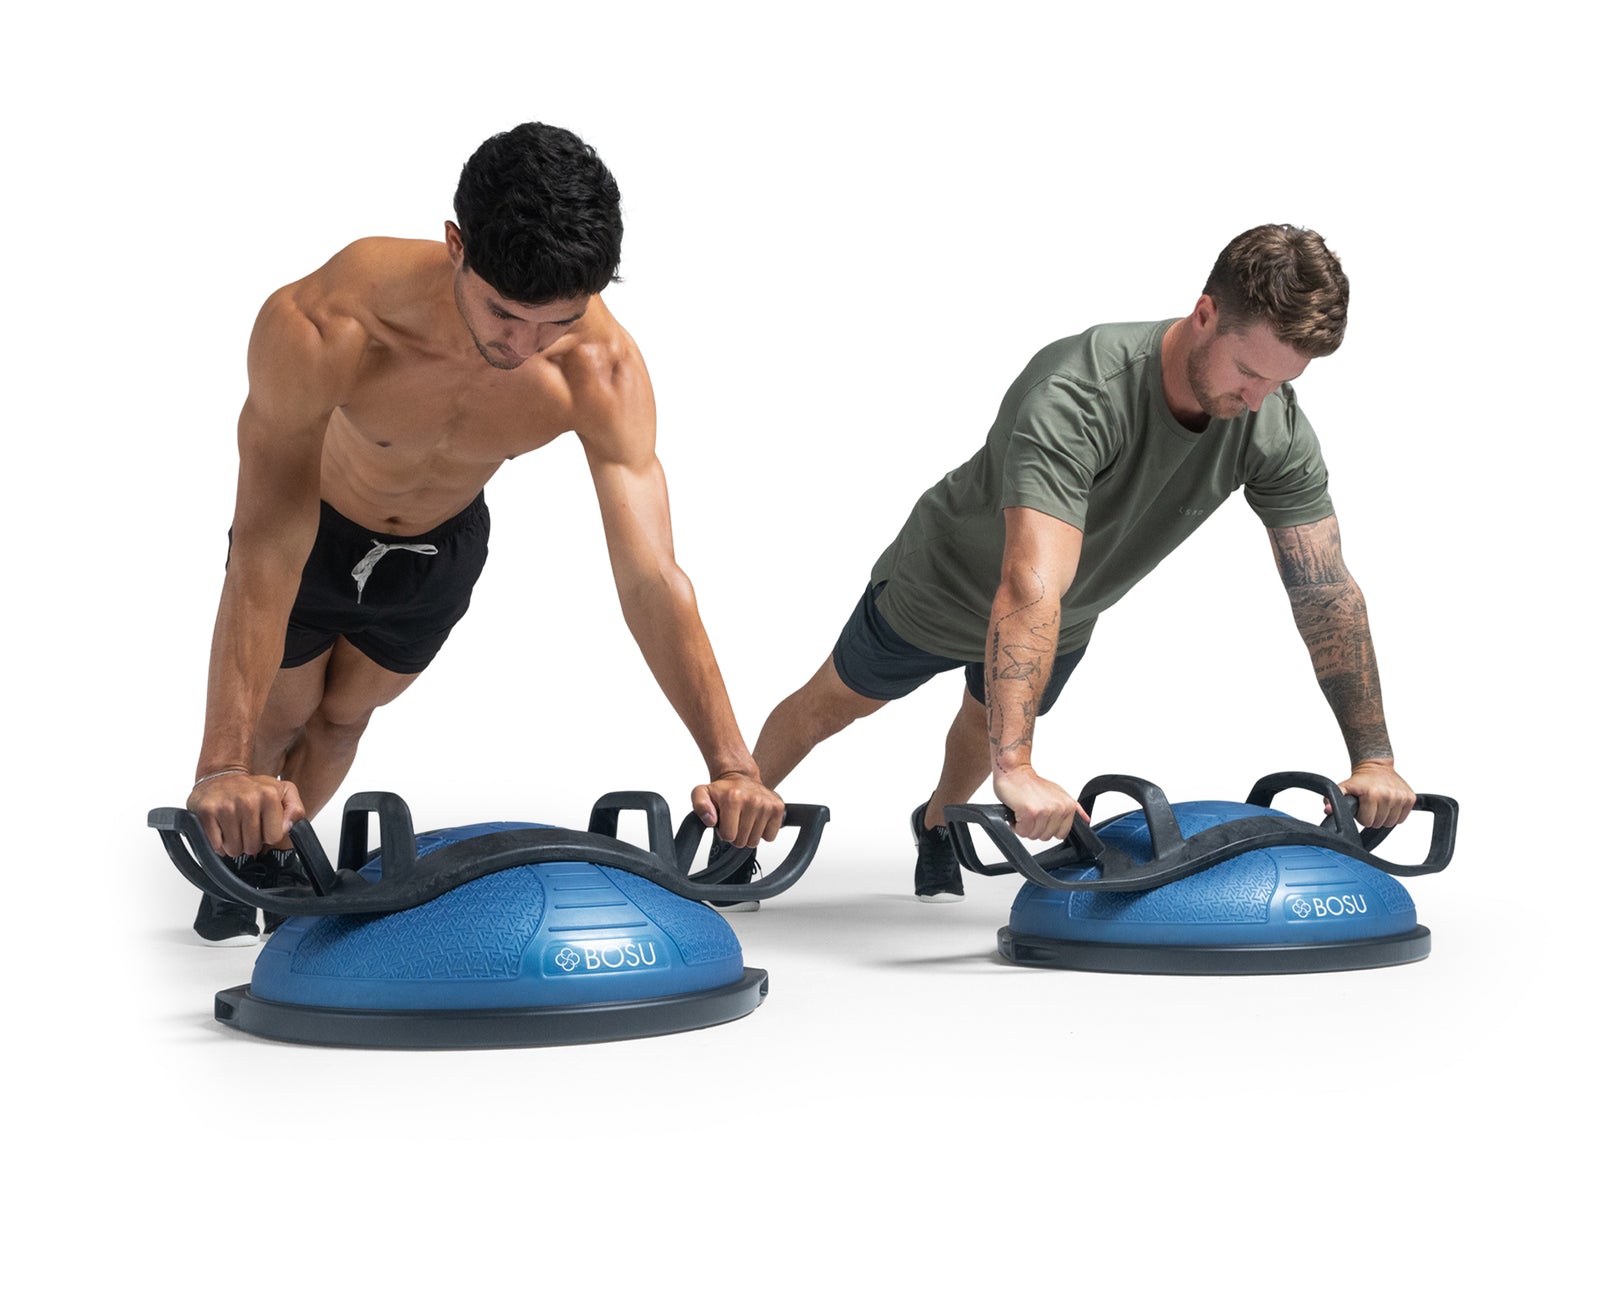
The Helm
Designed by a chiropractor and professional athletes to simplify stability training for upper body strength, stability, and endurance while working on core muscles. Add a new dimension to your workout, prevent wrist injury and target different muscle groups with its three different grips and seamless design that fits over any BOSU® Balance Trainer and Exercise Ball.
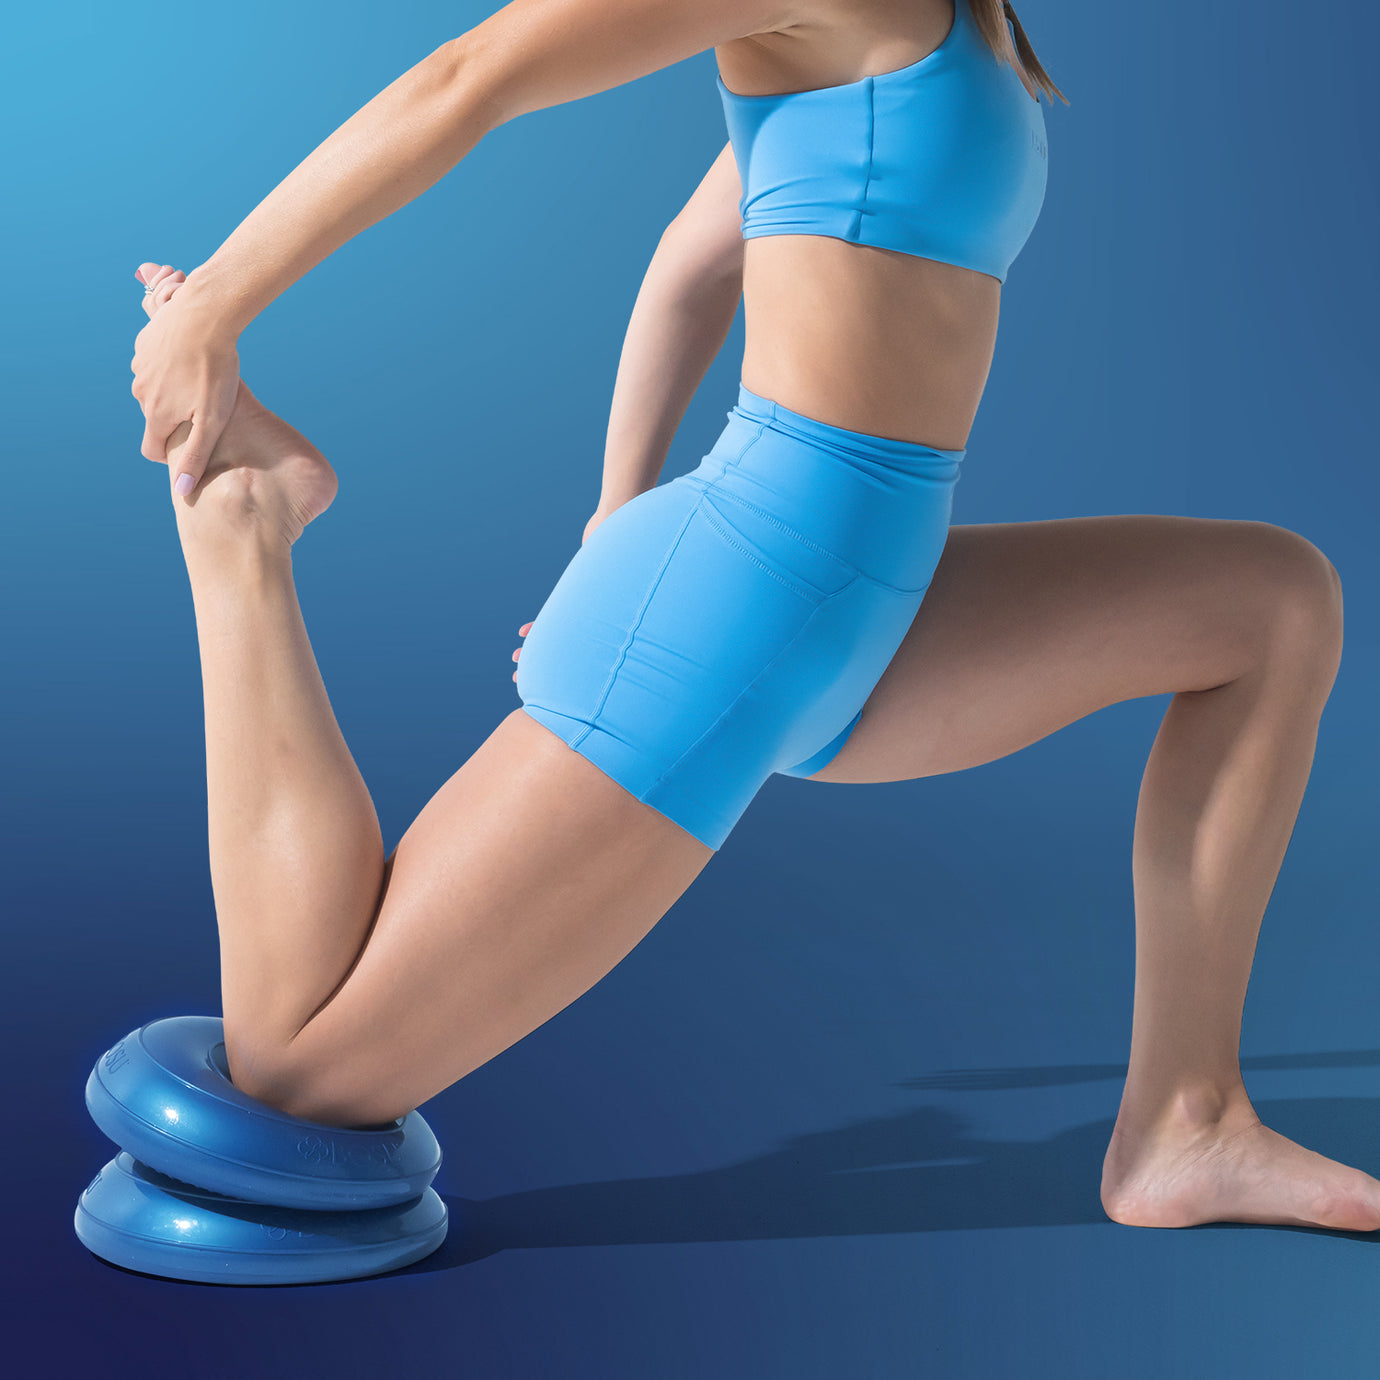
Build Coordination & Agility
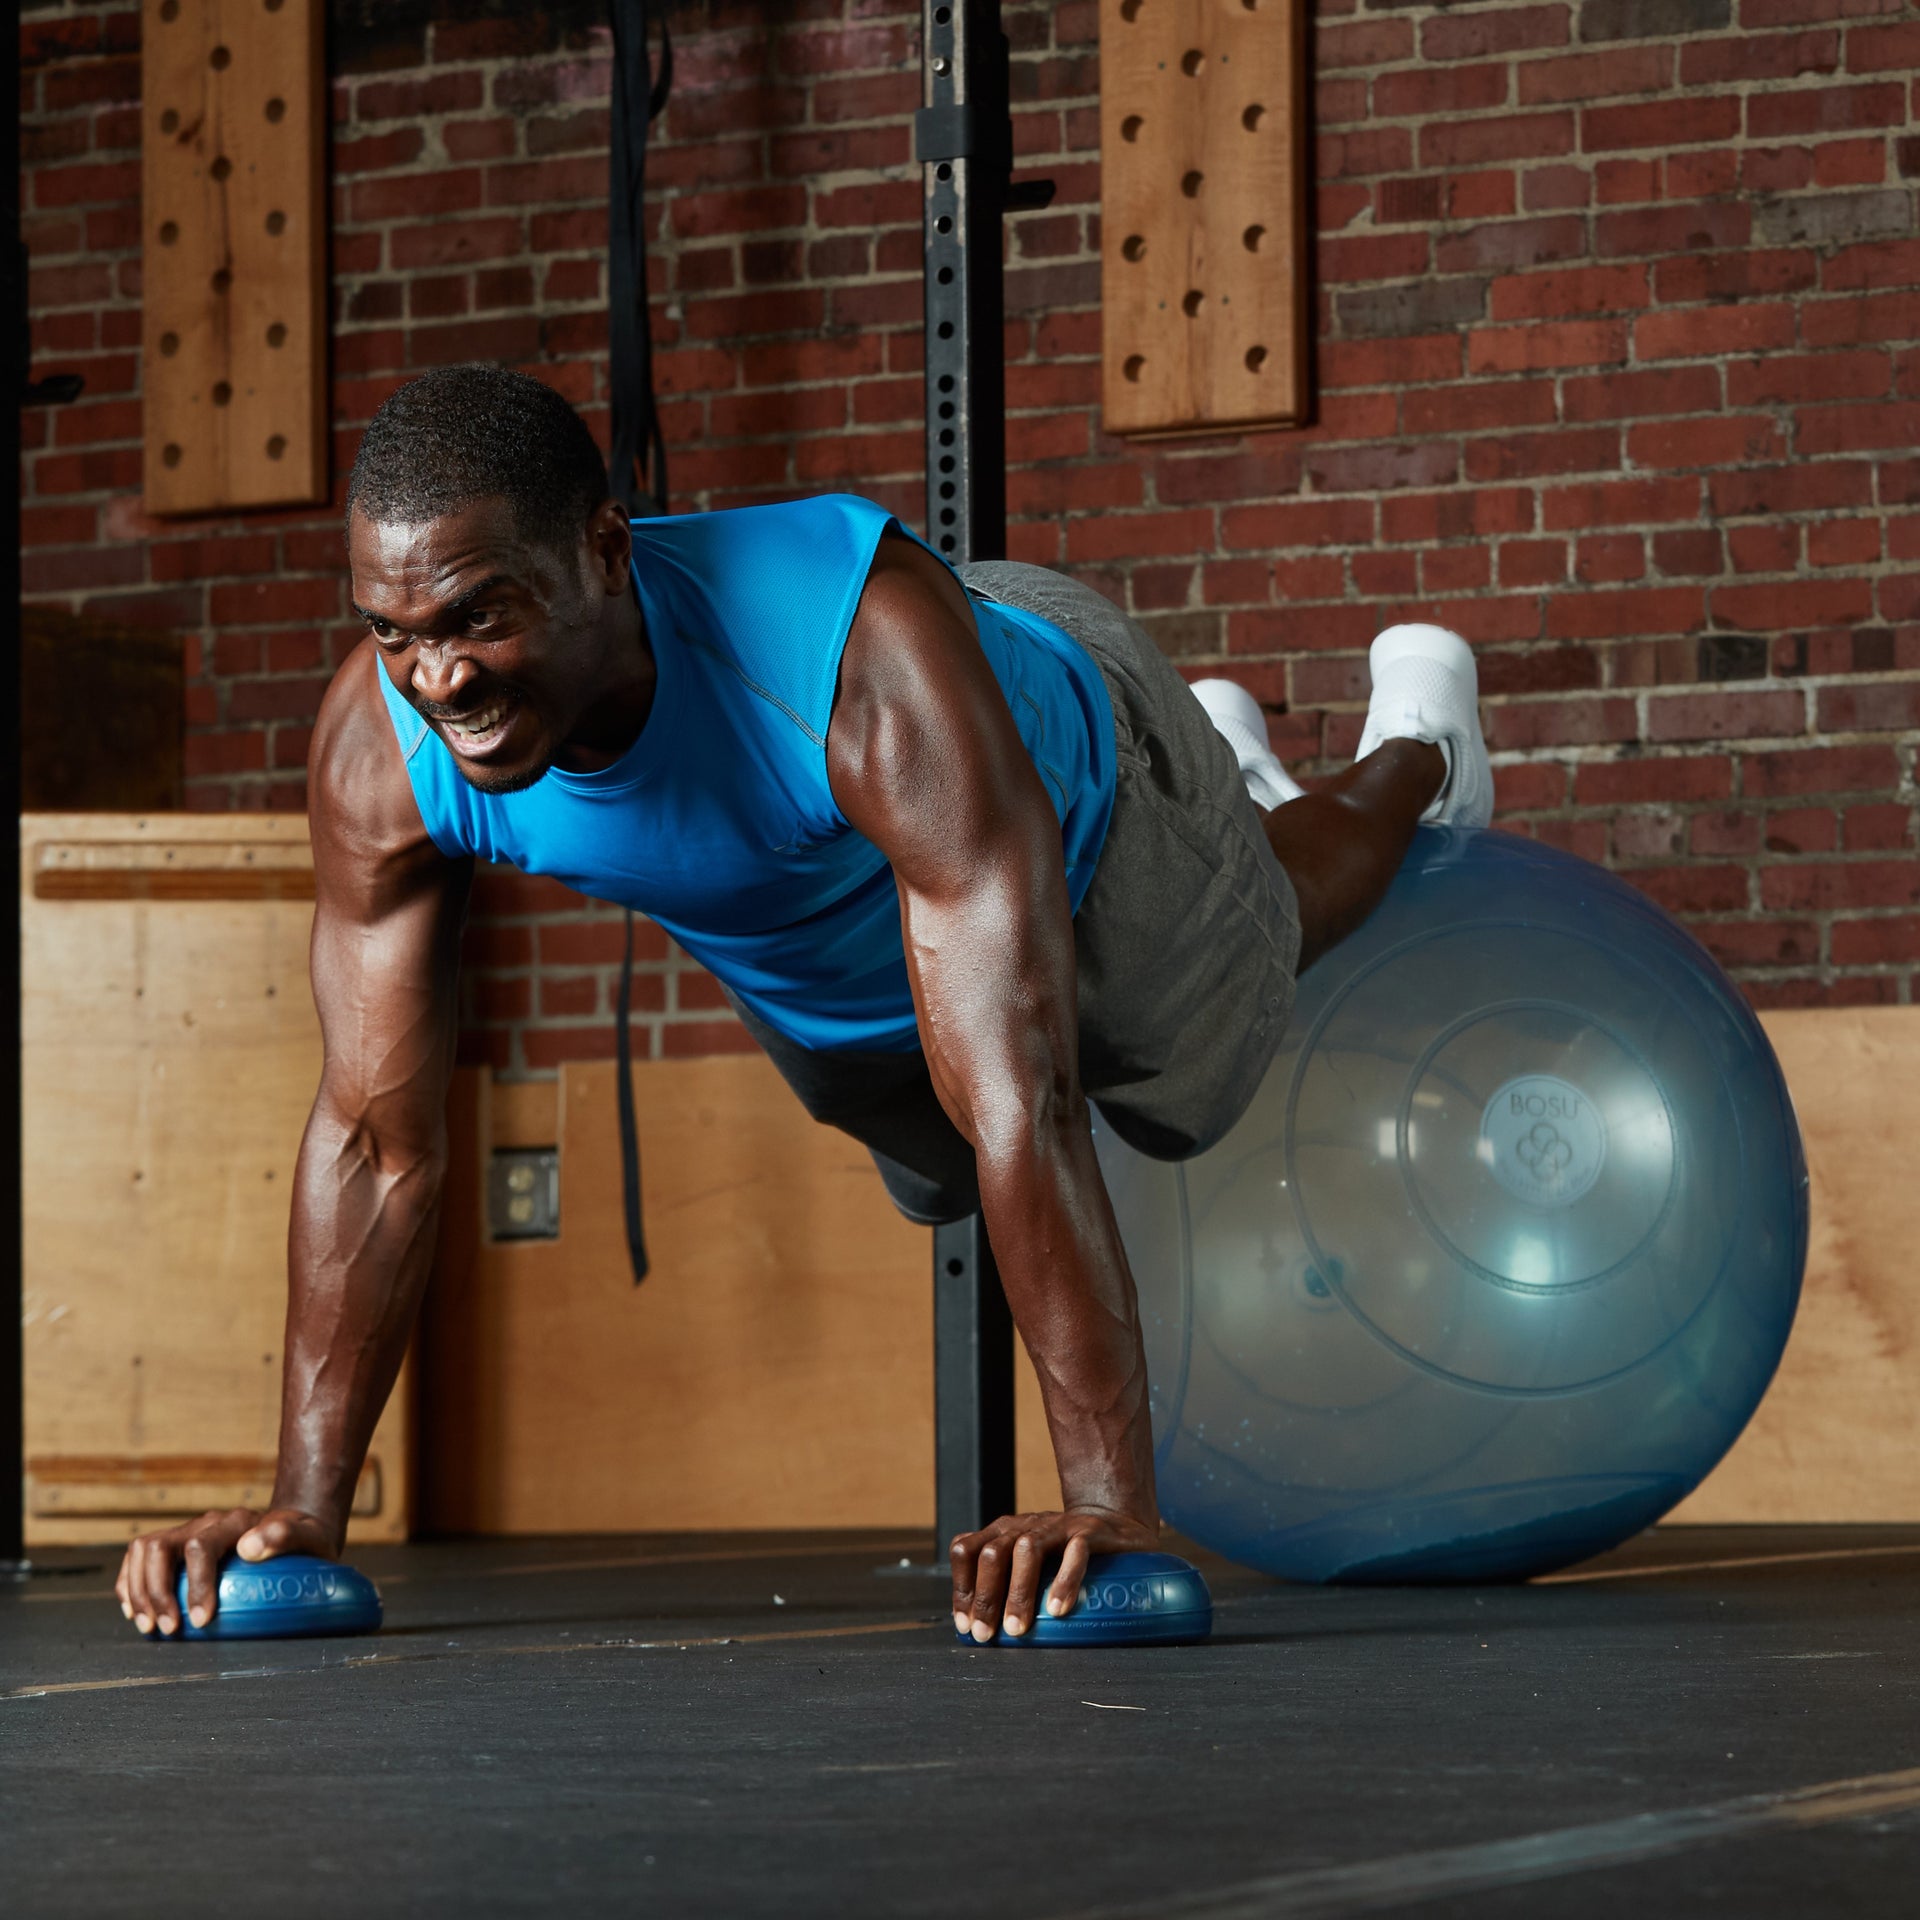
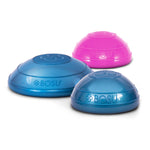
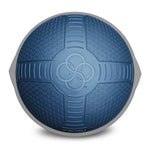
Balance Pods
The BOSU® Balance Pods offer a total body workout that enhances balance, coordination, agility, and core strength. These pods come with a textured bottom to prevent sliding and can be used with any BOSU® Balance Trainer or Ballast® Ball.

Don't Miss Out on These
Gym Must-Haves
Compliment your workout with this handpicked selection of high-quality gear to make the most out of your training, whether you're a seasoned gym-goer or just starting your fitness journey.